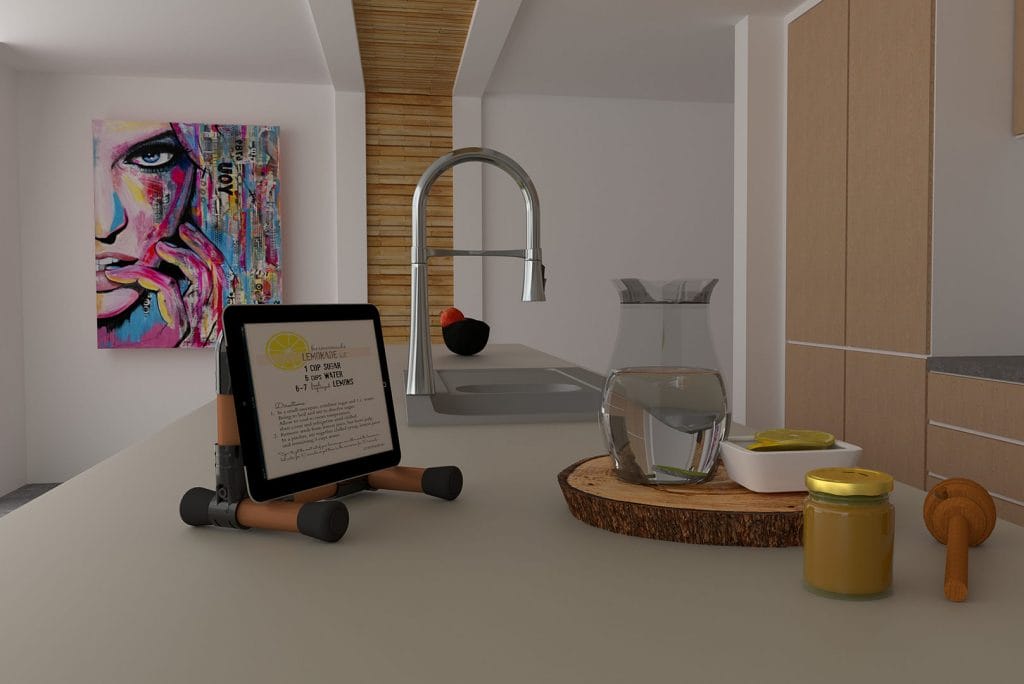
A tablet or an Ipad requires the use of both hands! But when cooking, training, or doing DIY projects, it’s more often than not impossible to use both hands – you have to put down your device somewhere. And if you don’t want to risk breaking it by dropping it anywhere, a tablet holder is more than necessary!
Making your own tablet stand comes with great perks:
- Adjust the stand to the angle you prefer
- Choose your favorite color of tubes and fittings
- Adapt the dimensions of the stand to your device
1. The parts you’ll need
Designing your tablet stand and making it yourself is the best way to ensure you’ll end up with the perfect stand!

What you’ll need:
| Qty. | Part | SKU | Link |
|---|---|---|---|
| 1 | 92″ Tube cuivre | PT-92-CU | Buy now |
| 2 | Ensemble de coin noir | HJ-2K | Buy now |
| 1 | Ensemble arrondi noir | HJ-90 | Buy now |
| 1 | Pied en caoutchouc | AF-RUB | Buy now |
2. The cut list
Here is a the cut list to build a 9 1/2″ X 8 1/2″ tablet holder. Feel free to adapt the size of the project to your own device and needs!
| Qty. | Length (inch) | Length (centimeter) |
|---|---|---|
| 2 | 6 1/4″ | 15.88 cm |
| 2 | 5 1/4″ | 13.34 cm |
| 2 | 4 1/4″ | 10.8 cm |
If you don’t already have a pipe cutter, get one from our shop here. It will be useful for your future projects.
3. The build (the fun part)
Did you cut all the pipes? Perfect! You are ready to start building your tablet holder!

The tinktube joint sets are assembled with bolts that require one of the following tools -you might already have this at home-:
| Tool name | Number | Link |
|---|---|---|
| Hex drill bit set (x5) | T-BIT | Buy now |
| T handle wrench | T-HANDLE | Buy now |
4. Use your tablet or Ipad safely
You can now go about your business with your hands free thanks to your new tablet holder.
We hope you enjoyed this free plan! If you’d like to build something similar to hold your books, discover here how to build your own desktop books holder.
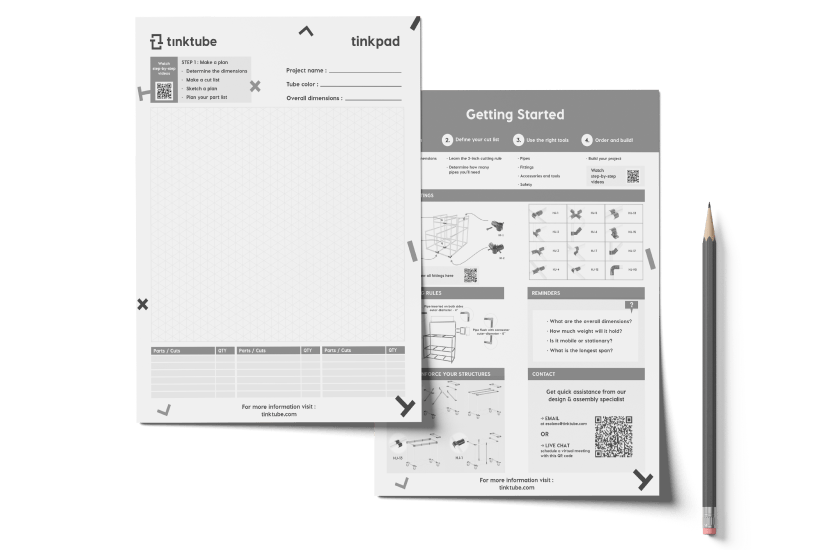
Adapt this project with the tinkpad!
Draw your project with this free printable tool which includes an isometric grid and our best tips to get started.


