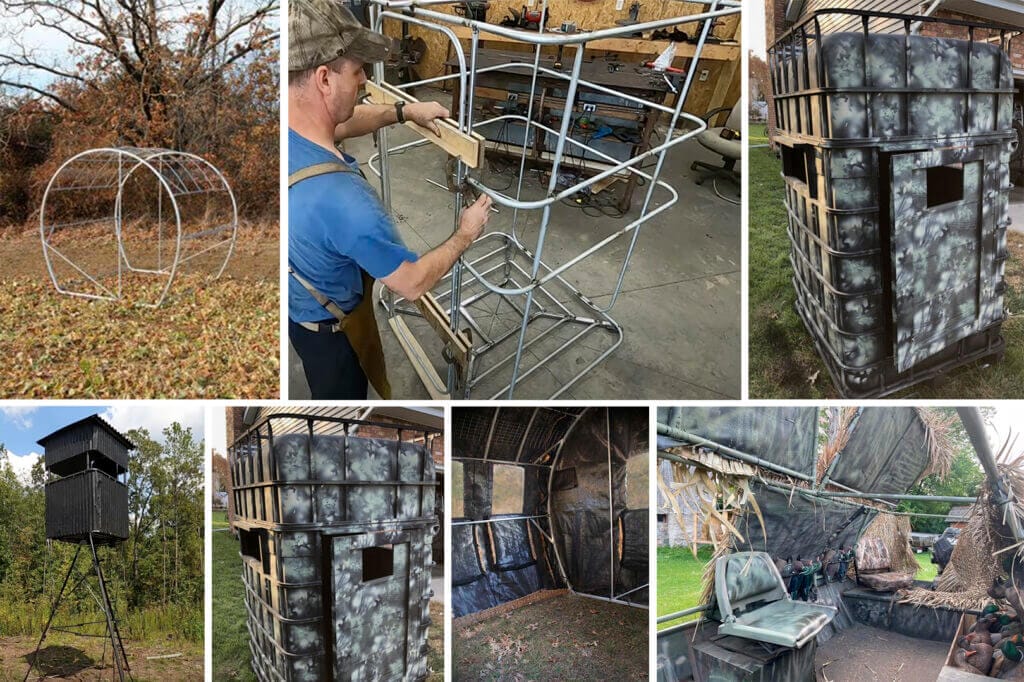
Why settle for a run-of-the-mill hunting blind when you can craft a customized masterpiece? DIY hunting blinds offer more than just a hideout for bagging that buck; they’re a cost-effective way to express your creativity. Personalization is the name of the game, and with tinktube’s steel pipes and connectors, you’re the Picasso of the hunting world.
In this article, we help you build a deer hunting blind by bringing you inspiration that will elevate your hunting game with designs that defy convention. From ground-level stealth to elevated blinds and perches, tinktube’s tubes and joints offer a world of possibilities. Rustic or modern, subtle or bold – the adaptability of our building system ensures your custom deer hunting blind stands out or blends in precisely how you envision. Remember… We’re not just building blinds; we’re crafting experiences. Let’s do this!
A step-by-step building guide for deer hunting blinds
No need for a toolbox PhD – with tinktube, assembling your custom hunting blind is as easy as snapping Lego bricks together. Before you start, we recommend you break down the process by checking out the steps below, just so you learn how to build the best project for your needs, using our system. If you are well prepared, making the journey from unassembled tubes and connectors to fully functional hunting blind will be a delightful DIY adventure!
See our Conduit Duck Boat Blind free plan
Step 1: Make a plan and define your parts list
Initiating the creative process begins with translating your thoughts and ideas onto paper. Equip yourself with a pen and paper, and start sketching. By visually representing your concepts, you gain valuable insights into the dimensions of your envisioned project.
Step 2: Define your cut list
Distinguishing the overall dimensions of your project from the specific lengths of the tubes used in the joints is crucial. It’s important to recognize that the calculation of the pipe’s length is a key factor in moving forward with your project. The intricate details of the 2-inch cutting rule and its essential calculation process are demystified and presented comprehensively in this video.
Step 3: Pick the parts
As you explore tinktube’s shop for tubes and connectors, keep an eye out for standout essentials that can elevate your building experience. In this video, Esteban emphasizes the importance of particular items – the pipe cutter and the Allen wrench. These tools play a pivotal role in various builds.
Step 4: Build your DIY hunting blind
This is where the creative process truly kicks in! Cutting pipes, assembling connectors, tightening bolts, and repeating the process: the simplicity of these actions will become abundantly clear once you’ve had the pleasure of witnessing Esteban bring his project to life!
Customization and camouflage tips:
Transform your hunting blind into a work of art with tinktube’s customization and camouflage tips. Uncover the secrets to blending seamlessly into your surroundings, from earthy hues to high-tech patterns. Create not just a structure, but an extension of nature itself!
- Choose the right location:
Selecting the right location is crucial for a successful hunting blind. Consider the prevailing wind direction, the terrain, and the typical movements of your target. Place the blind where you can blend into the natural surroundings and have a clear line of sight. - Integrate natural materials:
Use natural materials from the environment to construct your hunting blind. Incorporate local vegetation, branches, and leaves to create a structure that seamlessly blends with the surroundings. This not only provides effective camouflage but also enhances the concealment of your blind. - Break up silhouettes:
Break up the outline of your hunting blind to avoid detection by game animals. Use a mix of natural materials to create irregular shapes and textures. This can include attaching additional foliage to the blind or using burlap or camouflage netting to disrupt the outline and make it less conspicuous. - Utilize natural colors:
Choose colors for your blind that match the natural surroundings. Earthy tones like browns, greens, and grays work well in various environments. Consider painting or covering your blind with fabric in these natural colors to help it blend seamlessly into the landscape. - Pre-scout and adjust:
Before your hunting trip, spend some time scouting the area. Take note of the specific vegetation, colors, and lighting conditions. This information will help you make adjustments to your blind and camouflage strategy accordingly. Be flexible and make on-the-spot changes to optimize your concealment.
Remember, the key to successful camouflage is to mimic the natural environment and avoid standing out. Regularly reassess and adjust your blind and camouflage techniques based on the specific conditions of your hunting location!
Safety and sustainability
The importance of building a blind that’s not just a shelter but a sturdy, weather-resistant haven is undeniable. To ensure you are safe and confortable, It is crucial to use durable materials that can withstand the elements and support the weight of the blind, ensuring it remains intact throughout its intended lifespan. Inspect the framing and the walls of your build for any warping, bending, or misalignment. This will ensure a solid foundation for the subsequent steps. Incorporating proper ventilation also contributes to a safer hunting experience.
Sustainability considerations involve minimizing the environmental impact of the blind. Choosing materials that are eco-friendly, like tinktube’s pipes and connectors, promotes responsible resource use. Proper disposal of waste generated during construction also contributes to sustainability. By embracing safety and sustainability principles, you can create blinds that not only enhance your hunting experience but also reflect a commitment to ethical practices and environmental stewardship.
Building a DIY deer stand with conduit
In this video posted on Southern Ingenuity‘s Youtube channel, the DIYer builds a deer stand out of conduit.
If you want to build a similar project but are looking to avoid welding, you can choose 3/4 inch EMT conduit and assemble your structure together using our EMT connectors!
Why choose tinktube for your hunting blinds
What sets tinktube apart from the DIY crowd? It’s not just about the pipes and joints… creating with tinktube starts with one project and quickly becomes a lifestyle. Among the benefits of choosing tinktube for your hunting blinds, you’ll discover durability that rivals Grandma’s cast iron skillet and simplicity that puts Swedish furniture to shame. All the projects below can be created using tinktube. Inspired yet?
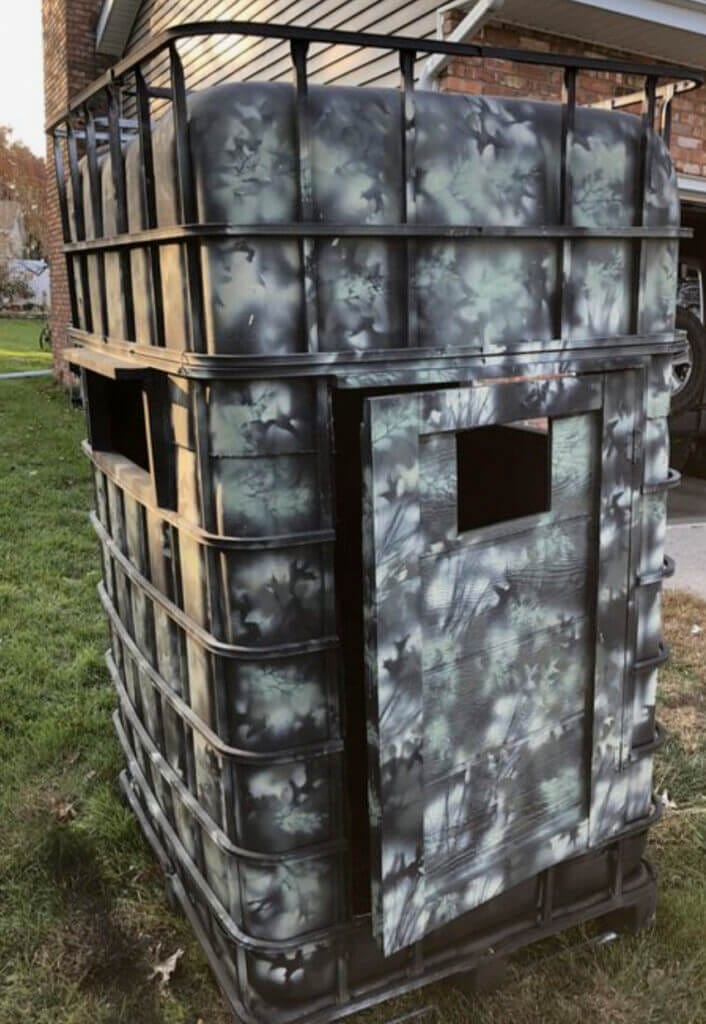
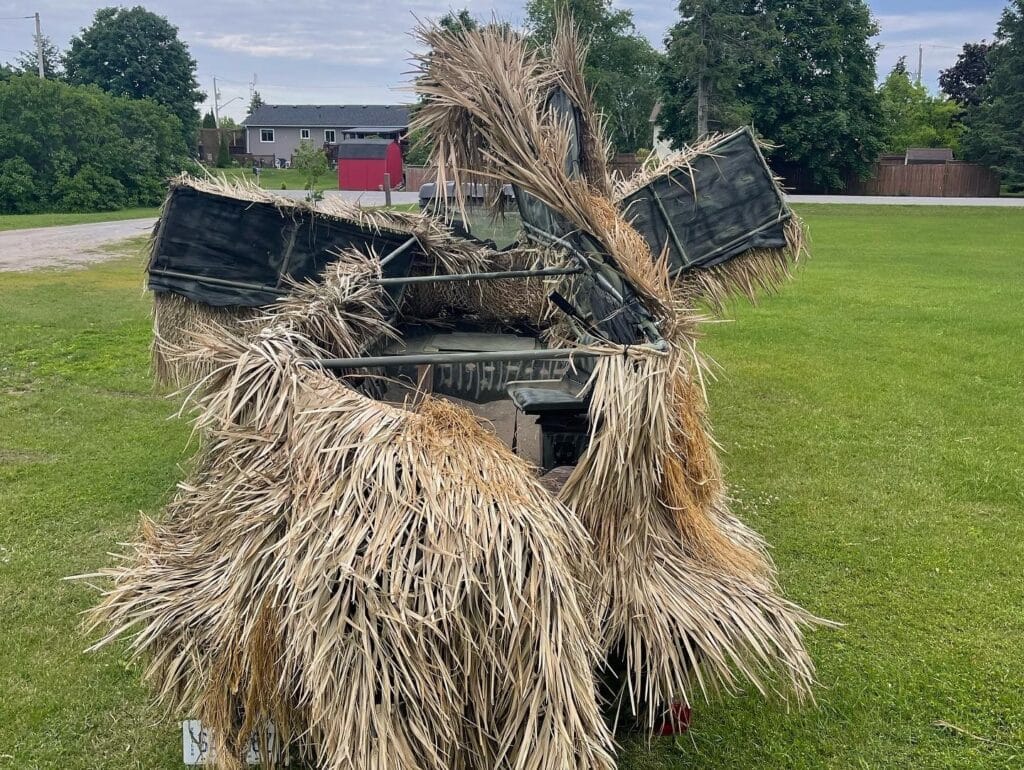

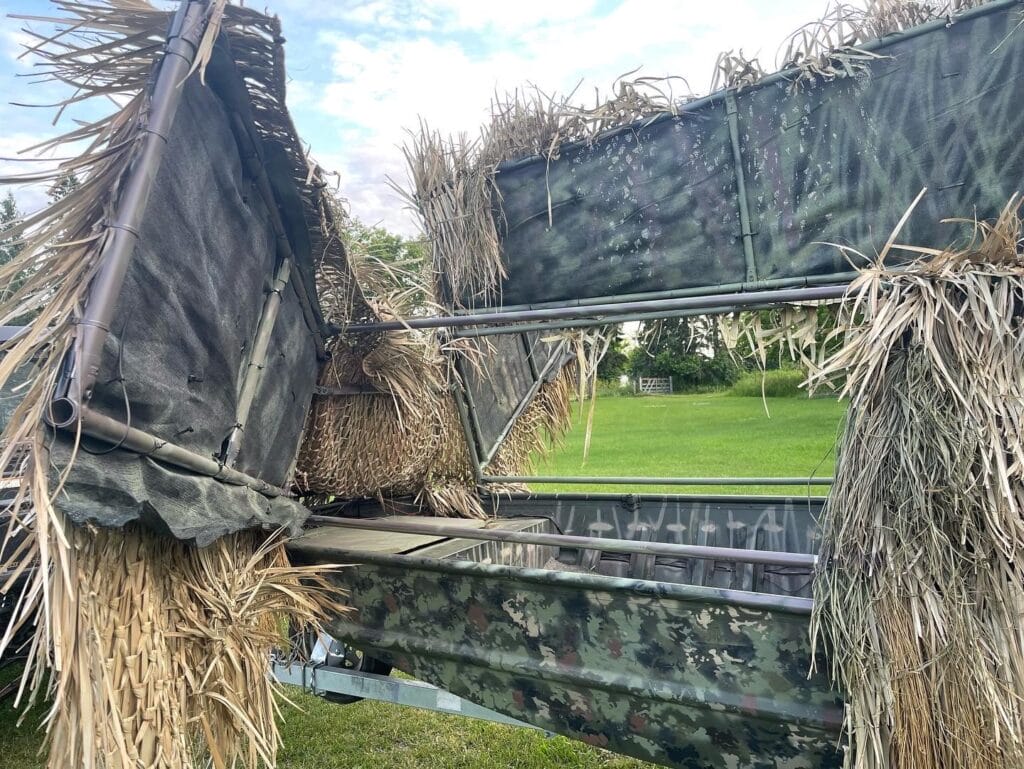
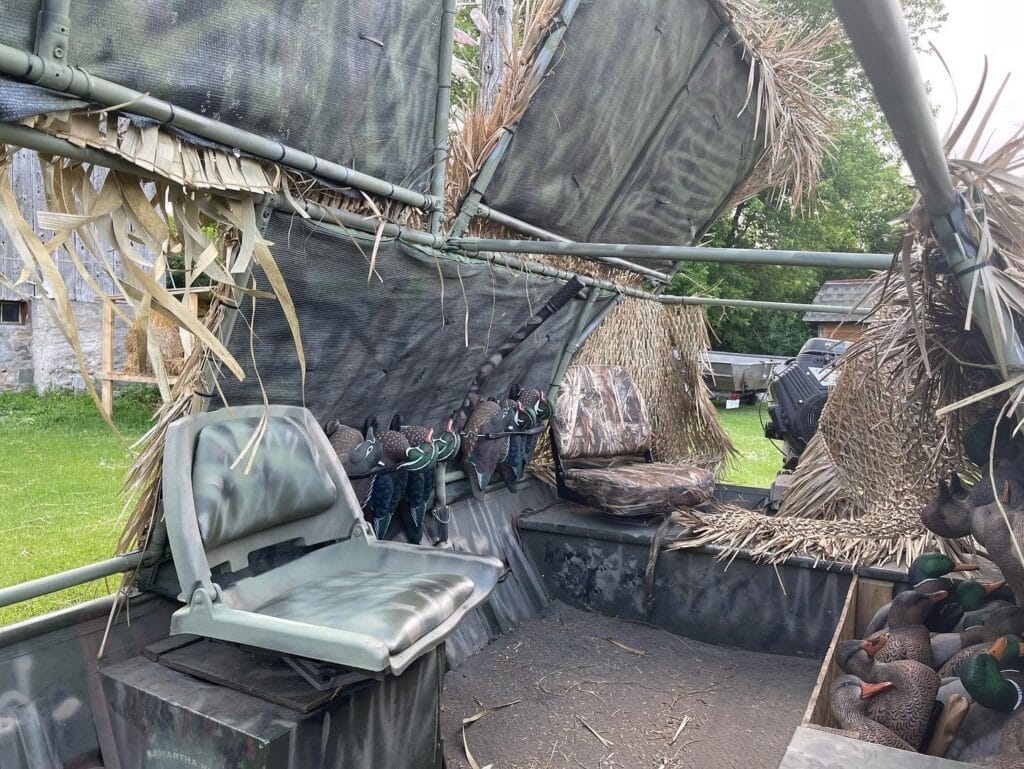
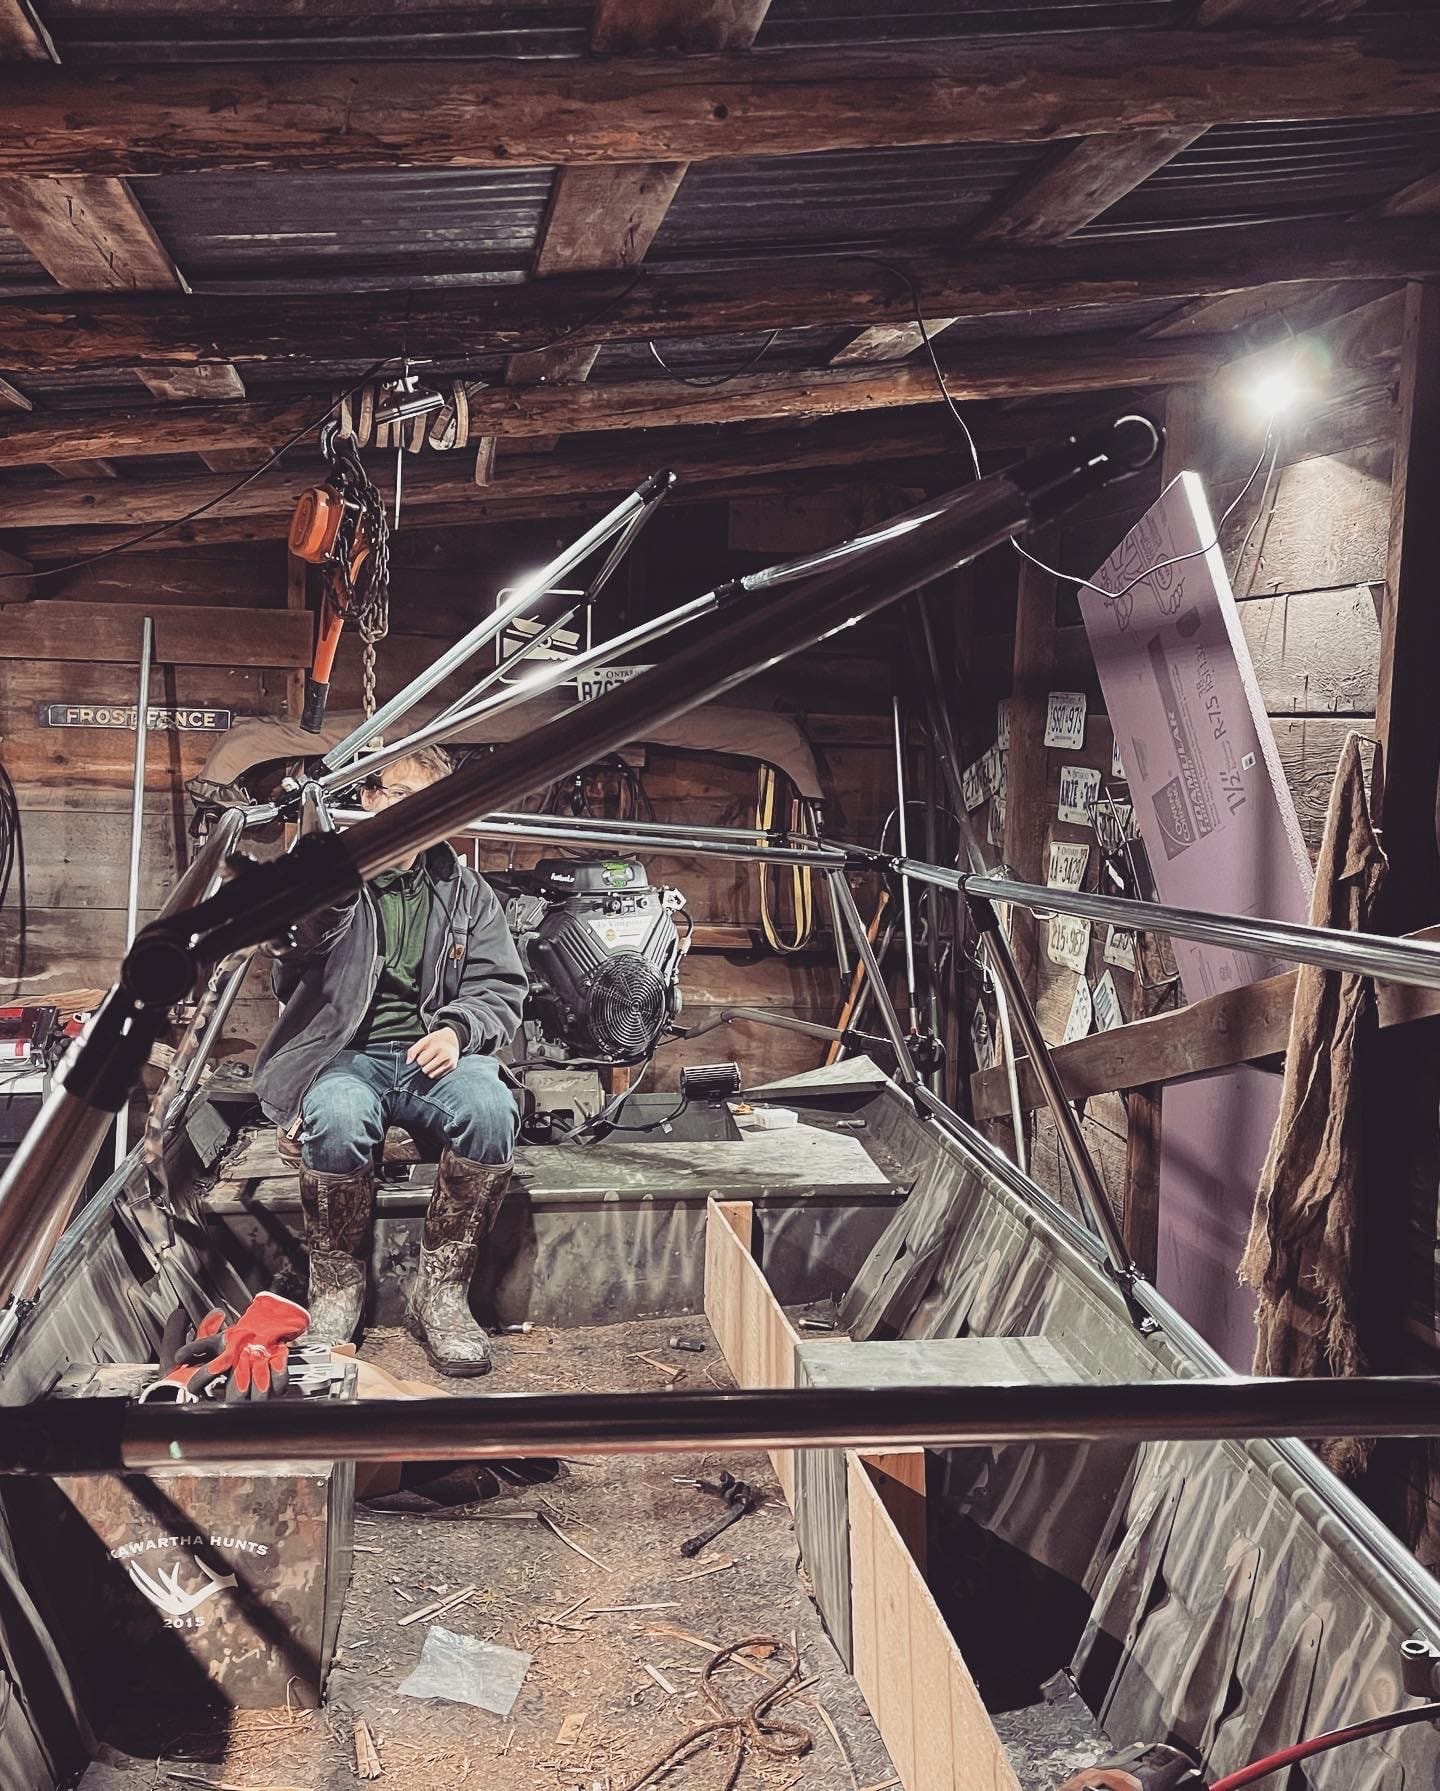
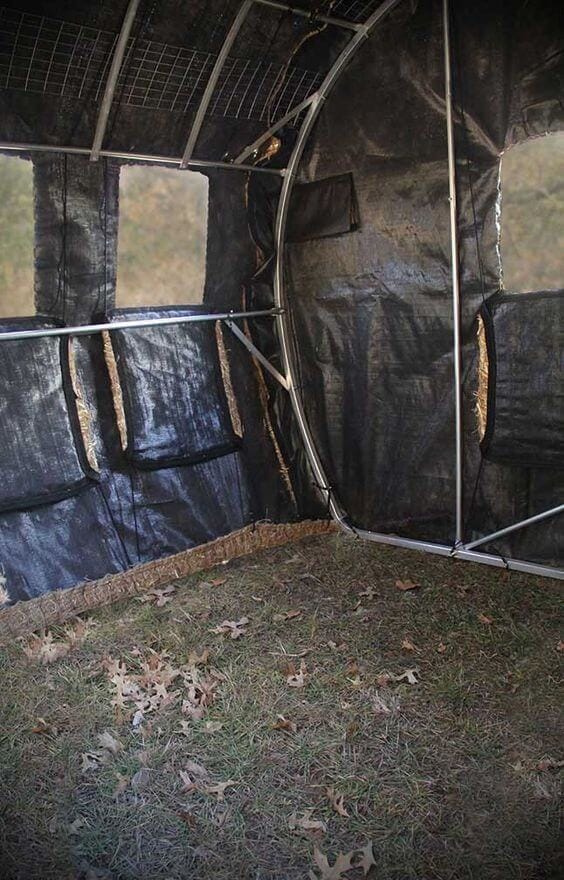
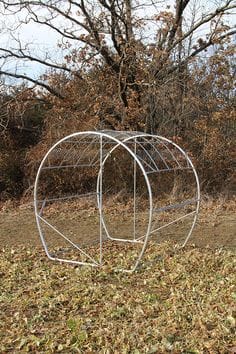
Crafting with tinktube to create outdoor masterpieces
Now that we’ve explored the endless possibilities of customization, the art of camouflage, and the importance of building structures that stand the test of time, you are ready to embark on your tinktube adventure. Remember: you’re not just assembling pipes and joints; you’re creating a new, customized environment for your outdoor pursuits. So, let the hunting games begin – with tinktube, your imagination is the only limit.
Dive into our product pages now and start assembling the hunting blind of your dreams!
Arbor made by Ian
Ian built an arbor for his frontyard path.
