Getting Started
Now that you’ve discovered what tinktube is all about, you’re ready to tackle your first pipes and joints DIY project!
![]() Make a plan
Make a plan
![]() Define your cust list
Define your cust list
![]() Use the right tools
Use the right tools
![]() Order and build!
Order and build!
Step 1.
Make a plan
The first step is to put your thoughts and ideas on paper. Get a pen & paper and start sketching! This is the best way to determine the dimensions of your project and what you’ll need (surface, wheels…) to build it.
Once that’s done, you’ll be able to plan your parts list: which fittings will you need, which accessories? Visit the online shop or check out a free plan that’s similar to your idea, and adapt the design to your custom project.
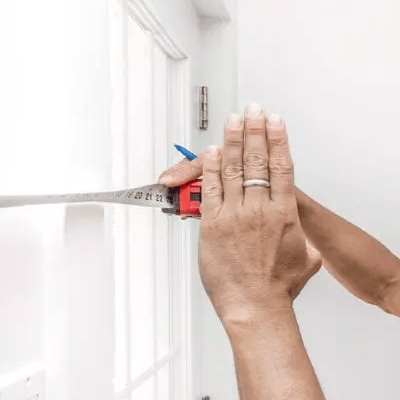
Determine the dimensions
How big is the room where you’ll use your project? Adapt your project to that space!
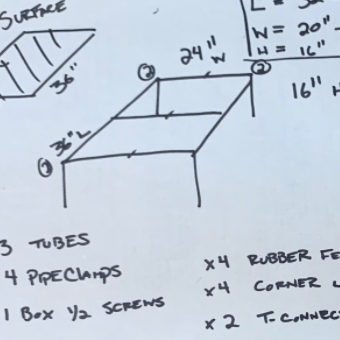
Sketch a plan
Don’t worry if you’re not a Picasso. Pick up a pen, a piece of paper and get creative!
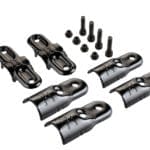
Plan your parts list
Which connectors will you use? Do you need a surface? Wheels? Other accessories?
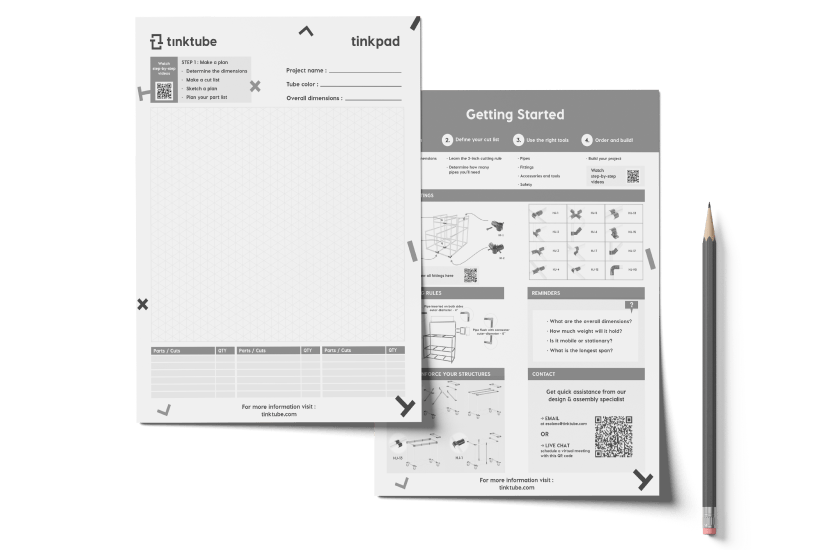
The tinkpad
A free printable tool to draw your
projects with 3D perspective.
Step 2.
Define your cut list
There’s a difference between the global dimensions of your project and the length of the tubes that will be inserted between the joints. Once you learn how to calculate the pipe length, you’re good to go!
Learn how to calculate the pipe length and plan the exact number of tubes you’ll need to build your project. All you need to know is in this video!
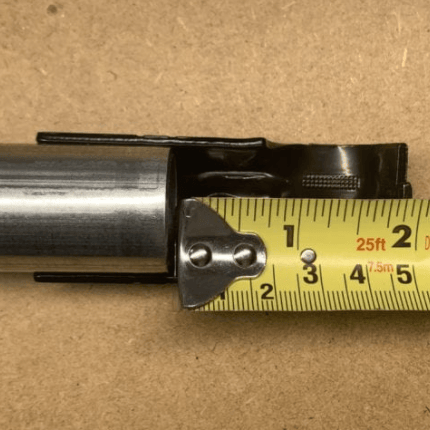
Learn the 2-inch cutting rule ?
The pipes need to be cut a few inches shorter than the actual dimensions of the structure. It’s crucial to understand this rule to calculate the number of pipes you’ll need.
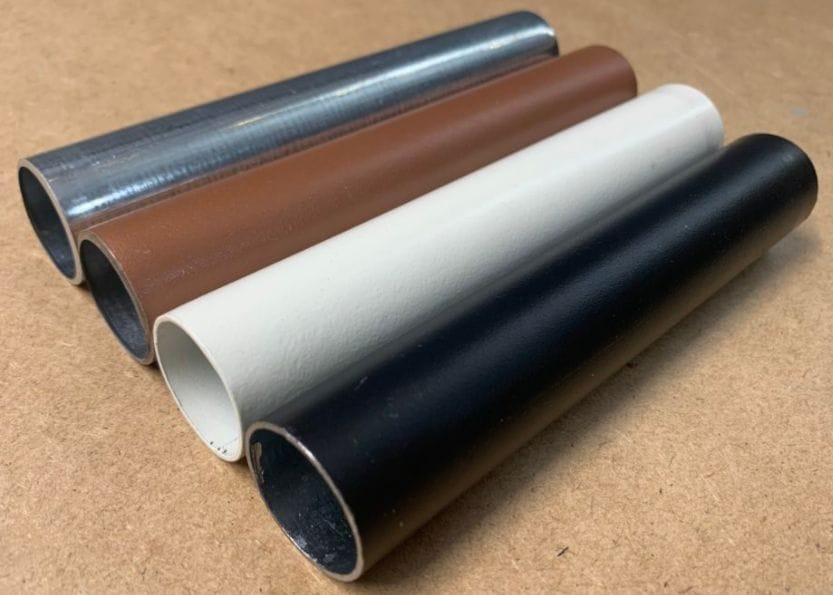
Determine how many pipes you’ll need
Once you know the total length of pipe you need, you can determine how many pipes to buy for your project -knowing the full-length tubes are 92″-.
