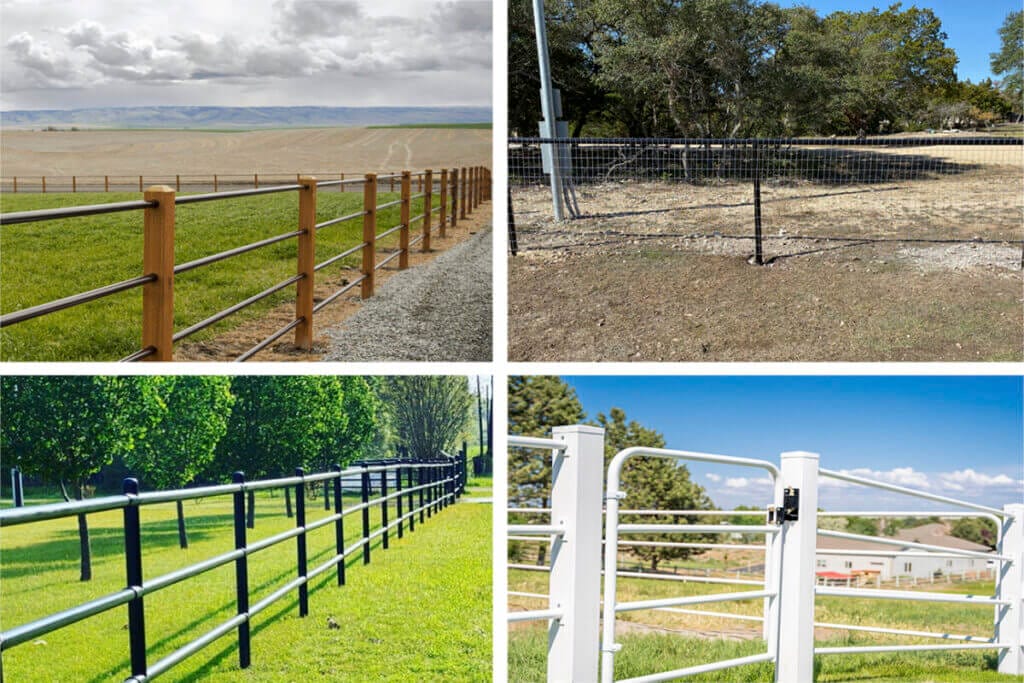
Pipe fencing is like the cool kid on the DIY block. It’s not just about security; it’s also about adding pizzazz to your property! We’ve seen it popping up everywhere, from ranches, modern residential homes or fancy estates. Pipe fencing has surged in popularity due to its durability, versatility, and timeless appeal in the past few years. It combines practicality with a touch of modernity, making it a go-to choice for property owners seeking both security and style.
Today, we’re uncovering the secrets of pipe fencing – the combo of safety and style that’s got everyone talking! This comprehensive guide aims to shed light on the world of creative pipe fence solutions, offering insights into designing, installing, and customizing these fences, along with DIY ideas for unique applications.
Designing your pipe fence: where fun meets functionality
What are the key design considerations for pipe fencing?
When you’re dreaming up your pipe fence, there are a few things to keep in mind.
- How high do you want your fence to be?
- How far apart should those pipes be?
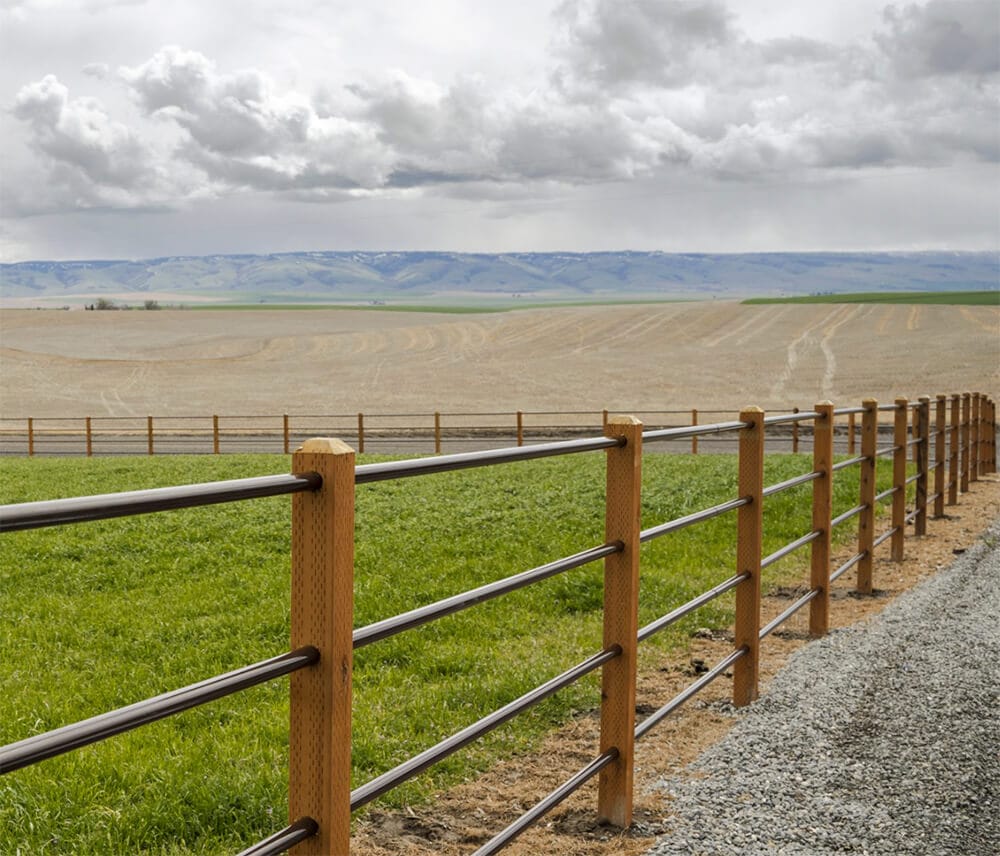
- And what’s your style – rustic ranch or sleek and modern?
Custom pipe fencing is like creating a personalized outfit for your property – you’re the designer, and the stage is all yours!
Materials and tools: your DIY essentials
What materials and tools are essential for installing a pipe fence?
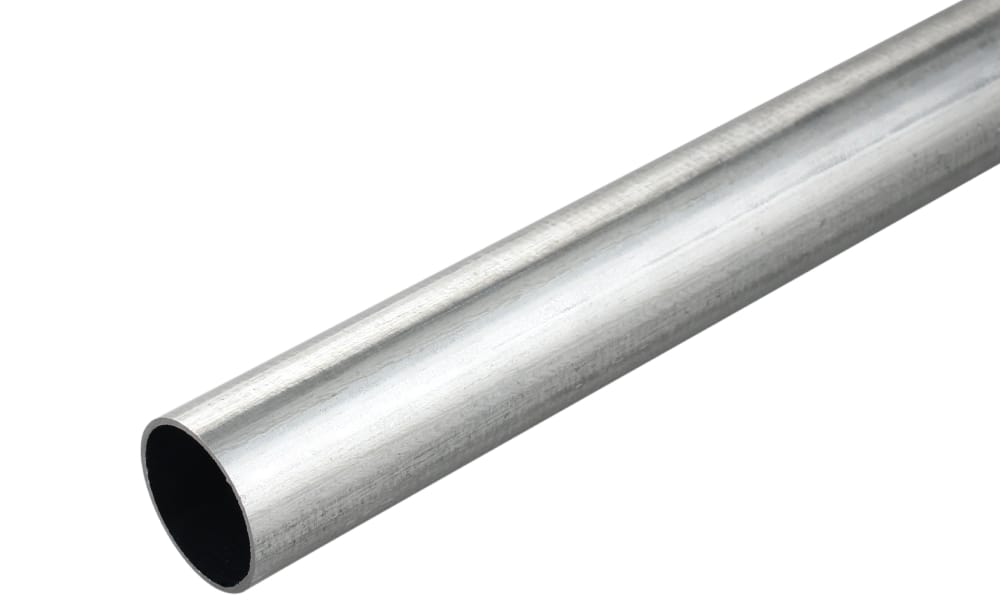
The answer to this question depends on the choice of material you make. tinktube offers a fresh approach to bringing your creative ideas to life. Whether you’re crafting a privacy fence or a security fence, the system provides an uncomplicated, neat, and convenient method for realizing your DIY projects. Additionally, it integrates with standard 3/4 inch EMT conduits when used alongside our EMT conduit adapters! In other words, if you choose to build with tinktube, this is all you’ll need:
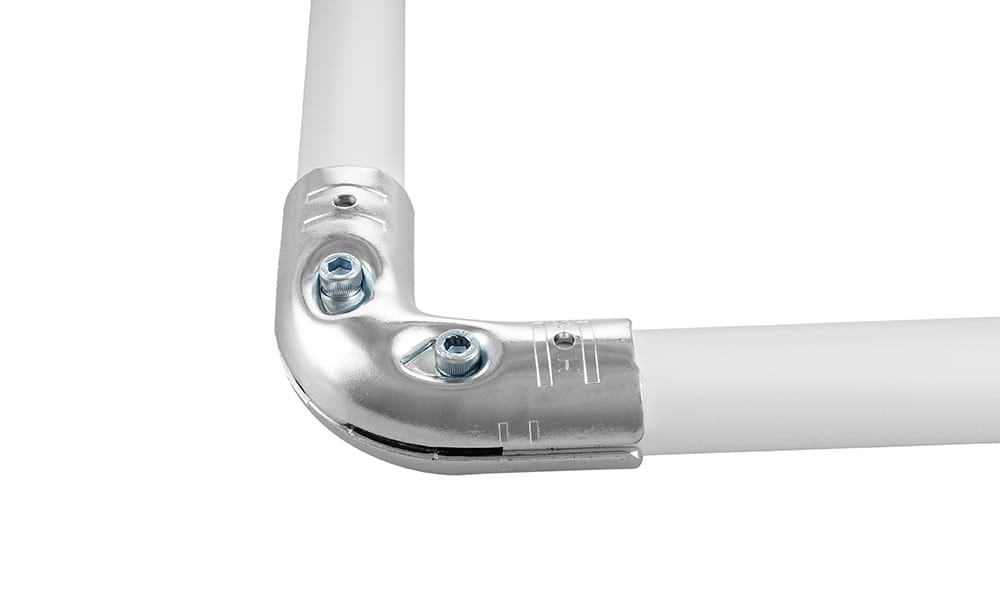
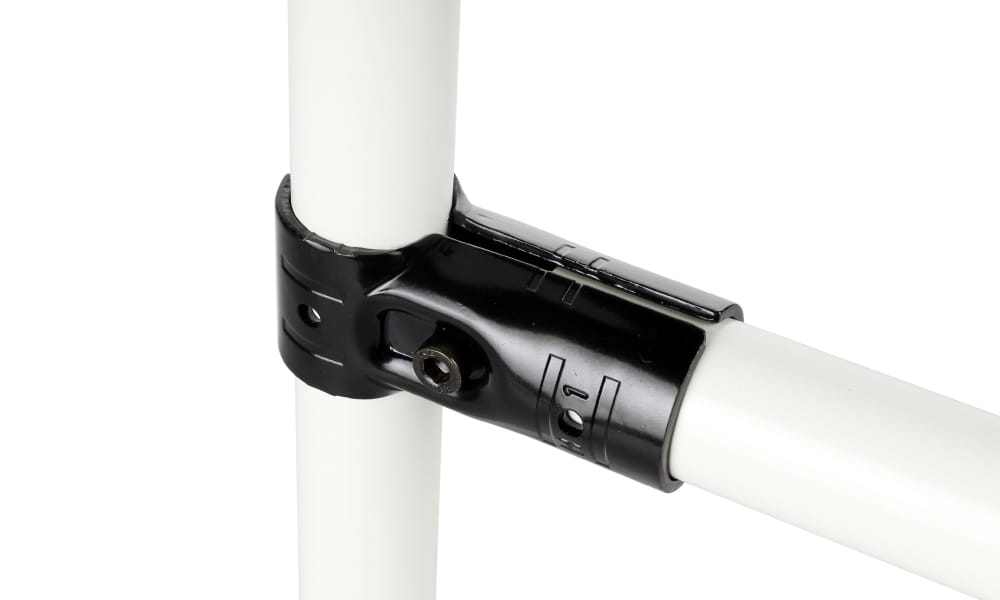
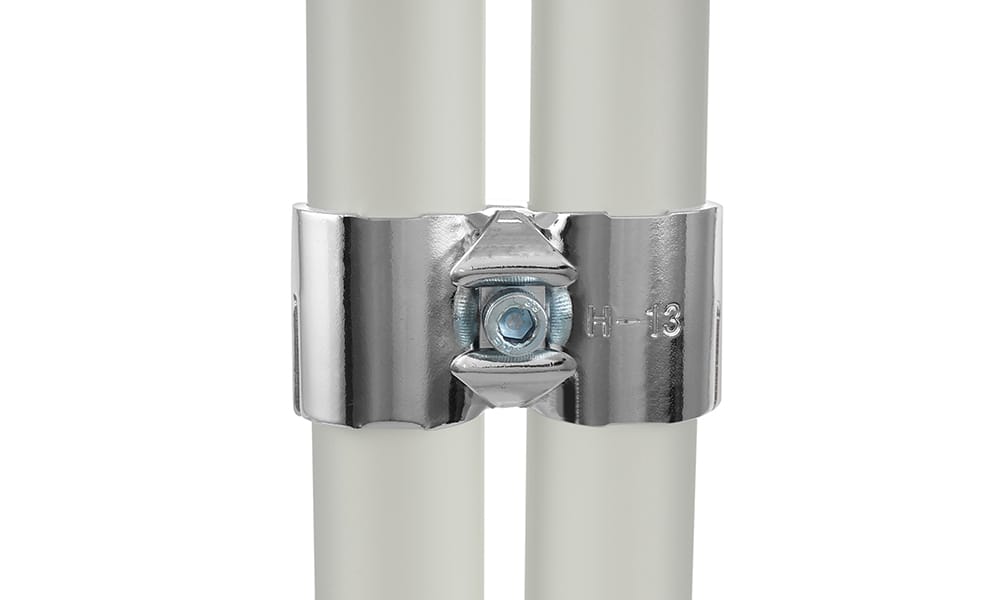
Materials: pipes & connectors (or fittings)


Tools: a pipe cutter & a T-handle wrench


Remember, the key to a fence that stands tall (literally) is using tough, weather-resistant materials. If you’re already sold on the idea to build with tinktube, we’ve got good news for you: mother Nature’s got nothing on your tinktube pipe fence!
Step-by-step installation: Let’s DIY this!
Here is a step-by-step guide for installing custom pipe fencing
Installing a pipe fence without welding involves careful planning, ordering the necessary parts and tools, cutting the pipes, assembling the fence using connectors, and securing the pipes vertically into the ground. Here’s a step-by-step guide:
Step 1: Drafting the plan
- Measure and mark: Start by measuring the area where you want to install the pipe fence. Use stakes and string lines to mark the boundaries.
- Plan the length: Determine the length of each horizontal rail (92″ pipes) based on your measurements and desired fence height. Ensure that the rails are evenly spaced.
- Calculate connectors: Count the number of connectors you’ll need. You typically need two connectors per joint where horizontal and vertical pipes meet. Add a few extra for contingency.
- Check ground conditions: Assess the ground conditions to ensure it’s suitable for installing vertical posts. You may need to dig holes and add concrete footings if the ground is not stable.
Step 2: Ordering the parts and tools online
- Make a list: Create a detailed list of all the materials and tools you’ll need, including pipes, connectors, post caps, concrete (if required), pipe cutter, level, tape measure, and a shovel.
- Order online: Research and order your materials and tools from a reliable supplier. Ensure you order the correct quantity and size of pipes and connectors.
- Confirm delivery: Once your order arrives, inspect the materials to ensure everything is in good condition and as expected.
Step 3: Cutting the pipes and assembling the fence
- Cut the pipes: Using a pipe cutter, cut the pipes to the desired lengths based on your plan. Be precise in your measurements to ensure the rails are evenly spaced and level.
- Assemble the horizontal rails: Begin assembling the horizontal rails by inserting them into the connectors. Ensure that the rails are level and secure. Use a level to check for straightness.
- Attach vertical pipes: Connect the vertical pipes to the connectors at the desired intervals. Use the same connectors you used for the horizontal rails. Make sure the vertical pipes are plumb (perfectly vertical) using a level.
- Secure the posts (if needed): If you’re installing posts into the ground, dig holes at the marked locations and set the posts. Use concrete to secure them in place. Ensure they are level and plumb.
Step 4: Install the tubes vertically in the ground
- Prepare holes: If you’re installing posts, dig holes deep enough to provide stability and support. The depth may vary depending on your location and local building codes.
- Add concrete (if needed): Pour concrete into the holes around the posts to secure them firmly. Follow the manufacturer’s instructions for mixing and setting the concrete.
- Check alignment: Ensure the posts are aligned with your fence plan and are perfectly vertical. Use a level to check their alignment.
- Allow concrete to set: Allow the concrete to cure according to the manufacturer’s recommendations before attaching the fence rails to the vertical posts.
- Attach fence rails: Once the concrete has set, attach the horizontal fence rails to the vertical posts using connectors as you did in Step 3.
- Add post caps: If desired, add post caps to the tops of the vertical posts for a finished look.
- Inspect and secure: Double-check the entire fence for alignment, levelness, and stability. Make any necessary adjustments, and ensure all connectors are tightened securely.
By following these steps, you can successfully install a pipe fence without welding, creating a durable and visually appealing barrier for your property.
Customization and features: pipe dreams come true
How can you customize pipe fences with gates and decorative elements?
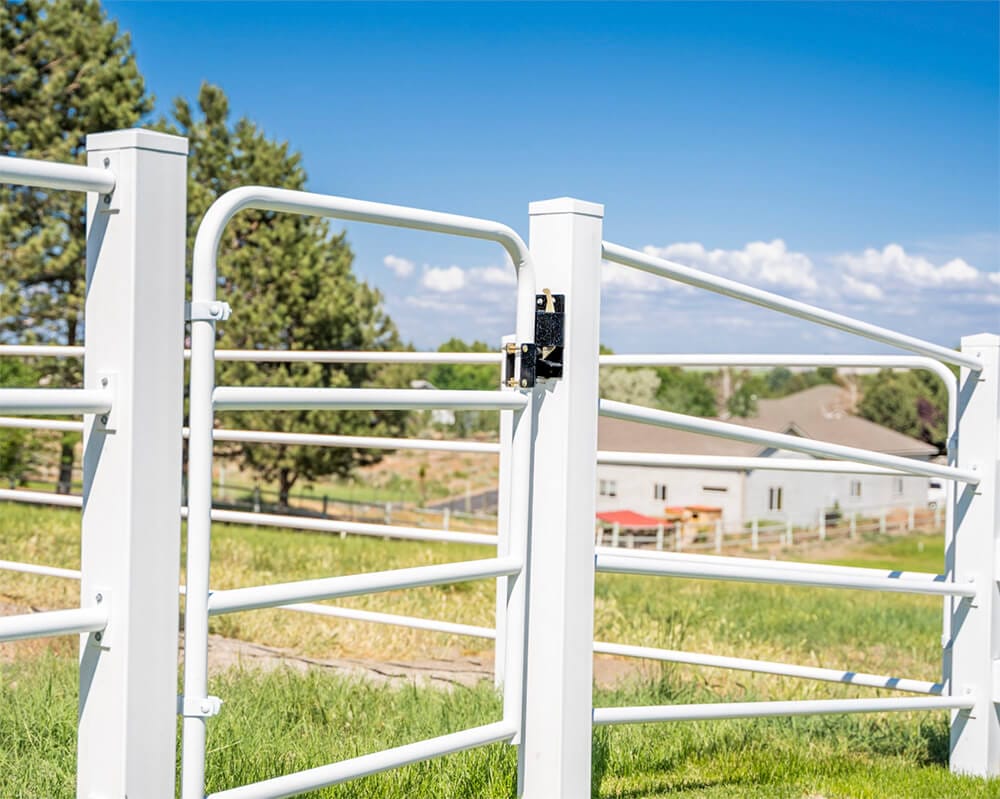
Here’s where the fun really begins. Pipe fencing is like a canvas – you can add gates, decorate it, and make it uniquely yours!
Use your favorite color of pipe:
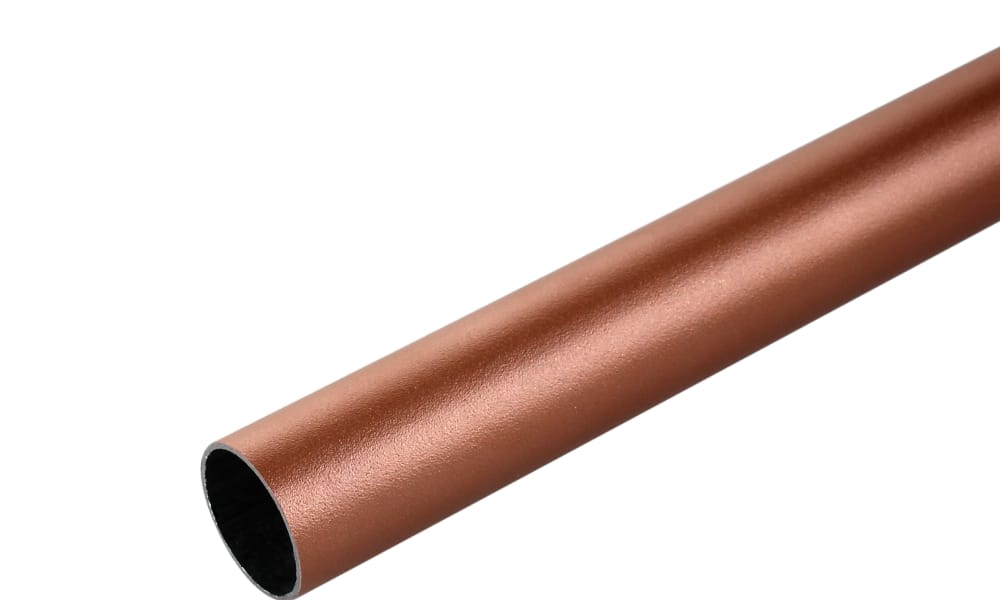
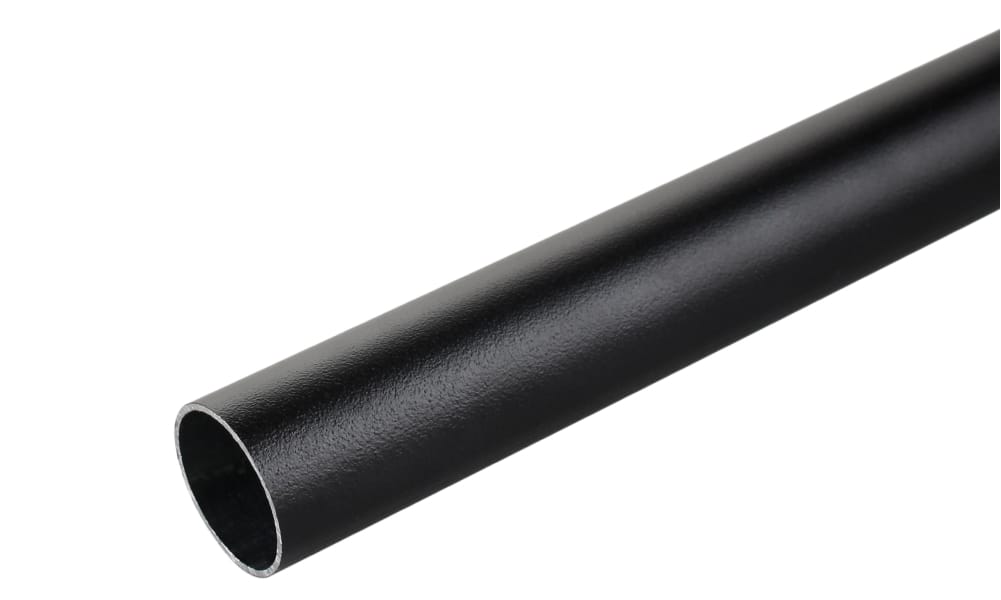
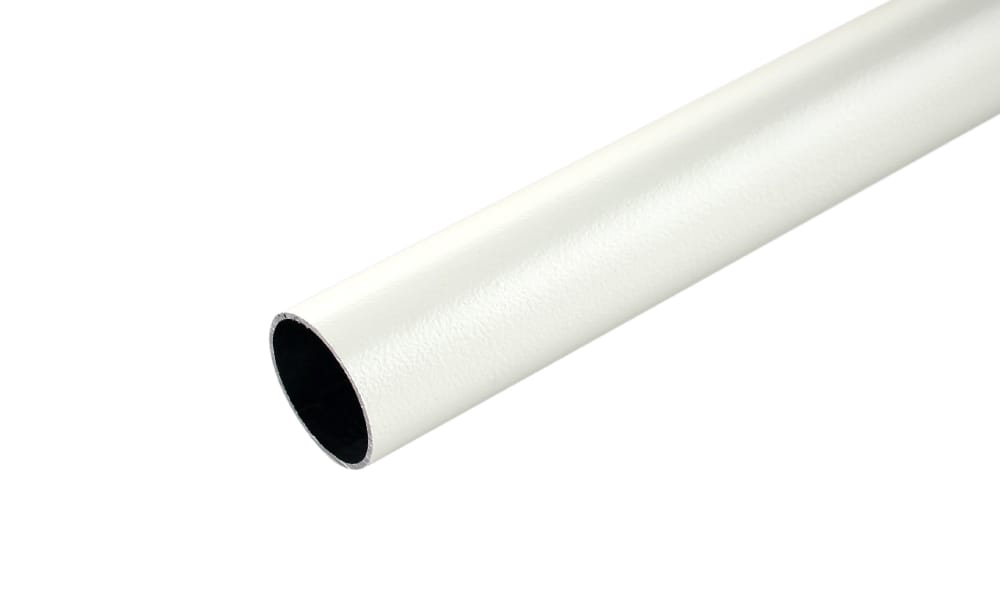
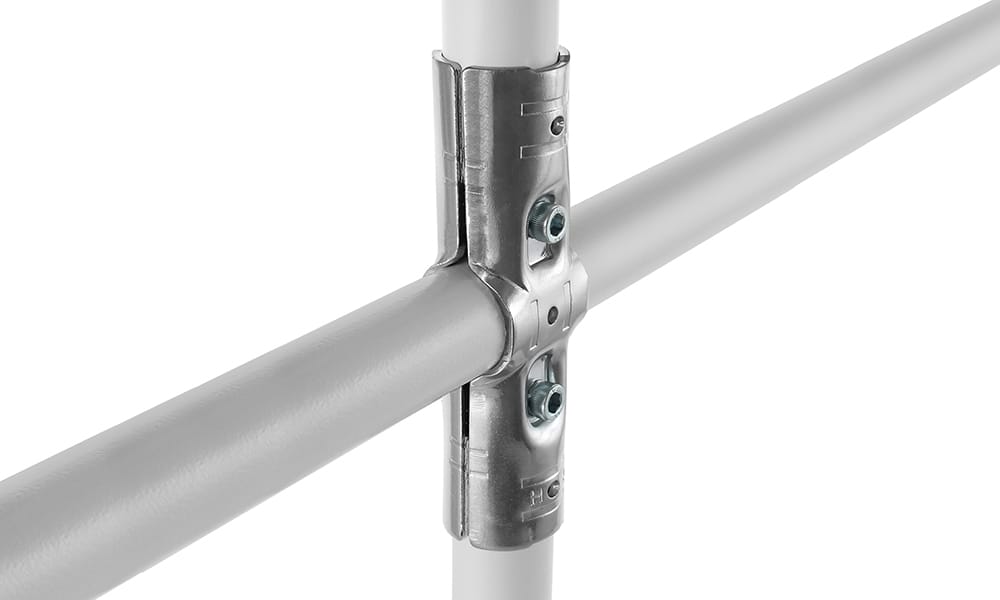
Choose the right type of connector for your DIY fence:
Maintenance and durability: Easy-peasy fence-keeping
What are the benefits of using protective finishes on pipe fences?
Keeping your pipe fence in tip-top shape is a breeze. Regular check-ups, a bit of rust prevention by adding AP-ICAPS at the ends of the tubes, and quick fixes when needed – that’s all it takes. Think of it like a spa day for your fence – a little pampering goes a long way!
Pipe fence design ideas: think outside the fence!
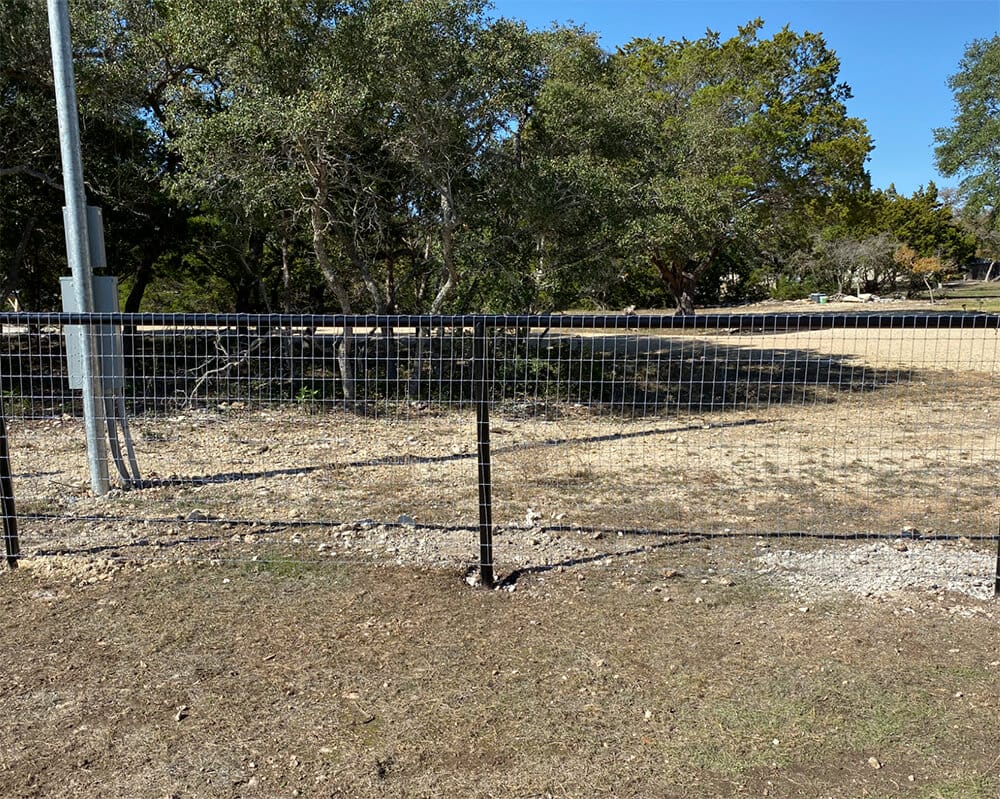
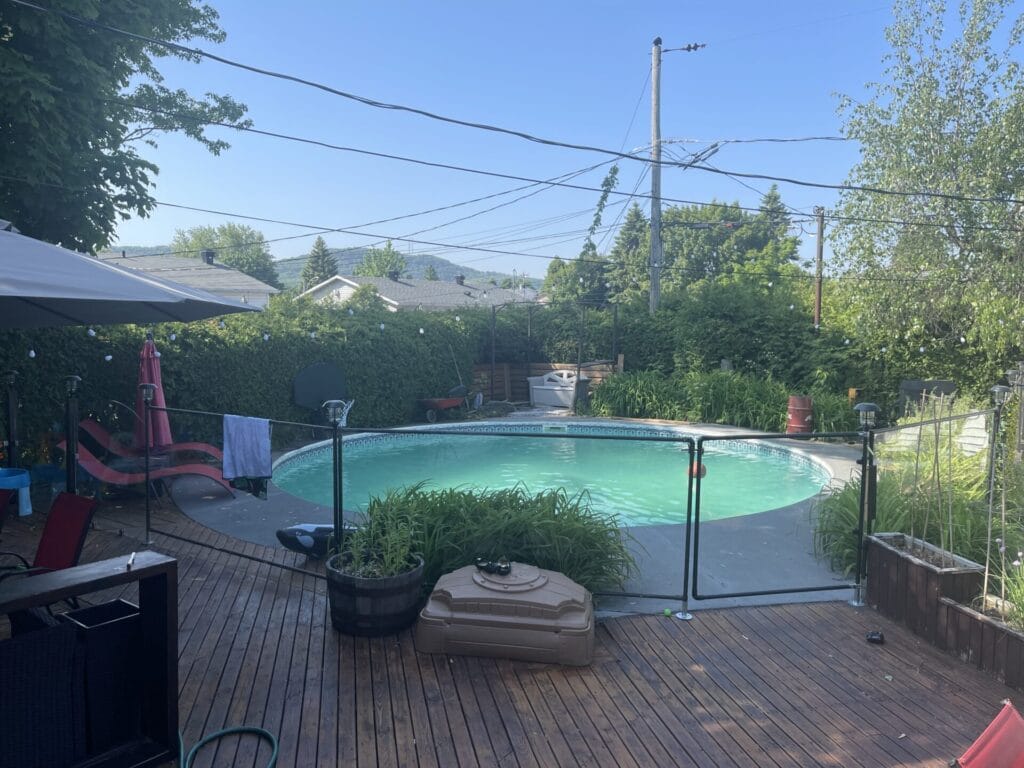
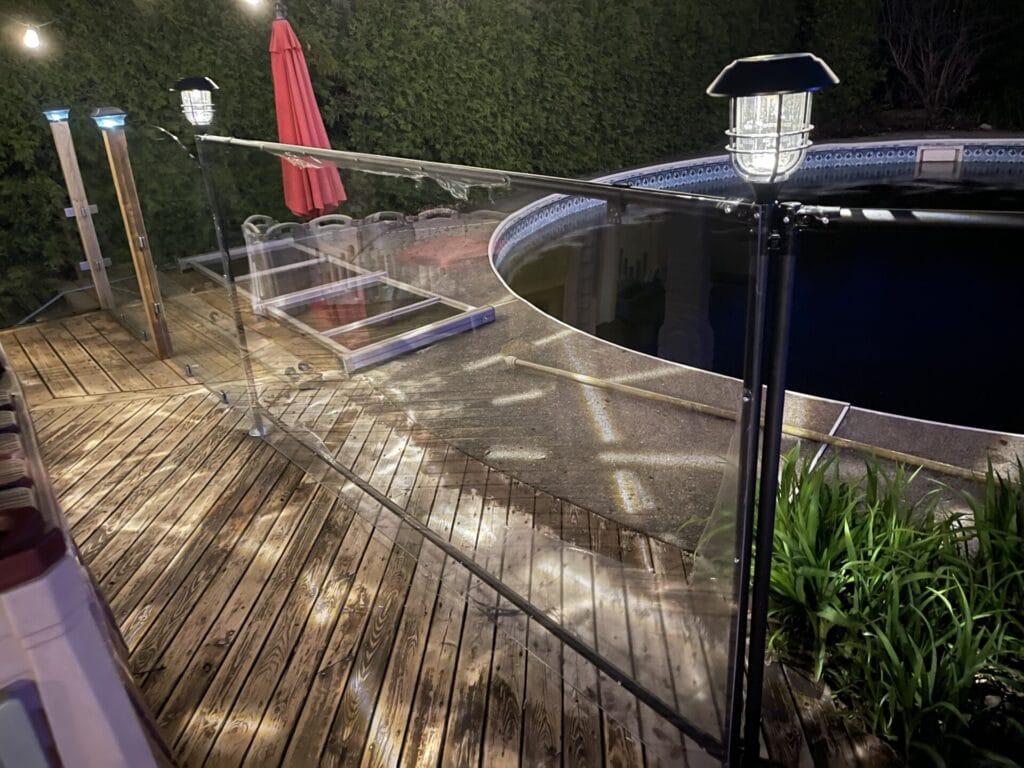
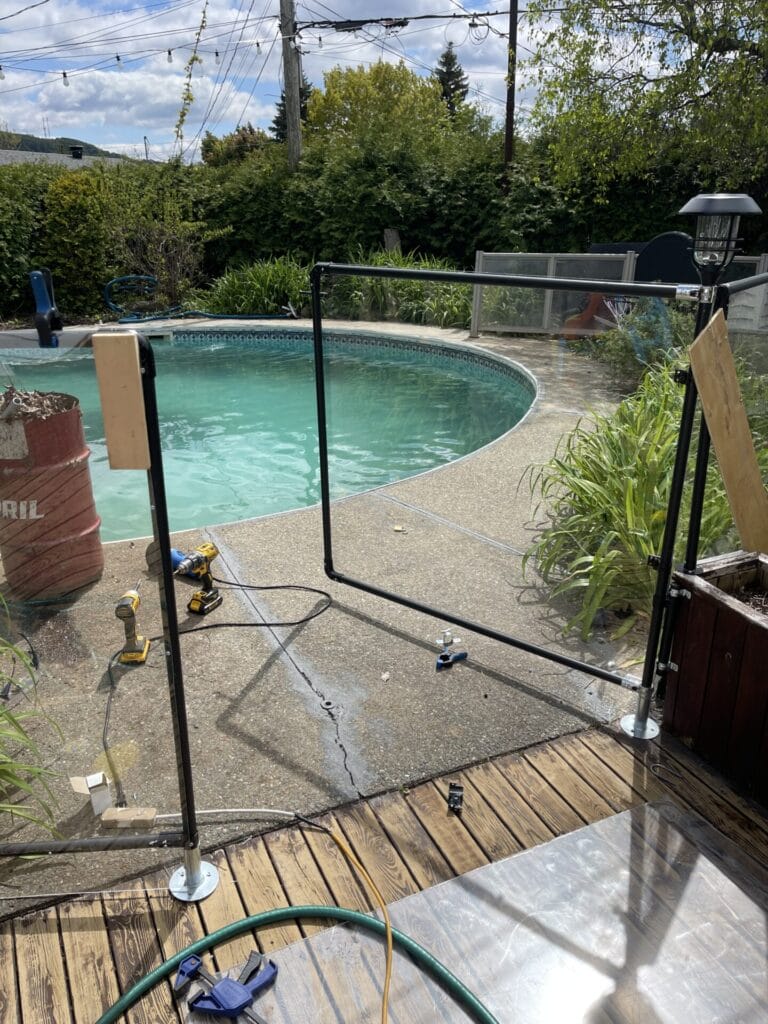
Pipe fence for property: How pipe fencing can be used creatively in various property applications
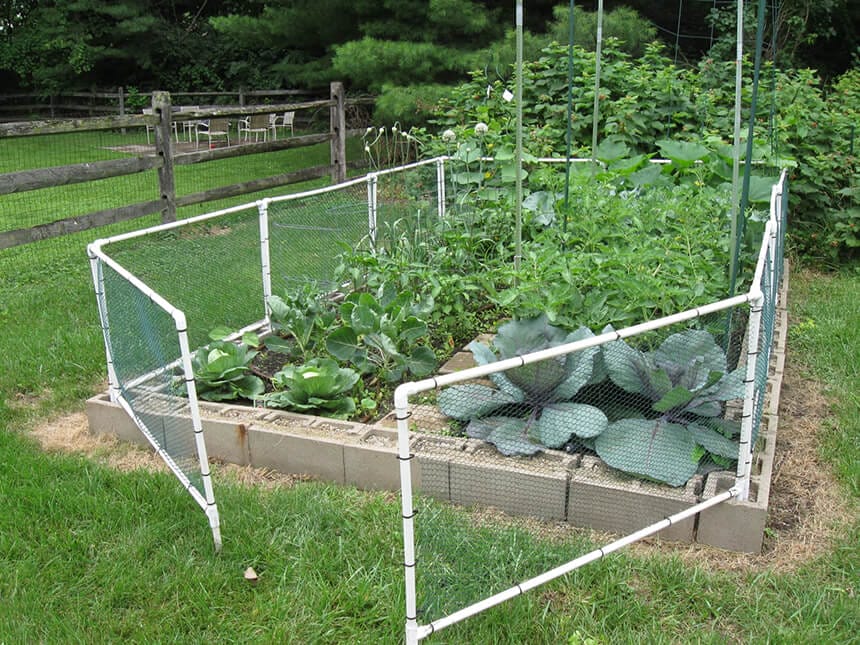
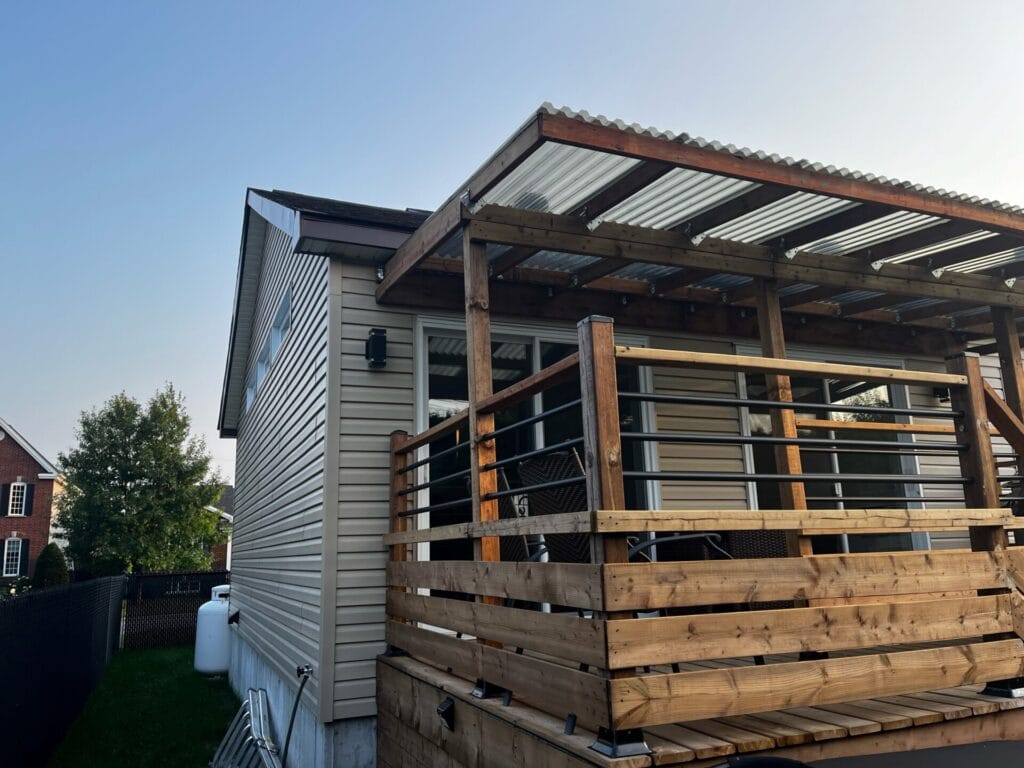
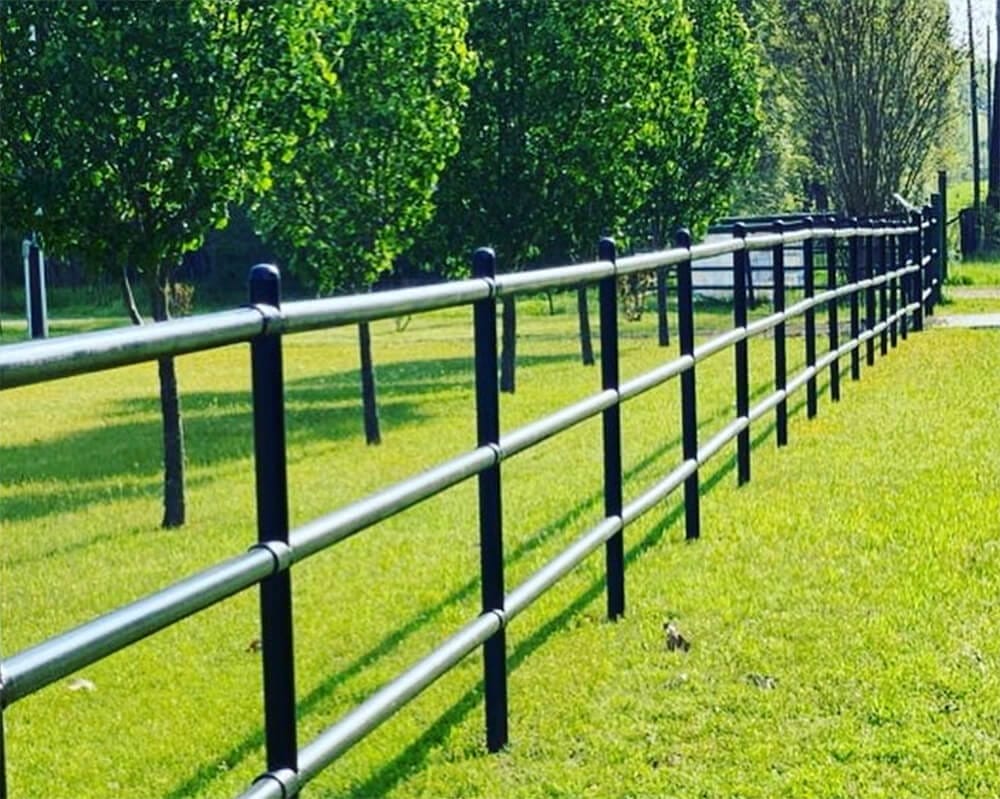
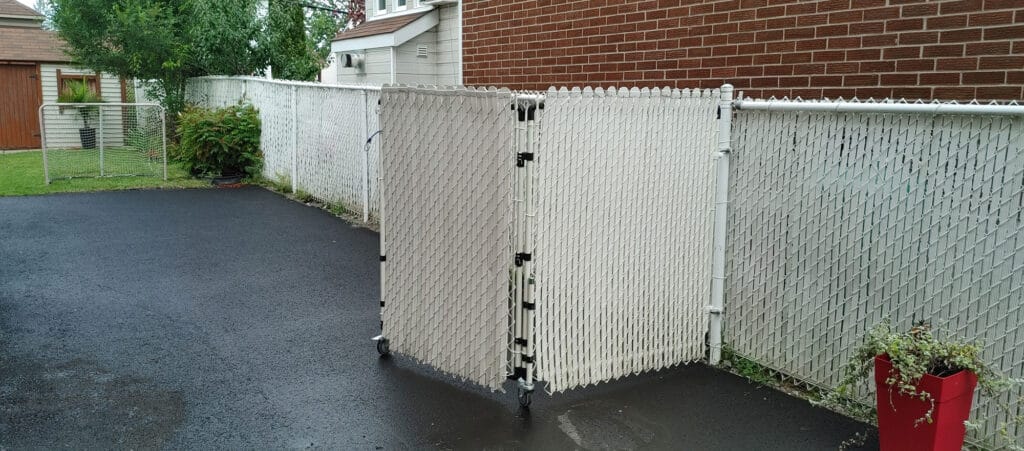
Pipe fencing isn’t just for marking boundaries; it’s a jack-of-all-trades! From poolside perimeters to pet palaces, it’s got you covered. And hey, some folks have even turned pipe fencing into jaw-dropping sculptures and functional trellises. The sky’s the limit!
Budget considerations: DIY pipe fence on a dime
How does the cost of pipe fencing compare to other fencing materials?
Now, we know you’re watching those pennies. Pipe fencing, though, is kind to your wallet. Scoring affordable yet high-quality materials and tackling the installation yourself? That’s what we call a DIY win-win!
To check out all the products and the prices, click the button below:
Wrapping it up, tinktube style
In a nutshell, tinktube pipe fencing is your ticket to a safe, stylish, and seriously fun property upgrade. It’s versatile, customizable, and as reliable as your best buddy. So, whether you’re guarding a ranch or adding some oomph to your backyard, tinktube’s got your back – or should we say, your fence! Get out there, get tinkering, and let your pipe dreams come true.
Happy tinktubing, folks!
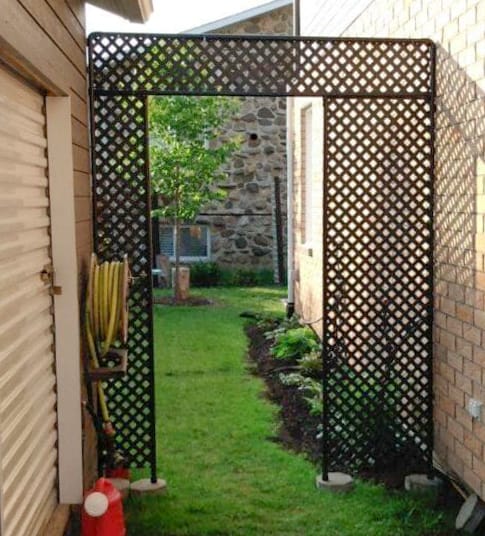
Arbor made by Ian
Ian built an arbor for his frontyard path.
