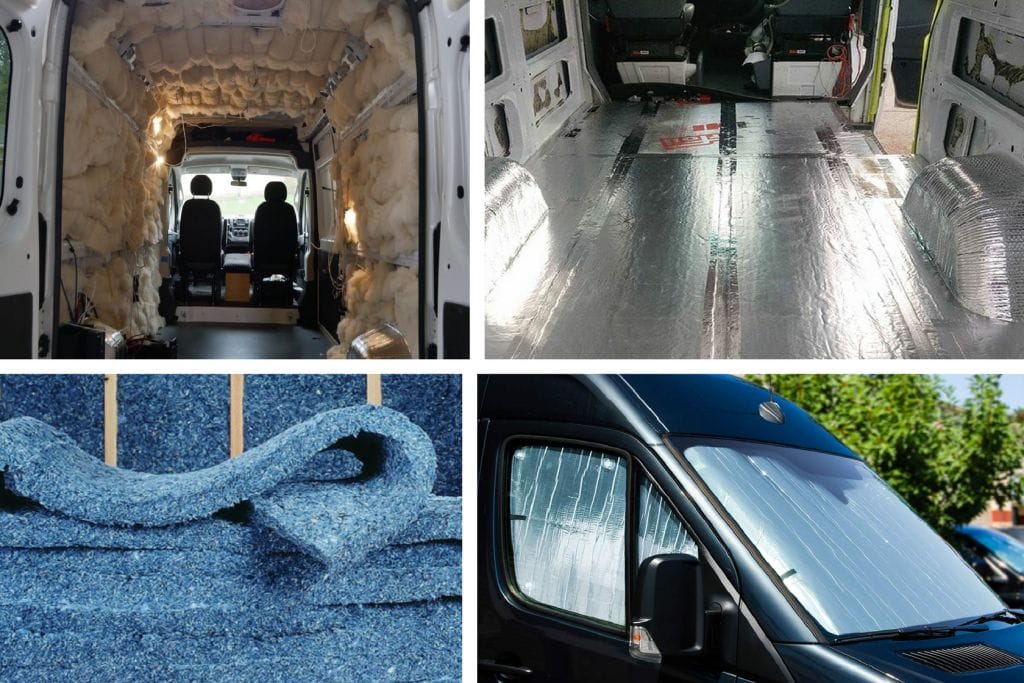
For some people, converting a minivan is the dream of a lifetime. Once you get started on this kind of project, many will admire you…until they realize that you’ll be living in isolation inside 10 square feet for the rest of your life. However, retiring into the middle of nature, requires preparation. After choosing the van model and refurbishing it, you’ll need to focus on insulation!
While not the sexiest step, insulating is still one of the most important. It’s one of the first things to consider when converting a camper van.
Are you planning to drive across Canada? You’ll need good thermal insulation to withstand the harsh temperatures we often face. Are you planning to drive to Central America? You’ll need good insulation to keep the heat out during hotter days.
How does heat transfer work?
You don’t have to be a rocket scientist to know that the windows are a van’s most important natural heat source, allowing sunlight to penetrate inside. This is a good thing if you plan to travel in the winter. On the other hand, windows will become a real source of irritation during heat waves. To keep the interior cool, you’ll need to install reflective window coverings in the summer.
Heat can also be transferred by conduction. When the sun shines on the vehicle, it automatically enters inside. However, the heat is conducted to the outside when it is cold. For this reason, the van’s walls, floor and ceiling need to be insulated.Lastly, by better isolating the van’s ceiling, you will limit the heat transfer by convection. As we know, heat tends to rise. For this reason, covering the ceiling with thick insulation will help retain the heat in the wintertime.
What materials should be used to insulate a van?
There are plenty of materials on the market for insulating a van. Before evaluating your options, you need to think about the space. Because every centimeter you can gain is essential, you must choose a covering that is not too thick.
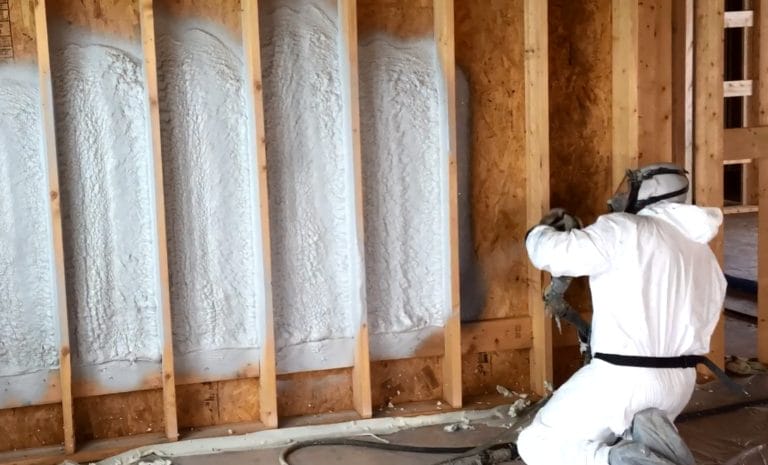
1. Insulating spray foam
Insulating spray foam is called a “good bad idea” because it is difficult to use. It’s a good idea if you hire a professional or are the handy type. It’s a very bad idea if you have no experience with foam insulation.
Insulating spray foam has the advantage of properly insulating the walls of the van, covering the most difficult to access parts. It also has soundproofing properties. If insulation is important, soundproofing is just as important.
2. Rigid insulation panels
Rigid insulation panels are great for covering floors and ceilings, but less so for covering uneven or smaller surfaces. They have the advantage of being easy to install, in addition to being more environmentally friendly than other similar materials.
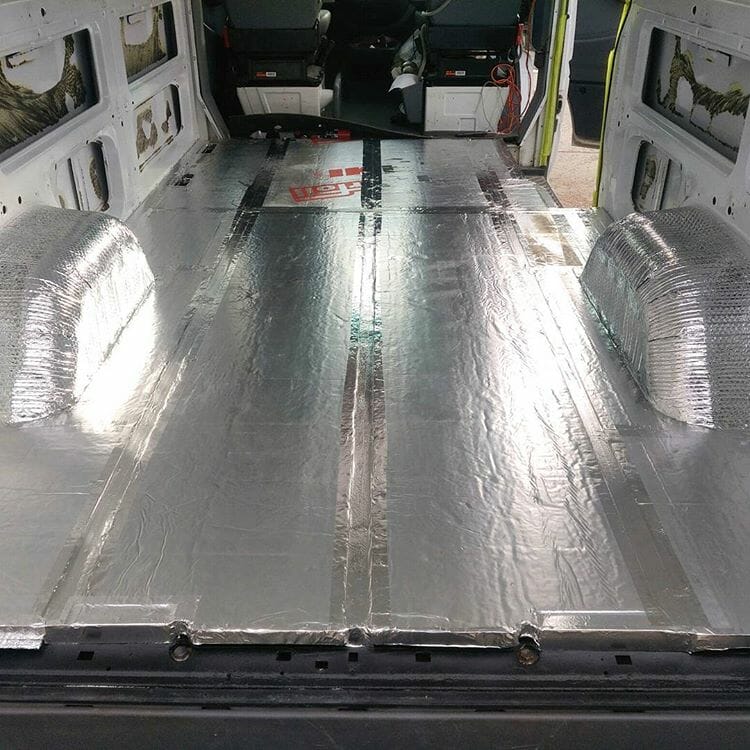
3. Double insulating Reflectix
Most camper vans have Reflectix insulation, simply because it’s easy-to-use and inexpensive. It is used in particular to cover windows, including the windshield, to prevent heat from entering during the summer.

4. Fiberglass insulation
Fiberglass insulation is the type most often seen in homes. It is also suitable for van conversion, as it is inexpensive and creates a moisture barrier.
However, fiberglass insulation isn’t as attractive to install as its contemporaries, simply because it’s more toxic. It’s also thicker…so it takes up more space.

5. Recycled denim
Do we really need to tell you that recycled denim is more environmentally-friendly than fiberglass insulation? If the quality of the materials used is important to you, you should consider this option.
In addition to being a good thermal insulator, it is also the best acoustic insulator on the market. Maybe that’s why it’s more expensive…
6. Thinsulate insulation
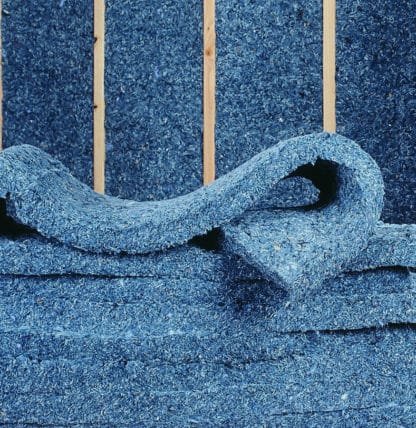
Thinsulate is increasingly popular with van lifers. Not only is it a good thermal and acoustic insulator, but it’s also very easy to install. The other benefit of Thinsulate insulation is that it has moisture-retaining properties.
One of the main drawbacks of this material is that it is not as insulating as other types of insulation, such as rigid insulation panels. You have to double the thickness to get the same result.
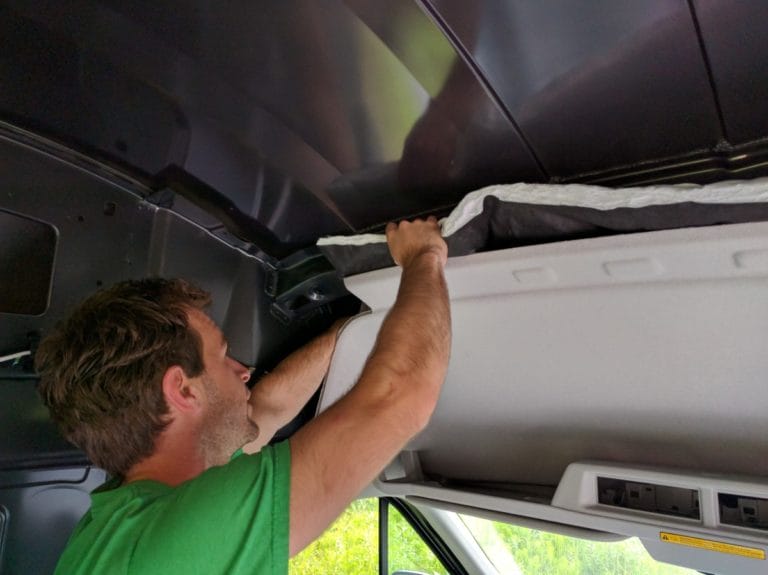
How to insulate a van, step by step
1. Choose the right insulation
There are a multitude of options on the market. The idea is to determine your needs, depending on your destinations and your budget.
2. Insulate doors and windows
Air enters directly through these areas, so this step is essential. You can use fiberglass or recycled denim to insulate doors and windows.
3. Anticipate wiring, ventilation and fixtures
Where will you install the ventilation, electricity and light fixtures? Before insulating large areas, figure out where the wiring will be located.
4. Insulate the floor, ceiling and walls
To do this, you’ll need to draw a detailed plan. After taking the measurements, the simplest technique is to cut out templates on a sheet of cardboard, which will be used to cut the insulation.
5. Use a foam sealant
Once the insulation is complete, you’ll notice that there are some gaps here and there that couldn’t be filled. Use the foam sealant to help you fill uninsulated cavities.
And once your van is insulated…
To help vanlifers in their van conversion projects, we’ve prepared a guide where you’ll find useful information on all things van-related!

