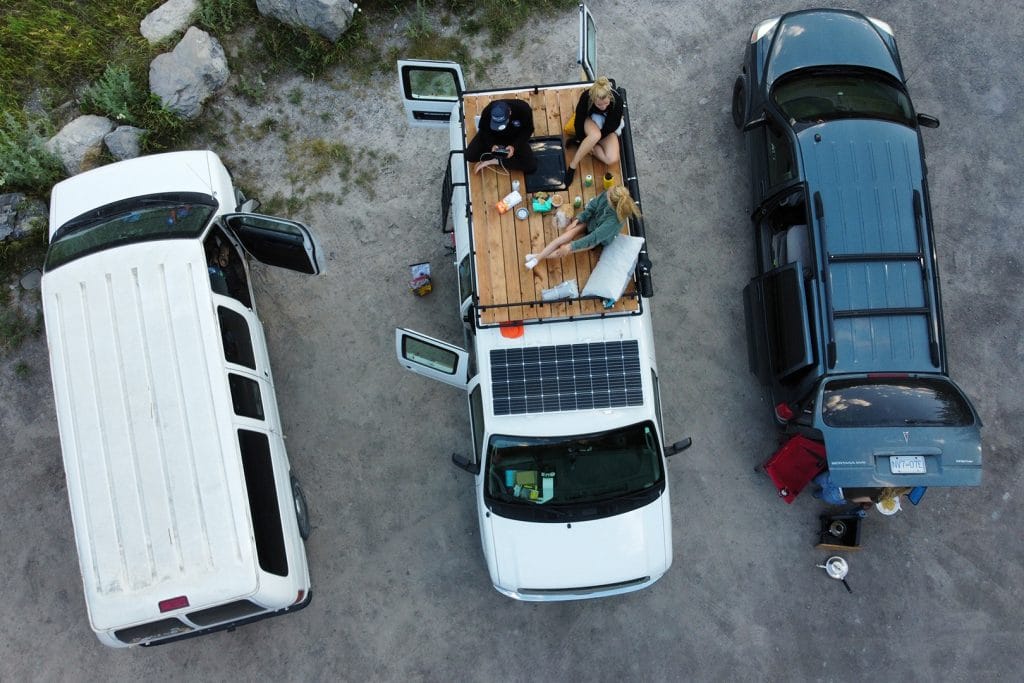
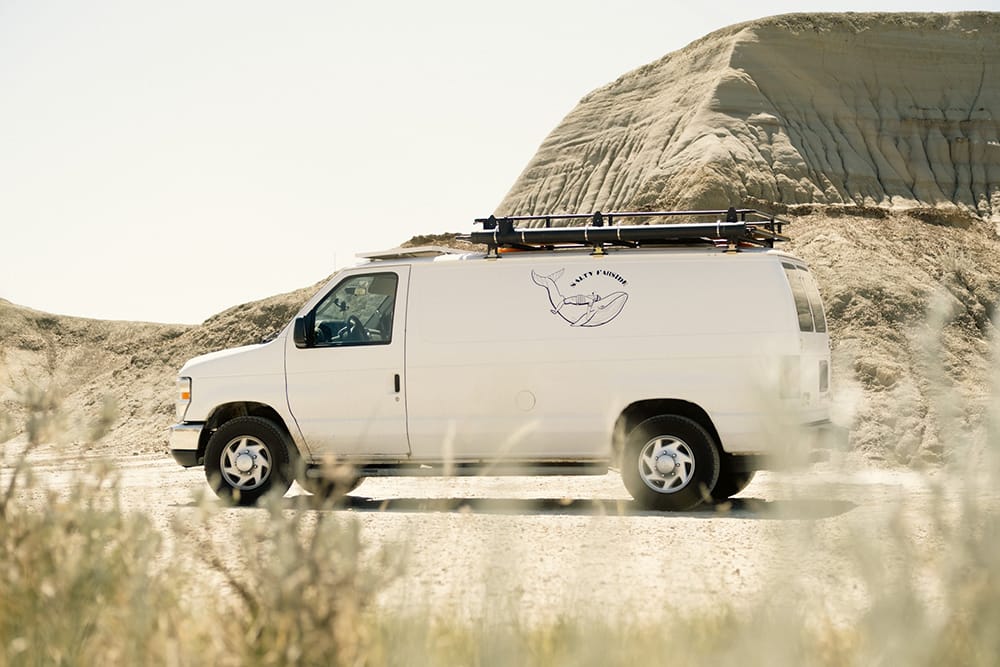
You know the saying when life gives you lemons… Well, let’s just say that this story is about two young ladies who made a hell of a lot of lemonade. The lemonade in question includes a van baptized Salty Farside, a DIY van roof rack, and an exciting road trip across Canada. Intrigued? Keep reading!
How the van conversion project was born
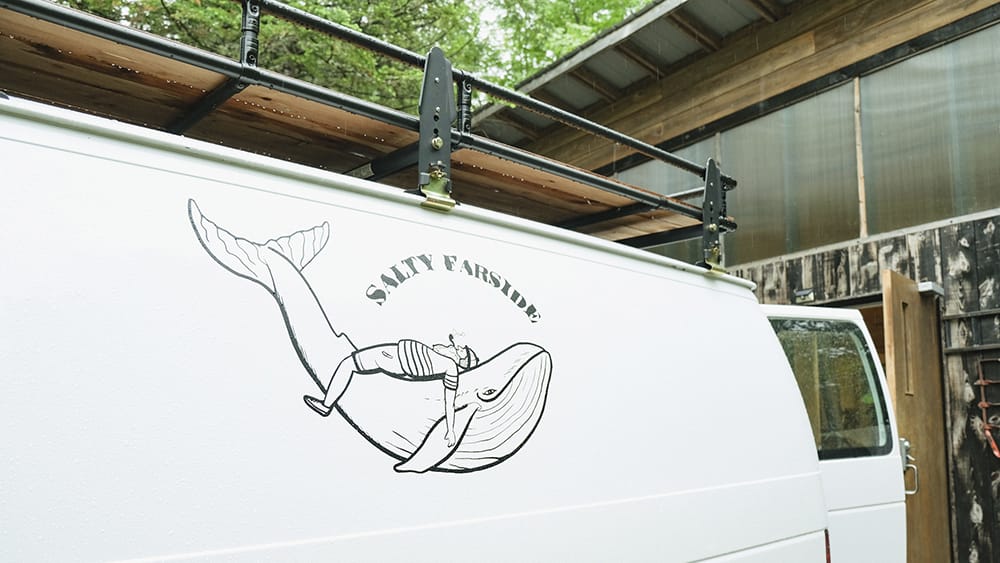
Constance and Maylis had big plans coming up. Between getting their degree and conquering the job market, they wanted to go to British Columbia for a surf trip. They would drive across Canada in a van they’d just bought. All they had do to first was convert it for vanning, take the road and live their best life!
Shortly after buying the van, they both had accidents which left them physically unable to surf for a long while. Constance fell while skiing -the fall was so bad she had to have an operation to get back on her feet- and Maylis severly injured herself doing athletics.
Talk about some weird timing of life, huh?
Instead of giving up the whole trip, they adapted their plans. They would still move forward with their DIY van conversion project. They would still do a road trip across canada… And they would replace surfing in BC by exploring Yukon, Alaska and Canada’s Northwest Territories -still a pretty sweet lemonade, if you ask me-.
Challenges met in their DIY journey
Constance and Maylis started searching for van conversion ideas and got to work.
1st challenge encountered: In Montreal, you can’t build projects in the streets, so they had to find industrial areas with deserted parking lots to work on Salty Farside. Believe it or not, they used about 3 tools to build their entire van: a screwdriver, a drill and jigsaw. Since they were not very familiar with woodworking, there were many trial and error phases throughout the build.
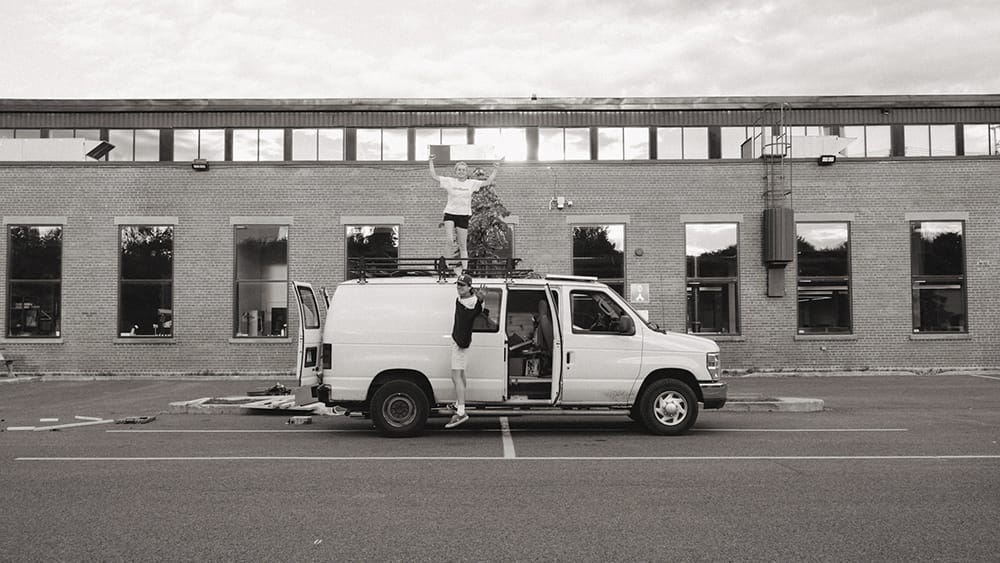
2nd challenge: They faced another challenge when building the van roof rack. They tried to find a welder to fix the parts of the rack together, but all the professionals they found in the area were either too busy or refused to work on their project, because it was not of a standard size.
3rd challenge: The last -but not least- challenge they encountered was the cost of the project. A traditional van roof rack that would have been welded could cost about 4500$ alone! That’s a lot of money when you’re fresh out of school.
Building a van roof rack with tinktube is cheaper than buying one
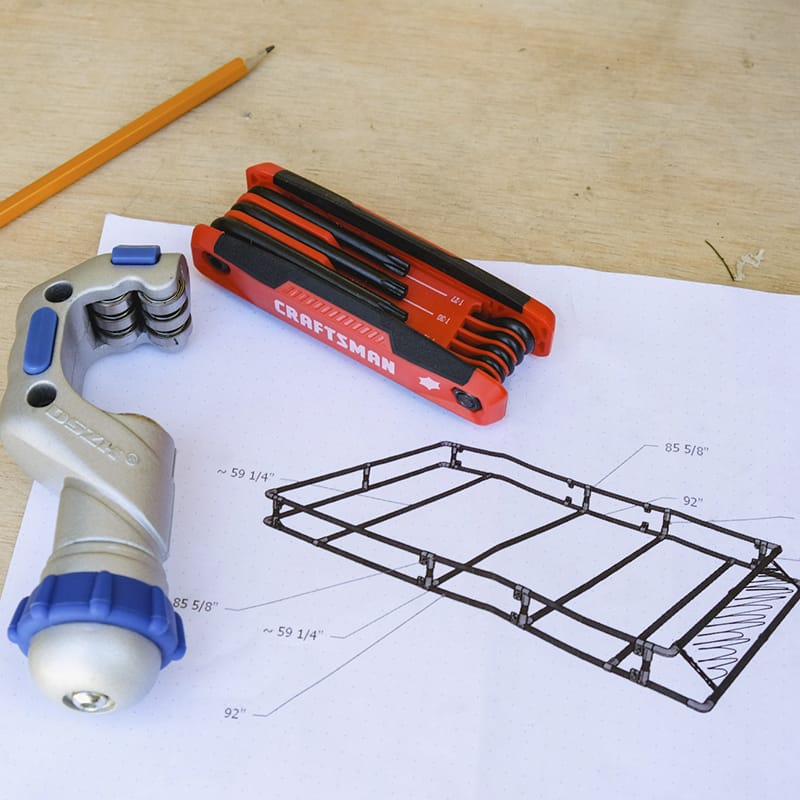
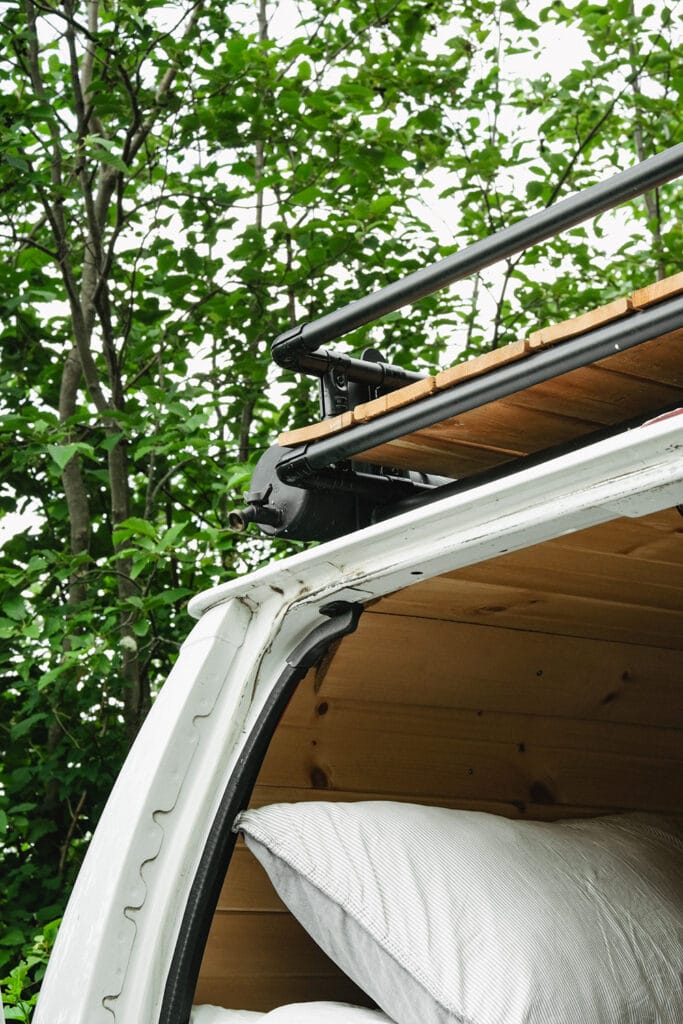
Constance and Maylis started looking for options. When they found a fellow vanlifer on Facebook who had built his roof rack with EMT conduit and connectors, they got inspired by his idea. They searched online and found tinktube, so they reached out! They booked a free 15 minutes call with Esteban, who helped design the plans of the rack and gave them advice on the best parts to use to make their project as safe and sturdy as possible!
The DIY van roof rack came with many benefits:
- They were able to customize the plans and adapt the shape of the rack to fit the exact configuration of their van, which is slightly larger in the front than in the back.
- They were able to fix a solar shower on the side of the rack and considered adding a solar panel at the front.
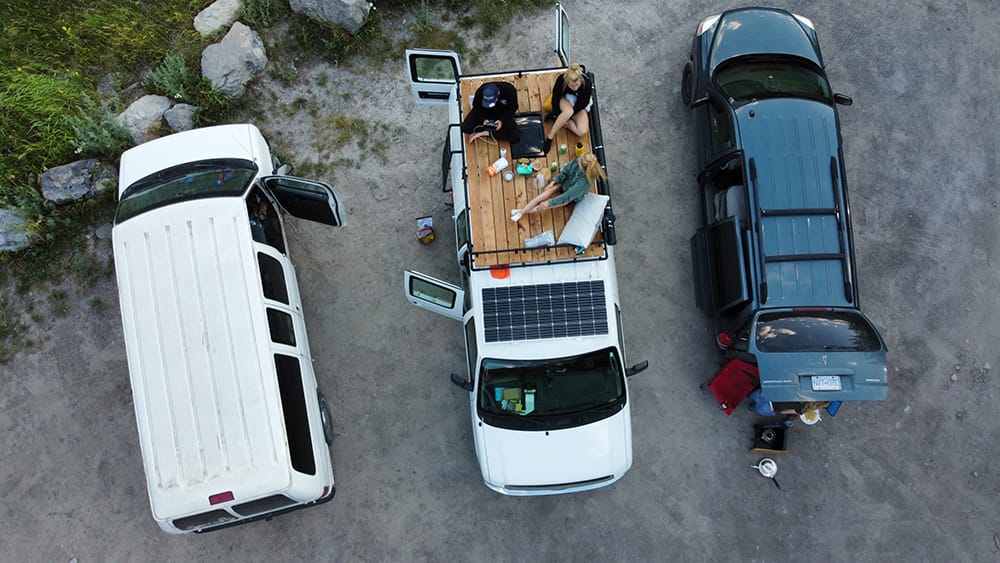
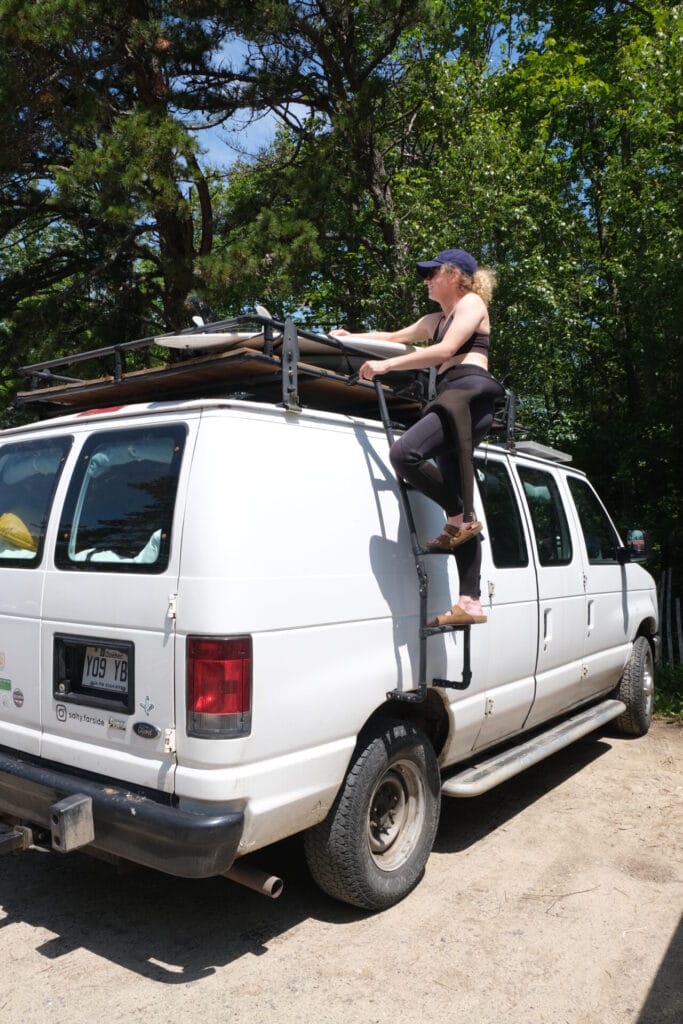
- They created a space on the roof with a terrasse: the best place to snap the best pictures, take an evening aperitif or even sleep!
- They finally got a perfectly good DIY rack for a fraction of the cost of a traditional, welded van roof rack.
The other accessories and materials needed if you build a DIY camper roof rack
Apart from tinktube’s pipes and fittings, Maylis and Constance bought a few accessories to finish their build:
- Roof crossbars from an auto parts retailer
- A ratchet set
- Treated wood slats
How they built their van rack
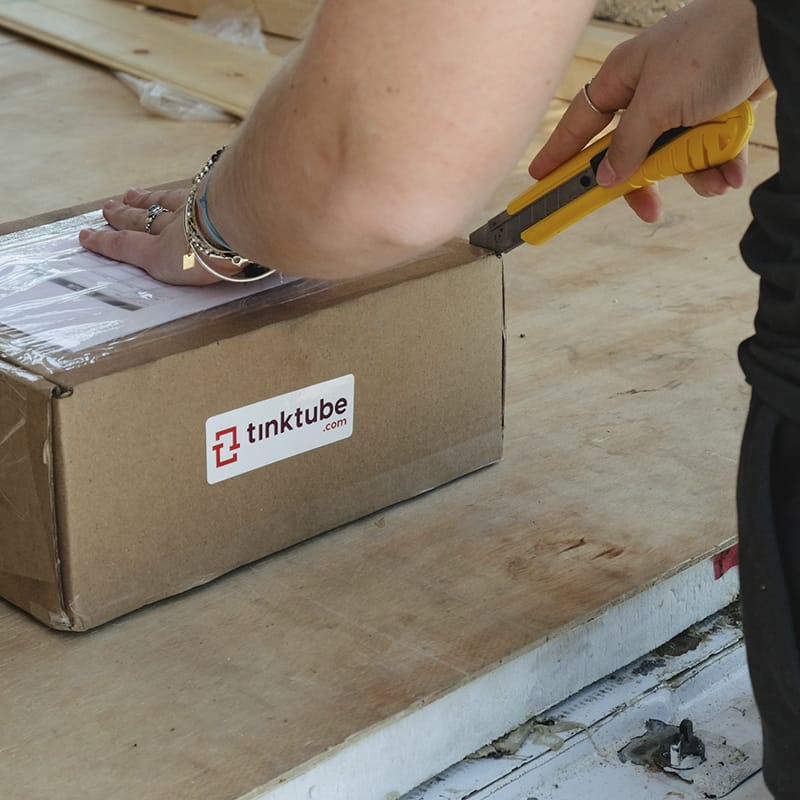
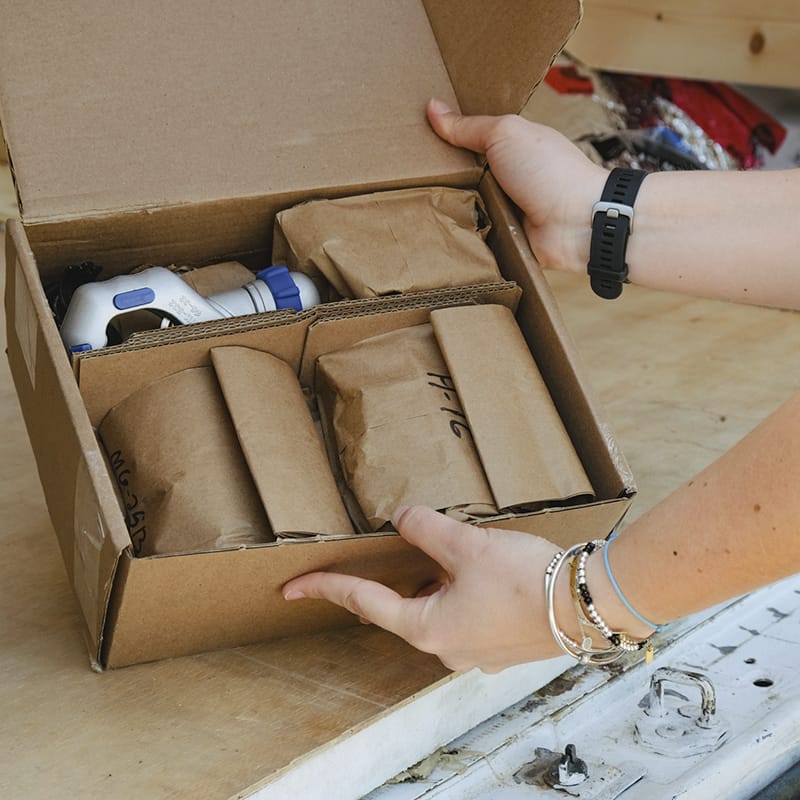
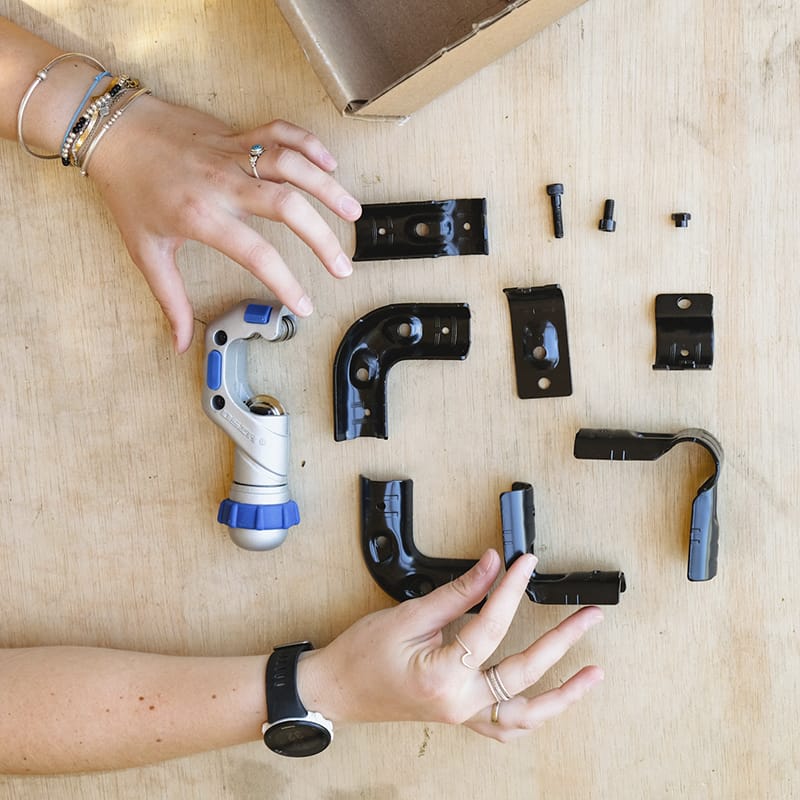
Once their tinktube order was delivered at their doorstep, they started by organizing everything. They sorted the tubes and the connectors in a way that would make it easy for them to locate the parts they needed along the building process. Then they took out their plan and started to cut the tubes using the pipe cutter, which Constance recalls: « …is very easy to use and leaves almost no dust or residue behind ».
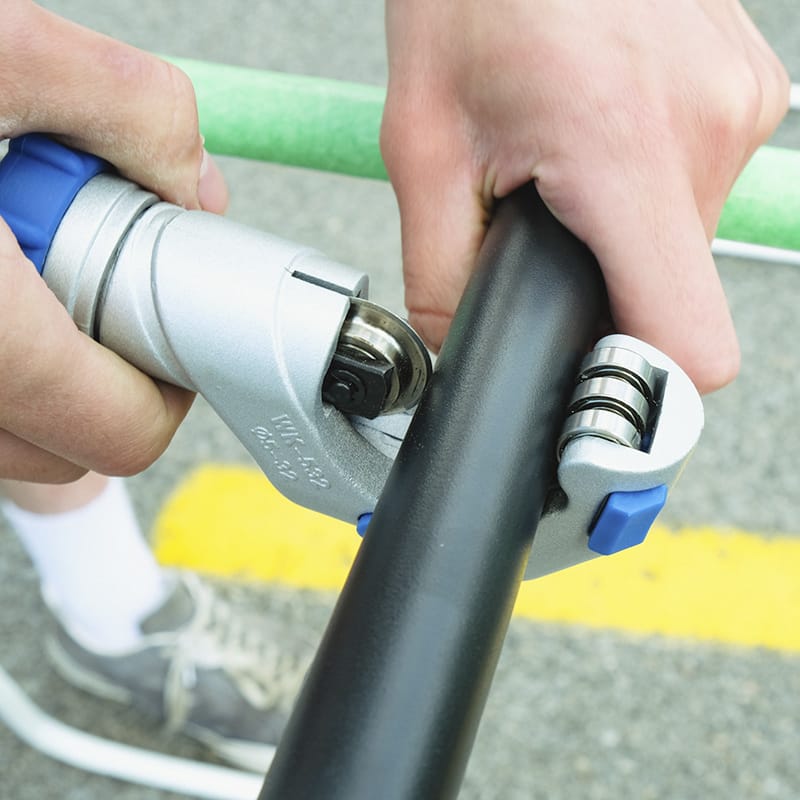
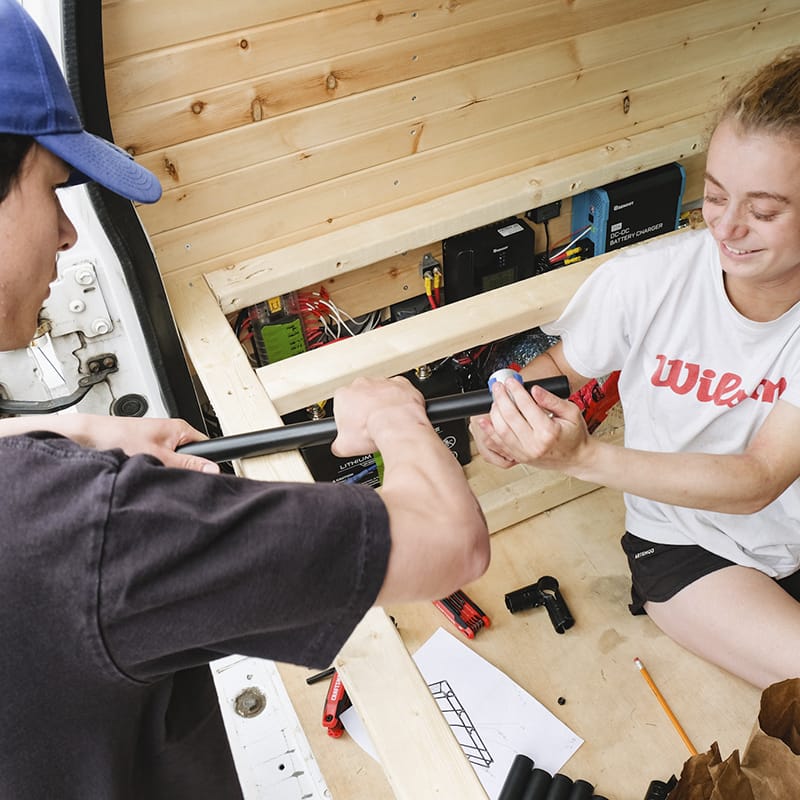
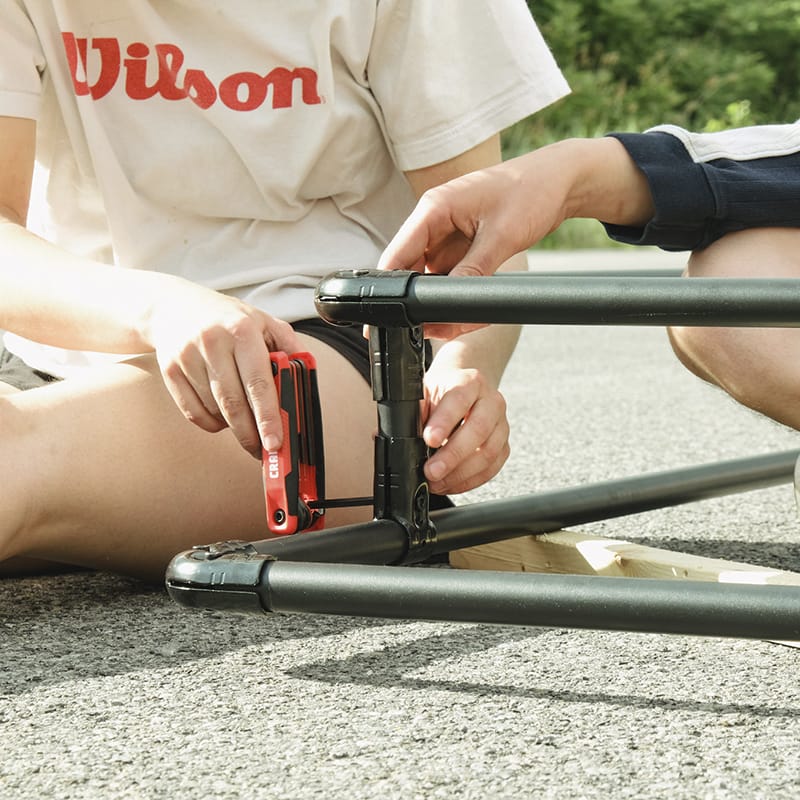
Then, they assembled the parts together. They started by putting together the 2 main parts of the rack on the ground, then moved forward with the smaller parts. Once most of the rack was assembled, they brought it to the roof and fixed it to the roof crossbars.
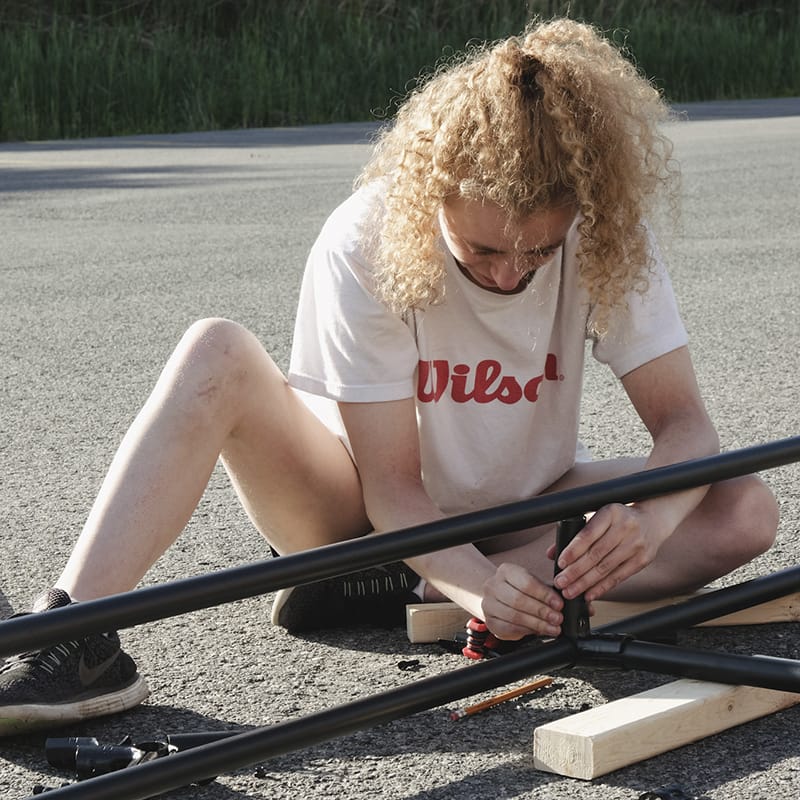
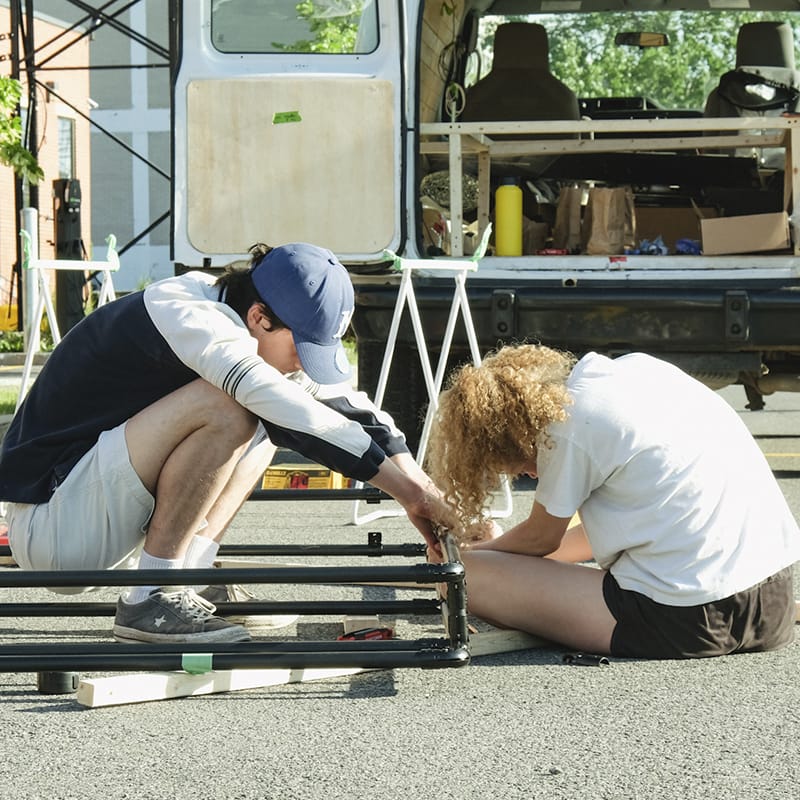
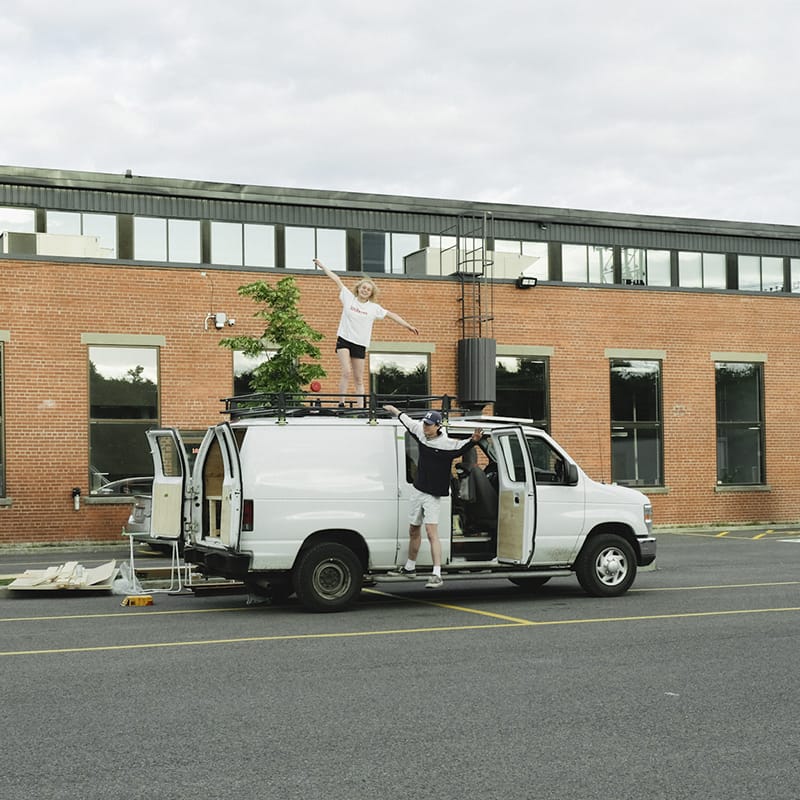

They last step was to fix the wood slats to the van roof rack with self-tap screws.
West bound: Let Constance and Maylis’ vanlife begin!
It took Maylis and Constance about 3 months to build their entire van from start to finish. As you read these lines, they are probably driving past the beautiful landscapes of Canada with Salty Farside, making the most out of their DIY camper roof rack, sleeping under the stars whenever they feel like it!
If you are thinking about or already working on a van conversion project, this complete guide to DIY van conversions will inspire you and bring you the knowledge needed to start or improve your building process!
Quick update: July 2023 news
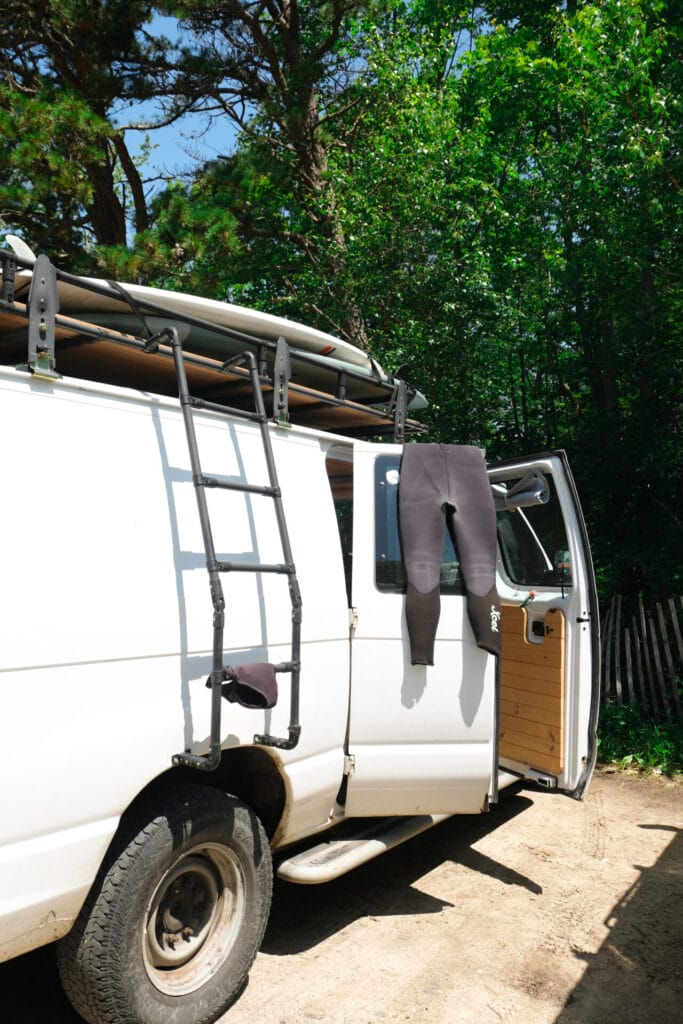
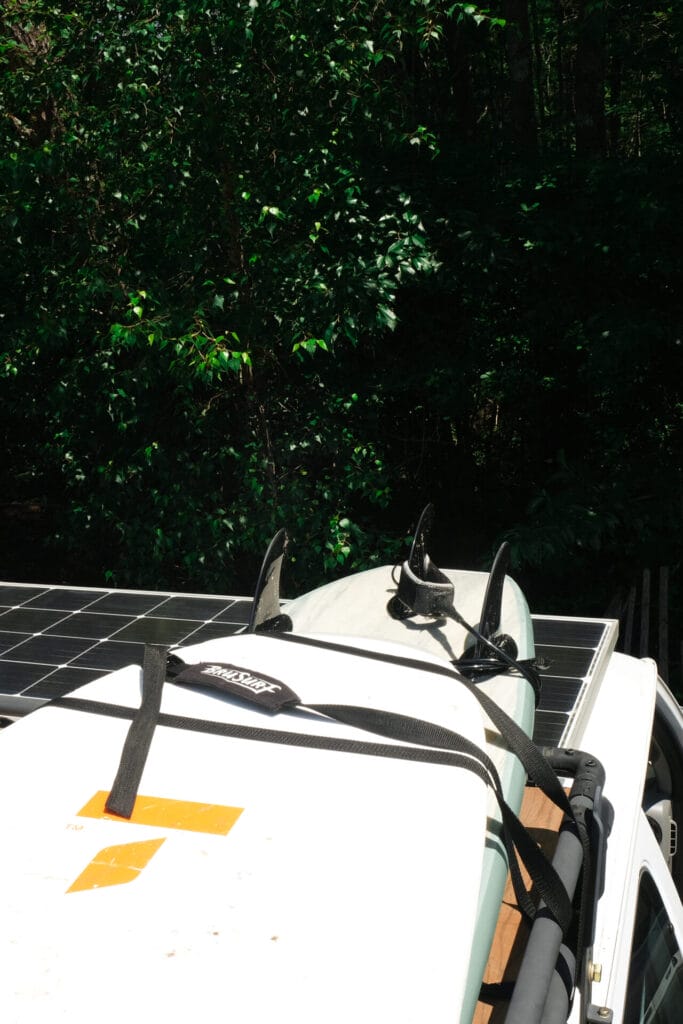
Salty Farside’s adventures continue! Maylis and Constance left for Maine in June 2023. So far, they really use their tinktube DIY roof terrace to its full potential! Drinks, surf rack and naps follow one another to the rhythm of their roadtrip.
Arbor made by Ian
Ian built an arbor for his frontyard path.
