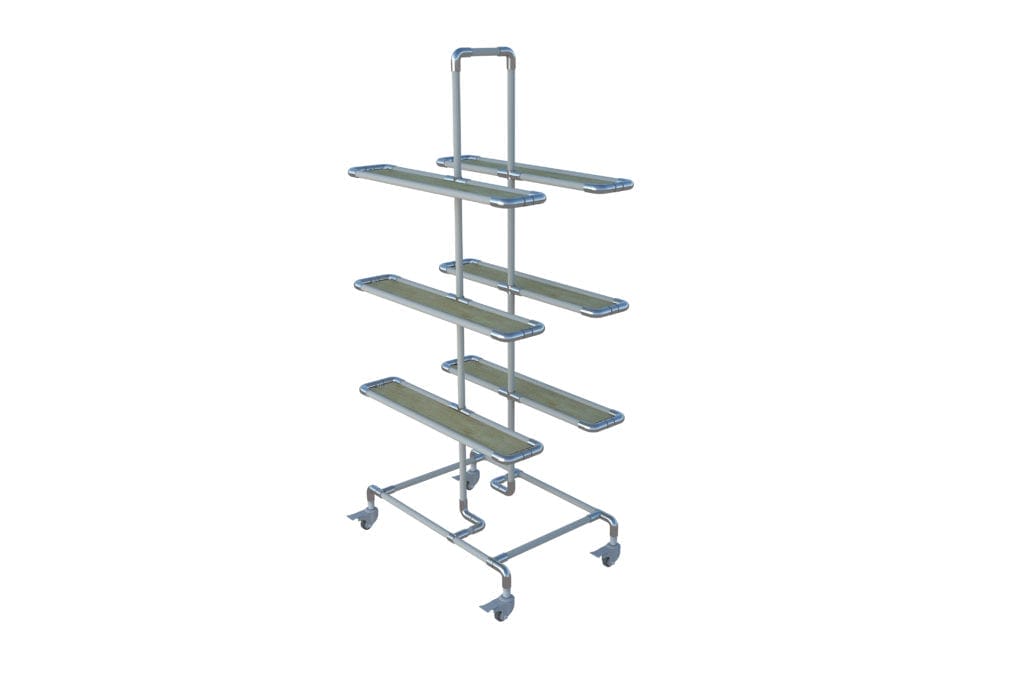
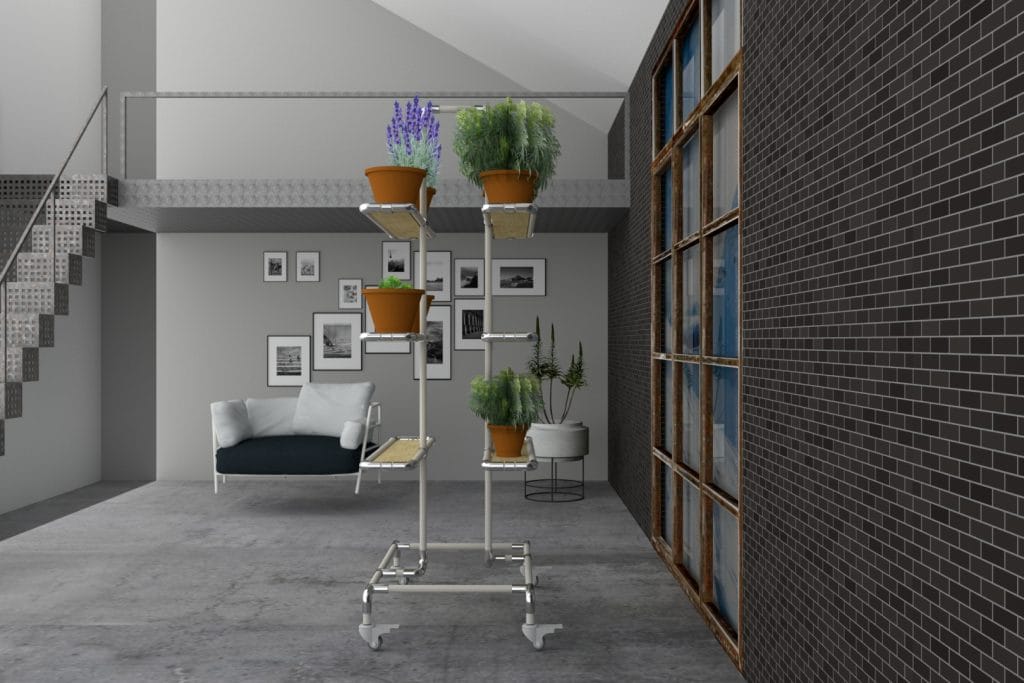
Give your plants the space they deserve by building your own DIY planter stand! This easy and simple design can be adapted to any environment and built in under 2 hours -maybe less, if you are an experienced tubetinker!
You can choose the color of tubes you prefer on our online shop or even paint them! You can even move the structure outside once your plants are ready, just remember to protect the DIY planter stand and not use galvanized pipes if you plan to eventually use your planter outdoors –this article will help you design, build and protect your structure for outdoor use-! If you decide to build this project, we’d be absolutely thrilled to see some pictures! Please send us your pics at [email protected] and we’ll be happy to send you a 10% OFF promo code to thank you!
This free plan includes all the instructions you need to build your project or adapt it however you want. You can then buy all the parts online, including the few tools you’ll need to cut the pipes and assemble the fittings. Let the fun begin!
1. The parts you’ll need
Before starting to build your project, make sure you already have the following parts at home:

| Qty. | Part | SKU | Link |
|---|---|---|---|
| 8 | 92″ White Pipe | PT-92-WH | Buy now |
| 34 | 90° Elbow joint set cr | HJ-90NP | Buy now |
| 4 | 3 way cross joint set cr | HJ-4NP | Buy now |
| 12 | Flat clamp joint set cr | HJ-15NP | Buy now |
| 1 box | 1/2″ Screw for accessories zinc | FA-S81/2 | Buy now |
| 6 | T-joint set cr | HJ-1NP | Buy now |
| 4 | 2″ swivel caster w/brake | W-2ESTB | Buy now |
2. The cut list
To make your life easier, here’s the cut list to create this DIY planter stand! This is where you’ll need a T-cutter, if you don’t already have one. And remember: everything is adjustable, so customize it however you need!
| Qty. | Length (inch) | Length (centimeter) |
|---|---|---|
| 2 | 69 1/4″ | 176 cm |
| 6 | 34 1/2″ | 88 cm |
| 2 | 33 1/4″ | 84 cm |
| 2 | 20″ | 50.8 cm |
| 12 | 16″ | 40.6 cm |
| 1 | 7 1/2″ | 19 cm |
| 14 | 4″ | 10.2 cm |
| 2 | 3 1/2″ | 8.8 cm |
| 4 | 2 5/8″ | 6.7 cm |
| 2 | 2 1/2″ | 6.4 cm |
3. The build (the fun part)
Now that all the pipes are cut and you’ve gathered all the connectors, you’re ready to start building your DIY planter stand!

First, you’ll build the structure. After that, you’ll get to choose the surfaces you want to add to your planter to build the shelves. You’ll find great options at your local hardware store like Home Depot or Ace!
The tinktube joint sets are assembled with bolts that require one of the following tools -you might already have this at home-:
| Tool name | Number | Link |
|---|---|---|
| Hex drill bit set (x5) | T-BIT | Buy now |
| T handle wrench | T-HANDLE | Buy now |
4. You’re ready to go… and grow!
Basil, lavender or ZZ plant, the choice is yours! In conclusion, all you have to do now is get ready for gardening 😉 For a little inspiration to find which plants to grow, here are the 35 best indoor plants, according to House Beautiful!


