Many people are excited by the joys of camping. If sleeping under the stars with the insects and taking an icy-cold shower in the early morning gives you the drive to enjoy nature at the end of an open road, surely you’ve had the idea of buying an old van to convert into a camper. But, if you’re here reading these lines, it’s because your great ideas have their limits. This guide will help you learn how to install electricity, water, and plumbing.
Before converting a van into a camper, there are certain things that must be done. For example, you can’t modify “automotive components” certified by Transport Canada. You must also keep the two front seats.
For the rest, you can rip things out of the van to your heart’s content, and it’s a great time to blow off steam! Once all that is left is the structure (because it is recommended not to destroy the roof), you can redesign the camper, installing a custom shower, a retractable awning or a sofa-bed.
Installing electricity in a camper
How much electricity do you use?
In order to design an efficient electrical system, you must first know your usage. You should make an exhaustive list of all the electrical appliances and equipment you use, including heating, lighting, the refrigerator, the water pump, etc. You also need to determine the number of hours you’ll be using them.
If your wires just crossed while reading this, we’re with you wholeheartedly! But don’t panic, because you’ll find a very simple calculator right here.
What power source will you use?
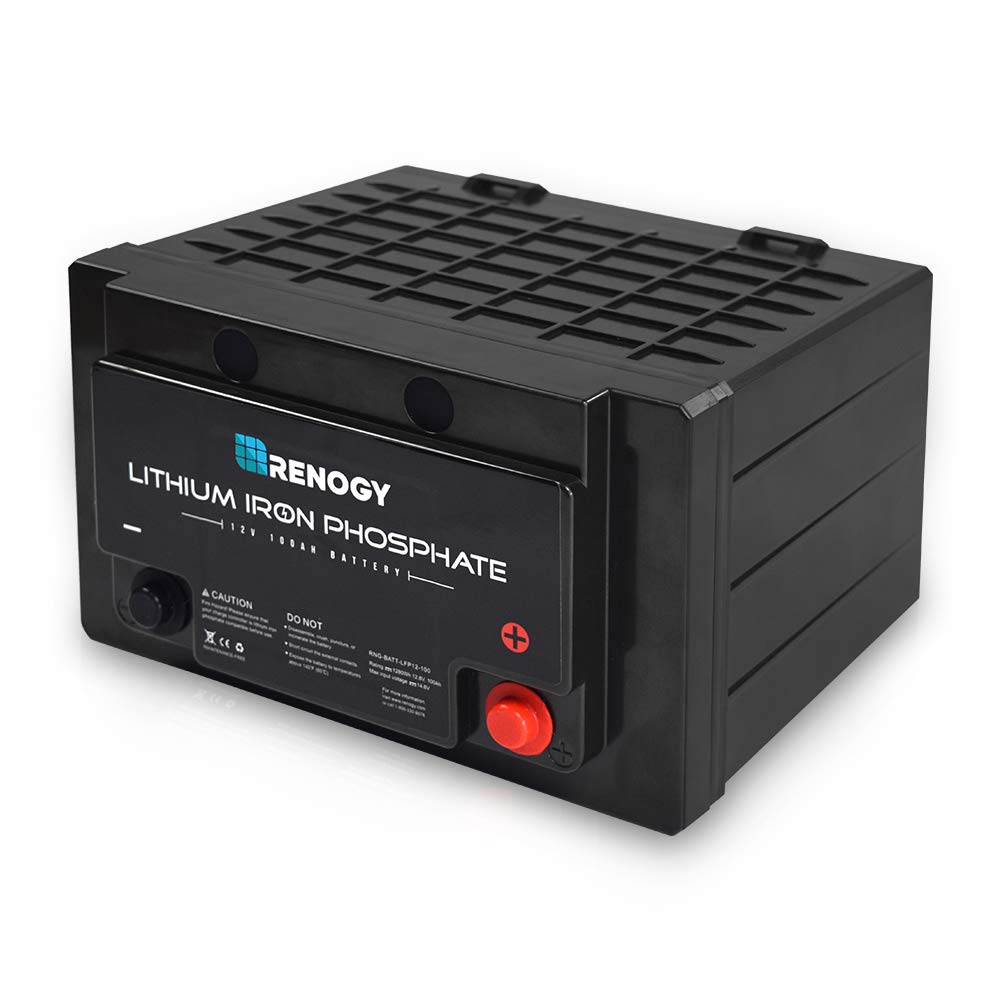
After determining your tolerance for cold, you’ll need to decide how to power your camper. For a long time, propane has been used as a source of heating and cooking for campers. Today, to supply themselves with electricity, vanlife enthusiasts are choosing batteries. The most popular batteries are lithium, AGM, and lead-acid.
- The lithium battery is the big favourite! It’s lighter, less bulky and more resistant than its contemporaries. But it’s not just its lifespan that is significantly greater…its price is too!
- The AGM (Absorbed Glass Mat) battery does not require any maintenance and does not wear out quickly. Almost all of its components are recyclable, which makes it a desirable ecological choice.
- The lead-acid battery is often chosen by consumers because of its low price, but it can also be a good option for camping.

How to power a camper?
Roughly speaking, there are three ways to generate hot water when enjoying the vanlife. It is always recommended to have two batteries at your disposal.
Connect the battery to the van’s alternator
When the van’s engine is running, you can charge an auxiliary battery. To do this, you can use a coupler-splitter. This simple and efficient method enables the alternator to charge the van battery as well as the auxiliary battery.

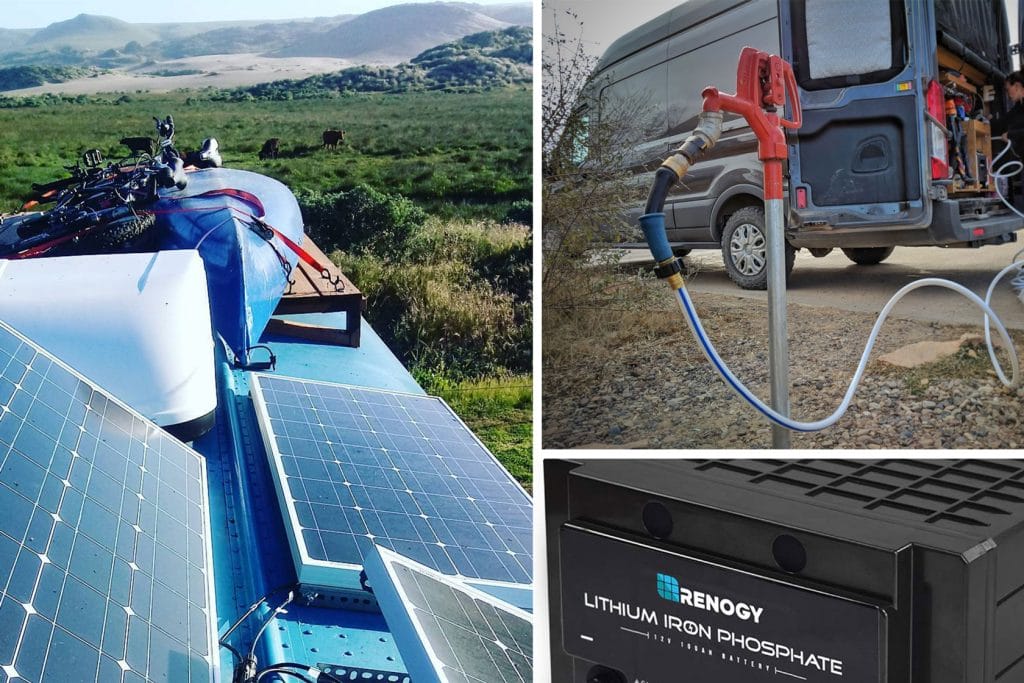
Install a solar panel on the camper
Ideally, a solar panel should be attached to the camper’s roof, making sure that the wiring can pass through an opening (example: the refrigerator’s air outlet). Once properly installed, you must cut an opening inside the camper to slide the wires through.
Just connect the cables and the regulator to the battery. Respecting the polarities (if in doubt, always check twice), the regulator must then be connected to the panel.To make your custom solar panel with tubes and tinktube connectors, you can get inspiration from this example, made by our tinktuber.
Connect the battery to the power grid
The third and final way to charge an auxiliary battery is to connect it to an AC outlet, when the van is stopped at a campground, for example. You will need an adaptor for this to convert the AC into DC power.
Do what Élaine and Karine did! They converted a van to go on an adventure, using tinktube materials.
Installing plumbing and water in a camper
Once you’ve installed the electricity, everything else will be child’s play… unless you decide to install a water supply! Again, you will need to take several measurements to ensure you’re securing the plumbing properly.
There are two options to provide running water in the camper: a removable tank or a fixed water tank. Let’s focus on the first scenario, which turns out to be the simplest, most economical and most popular.

5 tips for installing a water supply with a tank
1. The tank(s) must be accessible.
Yes, white tanks may be very ugly, but, there’s no point installing a tank in a place that is difficult to access. Many people choose to install the tanks under the camper. You must then make sure that the roads upon which you travel are asphalted so as not to puncture the tank.
2. The weight of the tanks must be appropriate.
If the tank is small, you can move it, and it will be easy to fill in a grocery or hardware store. If it is large, it will need to be filled at specific locations. You’ll have to use a water hose to fill it, unless you’re as strong as Hercules!
For everything you need to know about the size of the tanks, this resource will be useful to you.
3. The tap must be connected to the tank.
Ideally, if you want your water supply to work like it does at home, you should connect the water tank to a faucet. You will need to connect them using a pump (manual or electric) and water lines so that you can wash your dishes.
4. Wastewater must be managed.
Wastewater should be managed by you…and not by nature. This is why you must install two tanks: one for clean water and one for wastewater.
Here is a resource to help you manage the gray water and black water in your camper.
5. Treat yourself to the little extras.
If you want additional comfort, you can always get a water heater, which connects to your electrical supply. You can also consider adding a water filter, in case you find yourself in a place without potable water.
Do you have a van conversion project in mind?
To help vanlifers in their van conversion ventures, we’ve prepared a guide where you’ll find useful information on all things van related!

