How to Build a Project with EMT Conduit and T-connectors
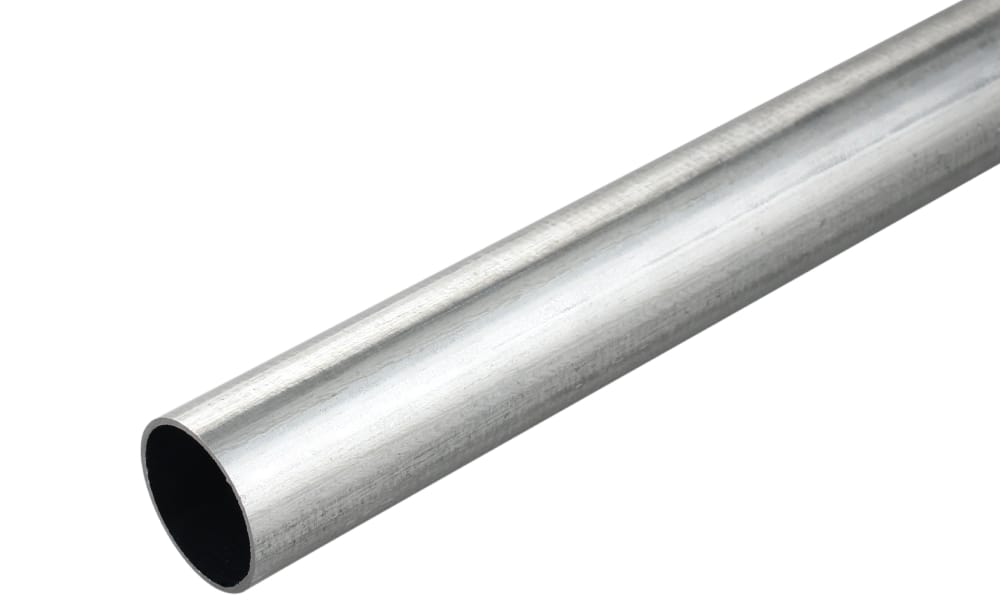
If you finished in the top of your class, you already know that EMT conduit is used primarily in the electrical industry. But, you also probably know that EMT conduits can be used to build shelving, an awning, a stair railing, even a living room cabinet, and much more! If you didn’t know any of this, we strongly advise you to read our guide that will serve as a basis for building any EMT conduit project.
How to Assemble EMT Conduit
No matter what your project, whether you have big or small ambitions, you’ll need connectors to assemble EMT conduits together. You will find T-connectors to build the furniture of your dreams on tinktube’s online store.
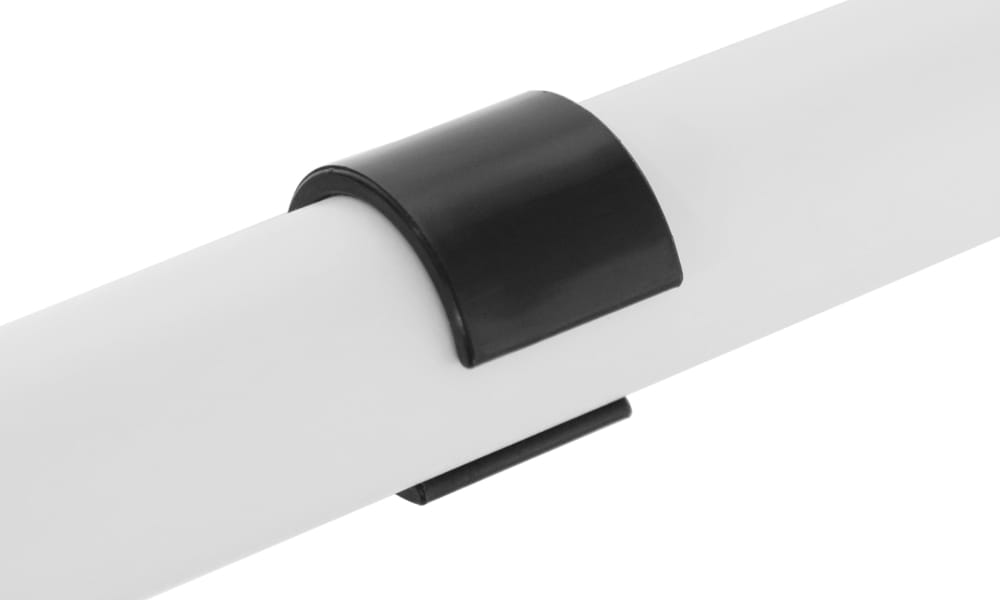
Although these metal connectors were designed for use with 28mm tinktube tubes, they’re also compatible with some EMT conduit (¾ of an inch), thanks to the 3/4″ EMT adapter for pipe connector.
Why an adapter and how to use it?
The 3/4″ EMT adapter for pipe connector will help stabilize the build, avoiding the small gap that’s created when using EMT conduit and connectors together. The adapter can easily be added to the tubes by clipping them on directly.
Our adapter is made of a strong, yet flexible, PLA plastic that you can easily snap onto your pipes for a rigid and secure build. PLA is a bioplastic and thermoplastic made from natural materials, making it an eco-friendly option for DIYers out there.

To order the needed quantity of adapters, you only have to select the option “For 3/4″ EMT conduits” before adding a connector or an accessory to your cart.
How to Cut EMT Conduit
Before cutting EMT conduit, we really (and, really!) advise you to make a plan and identify the cuts you’ll need to make. If you omit these steps, your project may well end up in our bloopers!
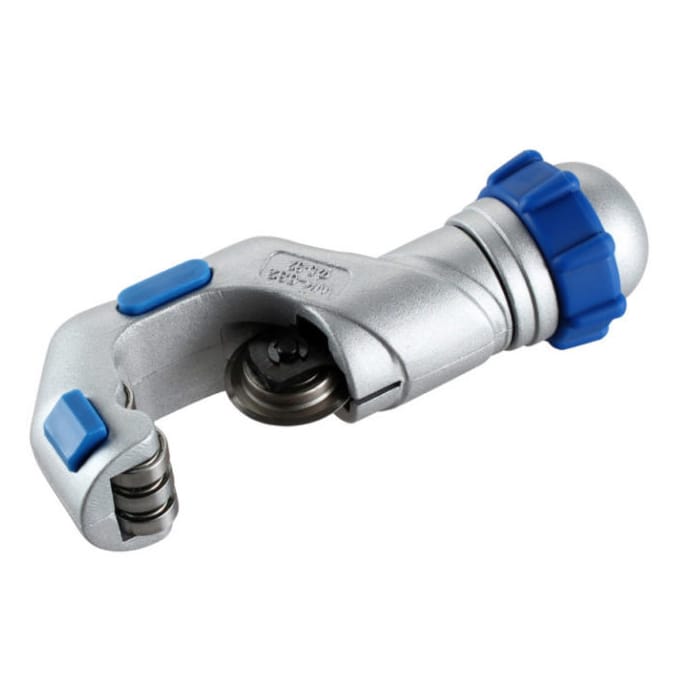
The easiest and most efficient way to cut EMT conduit is to use a pipe cutter. But not just any will do! We advise you to use the pipe cutter available on tinktube’s online store.

To perform a cut, you need to tighten the knob just enough to hold the tube in place and then manipulate the tool as you see fit. Just rotate the tube cutter around the EMT conduit to make the perfect cut!
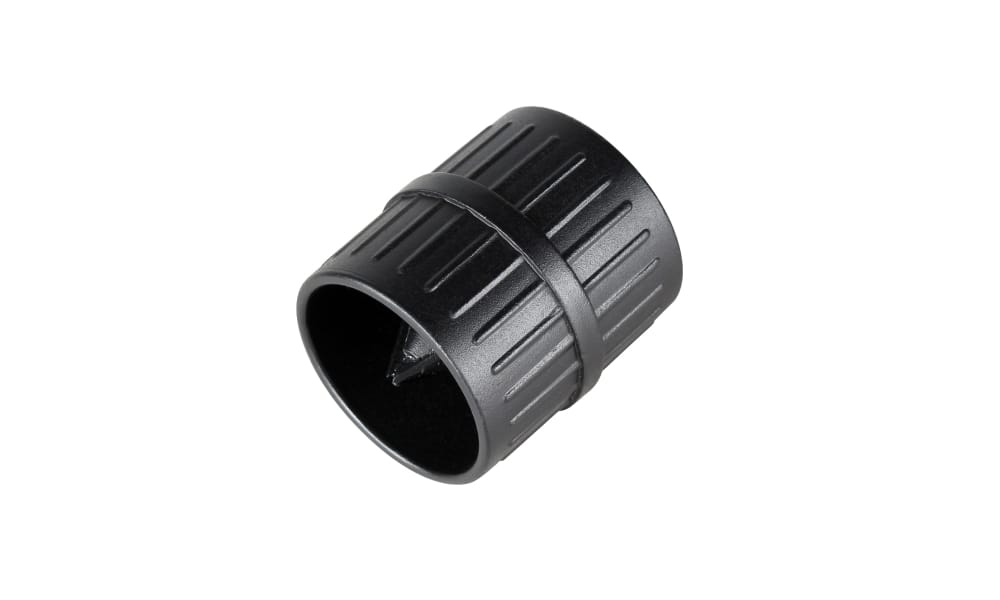
Psst…! We recommend that you use a pipe reamer to eliminate steel debris, as well as to smooth the ends of the EMT conduit and thus prevent you from cutting yourself!

How to Build a Project using EMT Conduit and T-connectors
Now that you’ve got the gist, let’s answer THE question that’s in everyone’s minds!
You must work on a clean surface if you want a successful construction project using EMT conduits and tinktube connectors. You’ll need a comfortable place to work and make progress with your build…one connector at a time!
Steps
- Attach the 3/4″ EMT adapter for pipe connector to the pipe, where the connector will be placed.
- Wrap the connector around the adapter.
- Tighten the nuts and bolts in the places provided..
- Check (one last time) that all the connectors are tight.
- Reinforce your project (optional) with 5/8-inch self-drilling metal screws.
We suggest that you build small to medium-sized projects when using ¾-inch EMT conduit with tinktube connectors.
Do You Have One Last Tip for Me?
If the idea of using an adapter means absolutely nothing to you, please pass “Go” and collect $200—or use a tinktube galvanized steel tube! As our connectors are compatible with our 28-mm diameter tubes, they can be assembled together without requiring an adapter AND there are many accessories available to complement your build!

All the materials and tools you’ll need to build your project are available on our online store!
A complete guide to build with EMT conduit and tinktube connectors
If you want to dig further and learn more about the ways to build with EMT conduit and tinktube, we’ve put together a complete guide that’s going to help you get started on your build!


