There’s no limit to what you can do with EMT conduit. While some use it to protect electrical wires, others use it to build DIY furniture. EMT conduit can be curved, assembled and cut.
If ¾” EMT conduit – also known as electric metallic tubing – is of interest, it’s because it’s compatible with the 20 or so tinktube connectors, thanks to the 3/4″ EMT adapter for pipe connector. To find out which one is right for your construction project, you can follow the guide on the most popular connectors for use with ¾” EMT conduit.
No matter what project you have in mind, chances are good that you’ll need to cut the tube into one or more sections. Here’s a little guide that will help you finish your project like a pro (or almost!).
What tools do you need to cut EMT conduit?
These three tools make it easy to cut ¾” conduit. For illustrative purposes, we’ll use the tinktube pipe cutter to demonstrate. It’s less expensive than the alternatives, it’s easy to use and it creates beautiful, straight lines.
- The tinktube pipe cutter with a blade ($35)
- The portable band saw (various prices)
- The stationary band saw (various prices)
How do you cut EMT conduit?
STEP 1: SAFETY
Before carrying out the steps below, it is strongly recommended to wear protective gloves and glasses. After you’ve finished making all the cuts, clean the work surface to prevent you or your family from being injured from the metal residue.
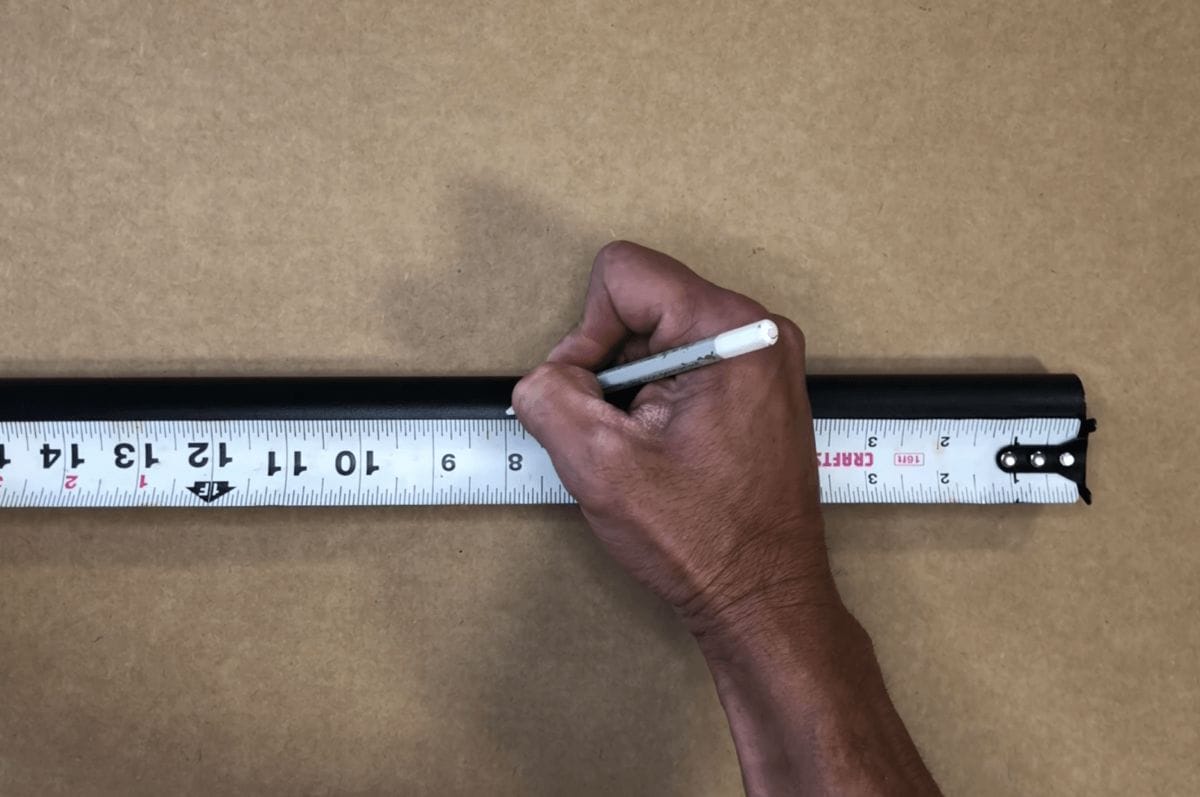
STEP 2: MARK

To cut EMT conduit the correct way, you still have to be well prepared. You have to measure the conduit and then mark the locations to cut. We recommend that you use a wax pencil to trace the lines to be cut. Some people use adhesive tape to draw a straight line.
STEP 3: INSERT
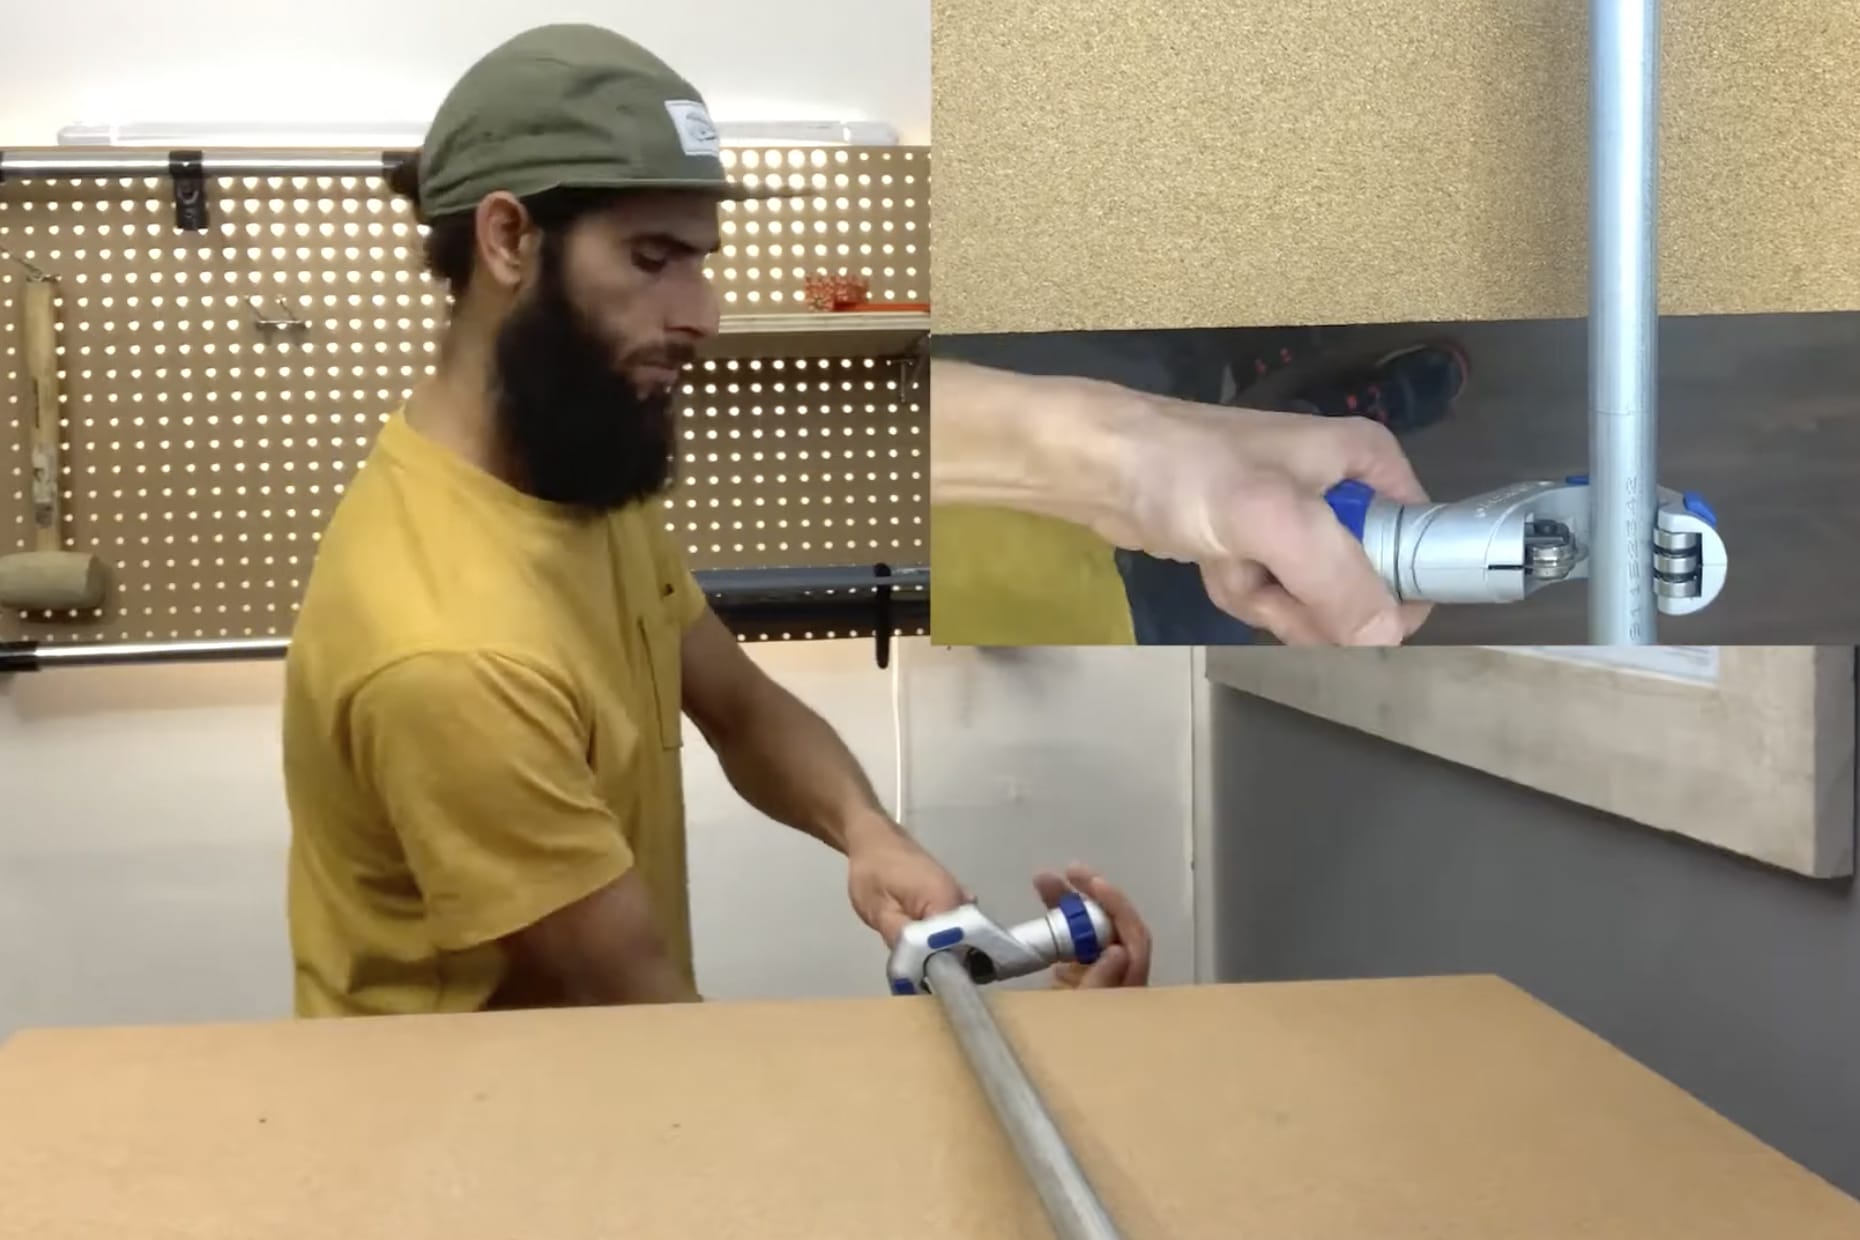
Just insert the EMT conduit into the tube cutter.
To do this, loosen the adjustable knob slightly, turning it counter-clockwise, so as to have a larger opening. Then, insert the conduit to the mark and gently tighten the tube cutter by turning the bolt clockwise.
With the cutting tool, exert slight rotational pressure on the tube to draw a straight and visible line around the circumference, also known as scoring the pipe.
STEP 4: CUT

When the EMT conduit is securely attached to the cutting tool, continue to make circular motions. With this simple pressure of the blade, the EMT conduit will eventually give way and separate into two.
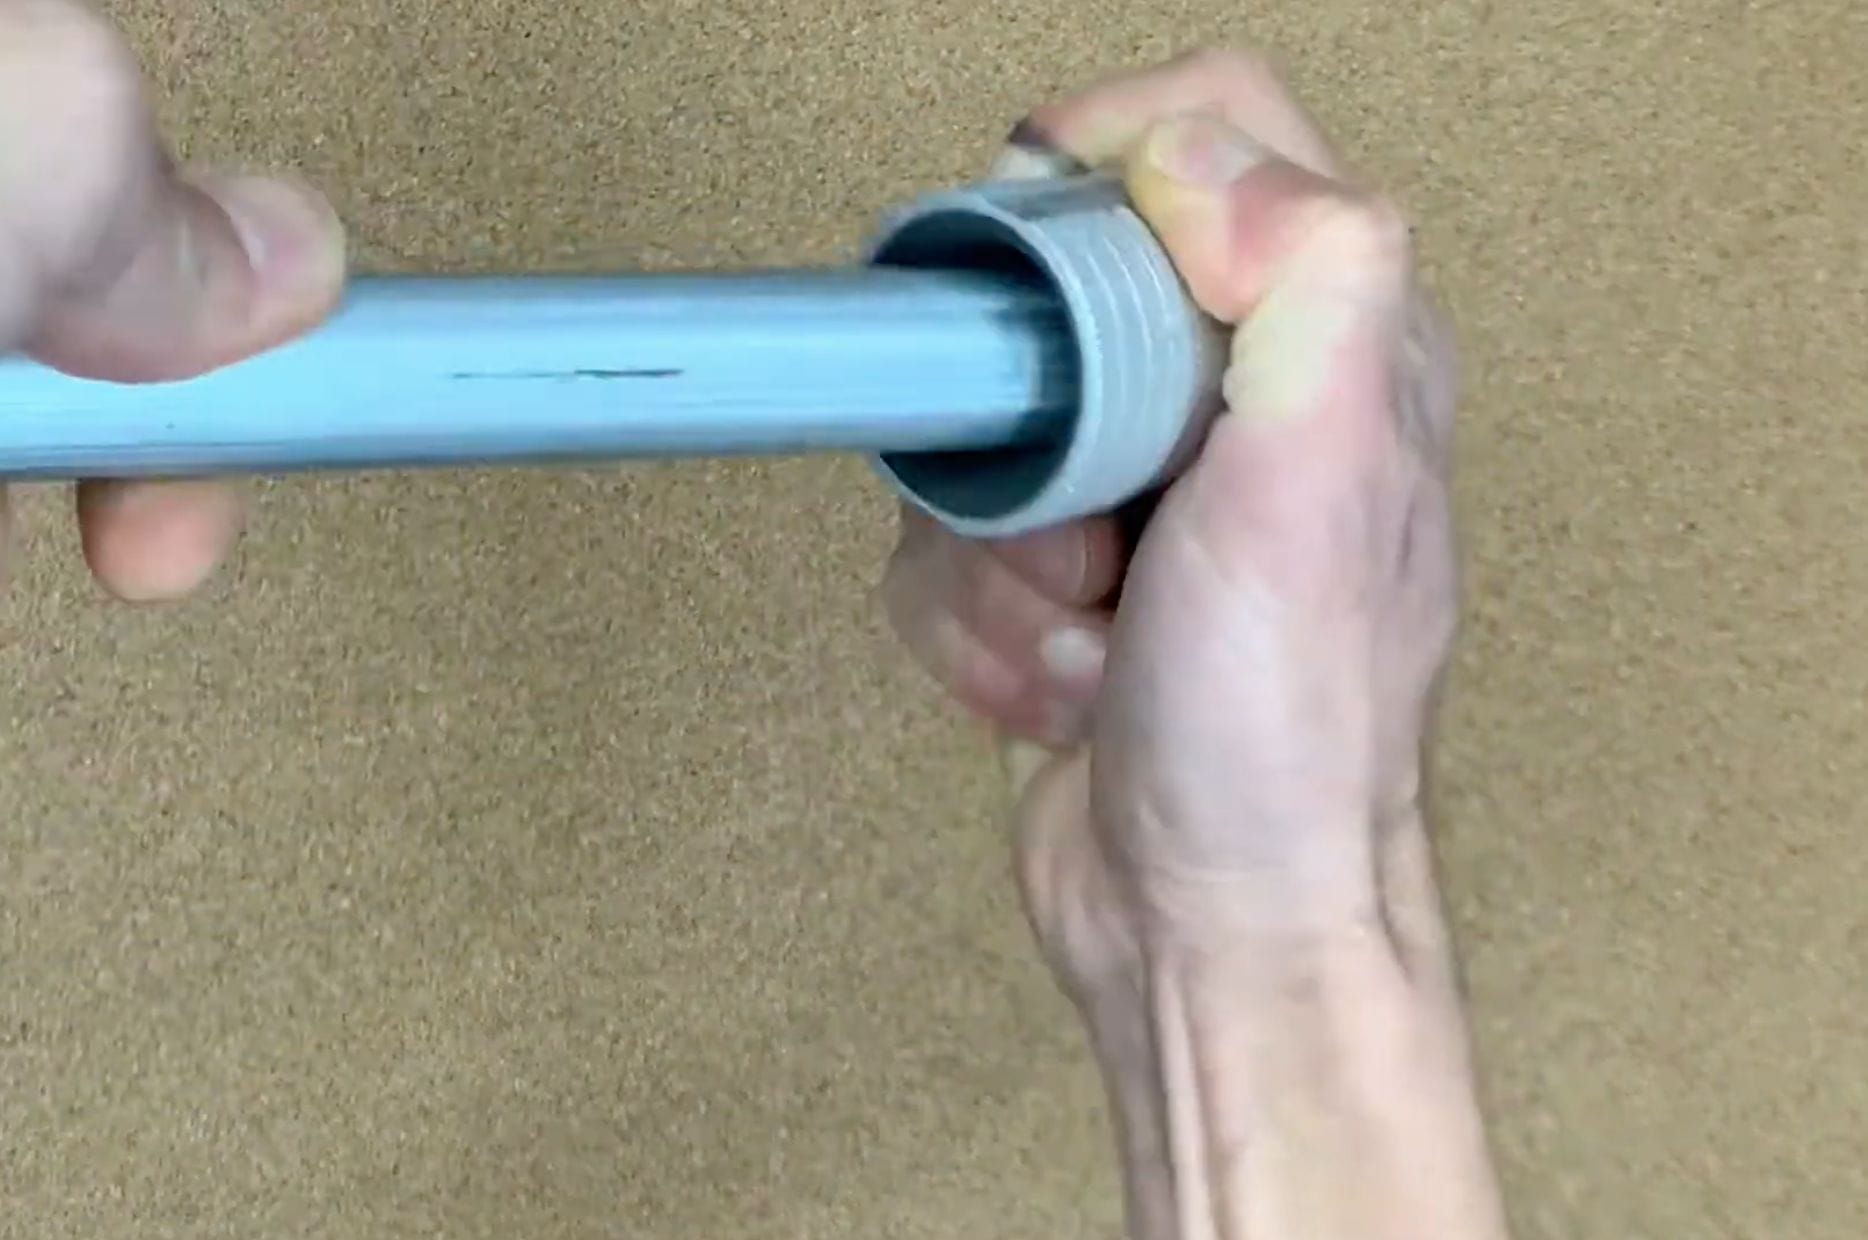
STEP 5: CLEAN
A reamer-type tool can also be used to get rid of the sharp edges of the EMT conduit to avoid any accidents.

Now that you’ve mastered the art of bending, joining, and cutting, don’t miss our ultimate resource page for building with EMT conduits!