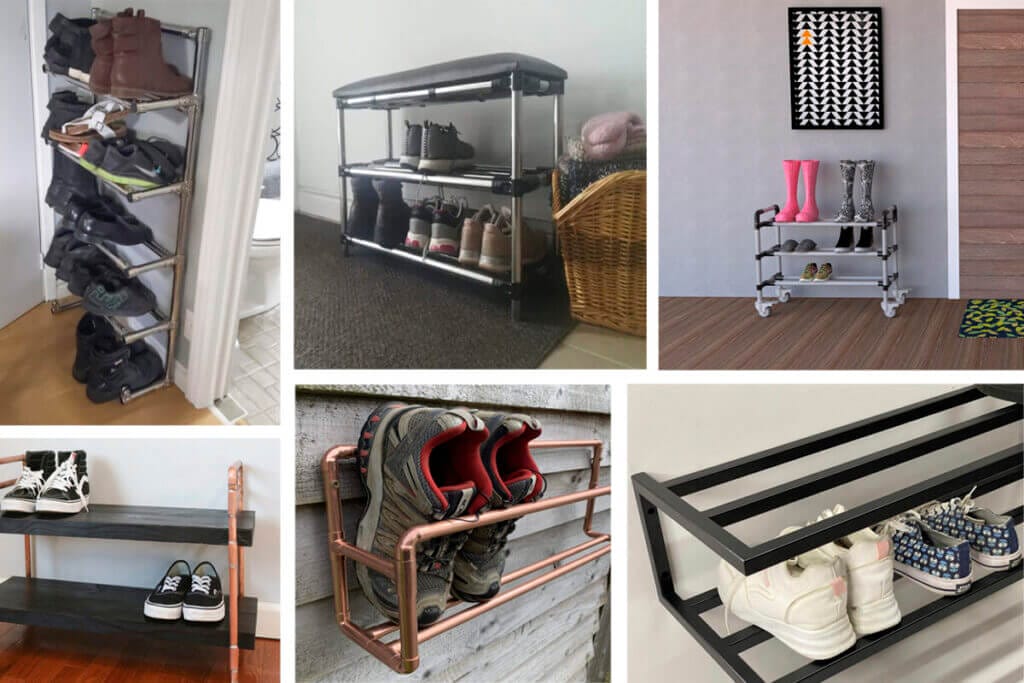
If you are one of those people who has a pair of shoes for every occasion (and more), we understand that shoe storage can become a real challenge. If you’re tired of tripping over your favorite sneakers or searching for the matching pair of heels in a sea of shoeboxes, it’s time to consider a practical and stylish solution: building yourself a DIY pipe shoe rack!
In this comprehensive guide, we’ll explore the art of crafting your very own DIY shoe storage. From design considerations to construction tips and creative inspirations, you’ll be well-equipped to create a shoe storage masterpiece!
Designing your pipe shoe rack
What are the key design considerations for crafting creative shoe rack designs?
When you start any DIY project, it’s essential to begin with a solid design plan. Consider factors like the size of your shoe collection, the available space, and the overall aesthetic you want to achieve. Do you prefer a minimalist, industrial look, or are you leaning towards something more eclectic? These considerations will guide your design choices.
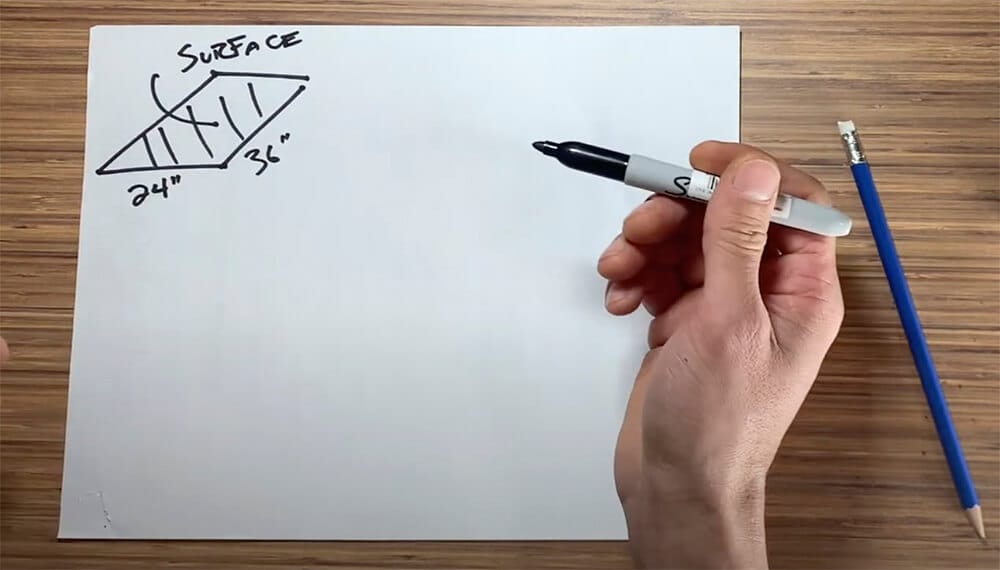
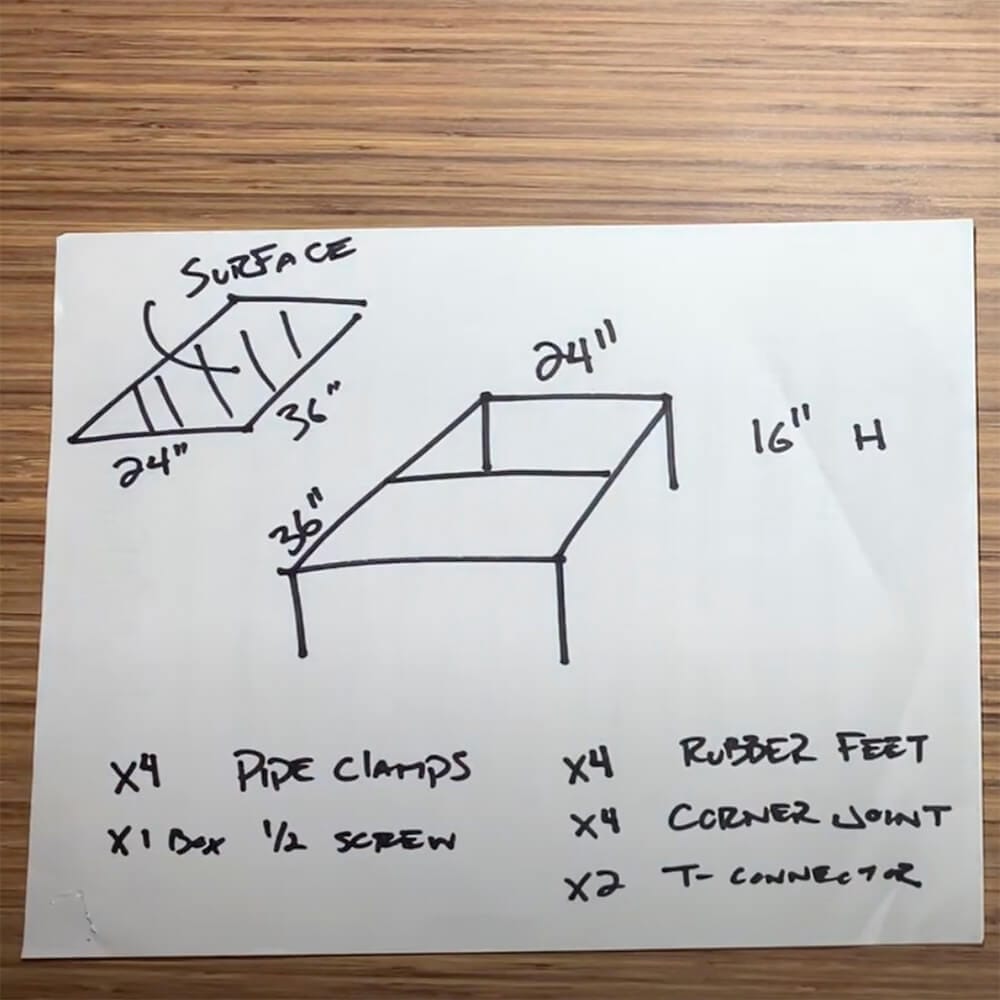
When you start thinking about your project in details, you’ll be able to determine the parts you’ll need to build it. Once you’ve planned the dimensions of your shoe rack, you’ll know how many 92″ pipes you’ll need and which connectors will be necessary to assemble your project.
Adapt this project with the tinkpad!
Draw your project with this free printable tool which includes an isometric grid and our best tips to get started.

Materials and tools
Which materials and tools are essential for building a DIY pipe shoe rack?
Before you roll up your sleeves and get to work, you’ll need to gather the necessary materials and tools. Your primary materials will be steel pipes and connectors, which you can conveniently source from tinktube. It’s crucial to choose durable, rust-resistant materials to ensure the longevity of your creation. You’ll also need basic tools like a pipe cutter and a T-handle wrench to cut and assemble the pipes.

Pro tip: To make sure you order everything you need, define your cut list ahead. To learn how to plan your cut list, watch our tutorial below!
Step-by-step construction
Can you provide a step-by-step guide for constructing a pipe shoe organizer?
Let’s dive into the nitty-gritty of constructing your pipe shoe rack. Measure and cut the pipes according to your design specifications. Then, assemble the pieces using connectors. tinktube’s connectors make this step a breeze, offering both stability and flexibility in your design.
Step 1: Gather materials and tools
Before you start building your shoe rack, make sure you have all the necessary materials and tools:
Materials:
- Steel pipes
- Sets of connectors
- Surfaces
Tools:
- Pipe cutter
- Level
- Tape measure
Step 2: Cut the pipes and assemble the frame with the connectors
Follow your cut list and cut the pipes according to your plan. If you need help using the pipe cutter or assembling the connectors, check out this tutorial!
Customization and features
How can you customize the racks to suit various shoe collections?
One of the beauties of DIY projects is the ability to customize. Want to add more shelves to accommodate your ever-growing collection? Consider incorporating hooks for accessories or decorative elements to match your interior decor. Your pipe shoe organizer is a blank canvas awaiting your personal touch.
Finishes and styling: what are popular finish options for enhancing the appearance of pipe shoe racks?
The finish you choose can dramatically impact the overall look of your pipe shoe rack. You can opt for a sleek, industrial appearance by leaving the pipes in their natural state, or get creative with e-coated painted pipes. Play around with colors and types of surfaces to make your shoe rack seamlessly blend into your home decor.
Space optimization
How do industrial shoe displays optimize space in small areas like entryways?
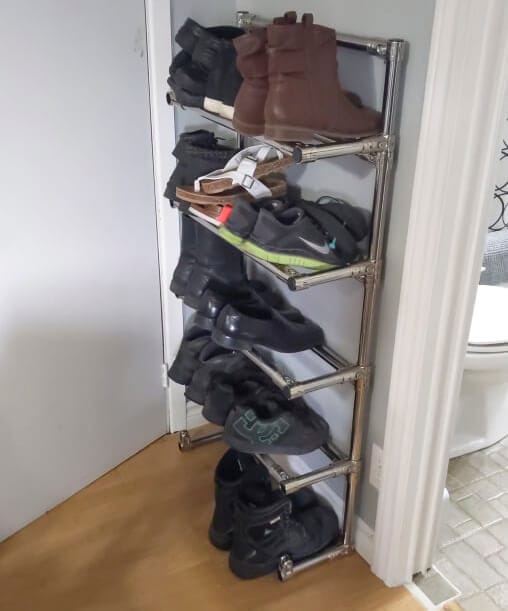
For those with limited space, a pipe shoe rack can be a game-changer. By utilizing vertical space in entryways or closets, you can keep your shoes organized and easily accessible. Next, we’ll provide examples of efficient shoe organization using pipe racks to inspire your project.
Inspirational pipe shoe rack design ideas
What creative design ideas can enhance the appearance of shoe organizer?
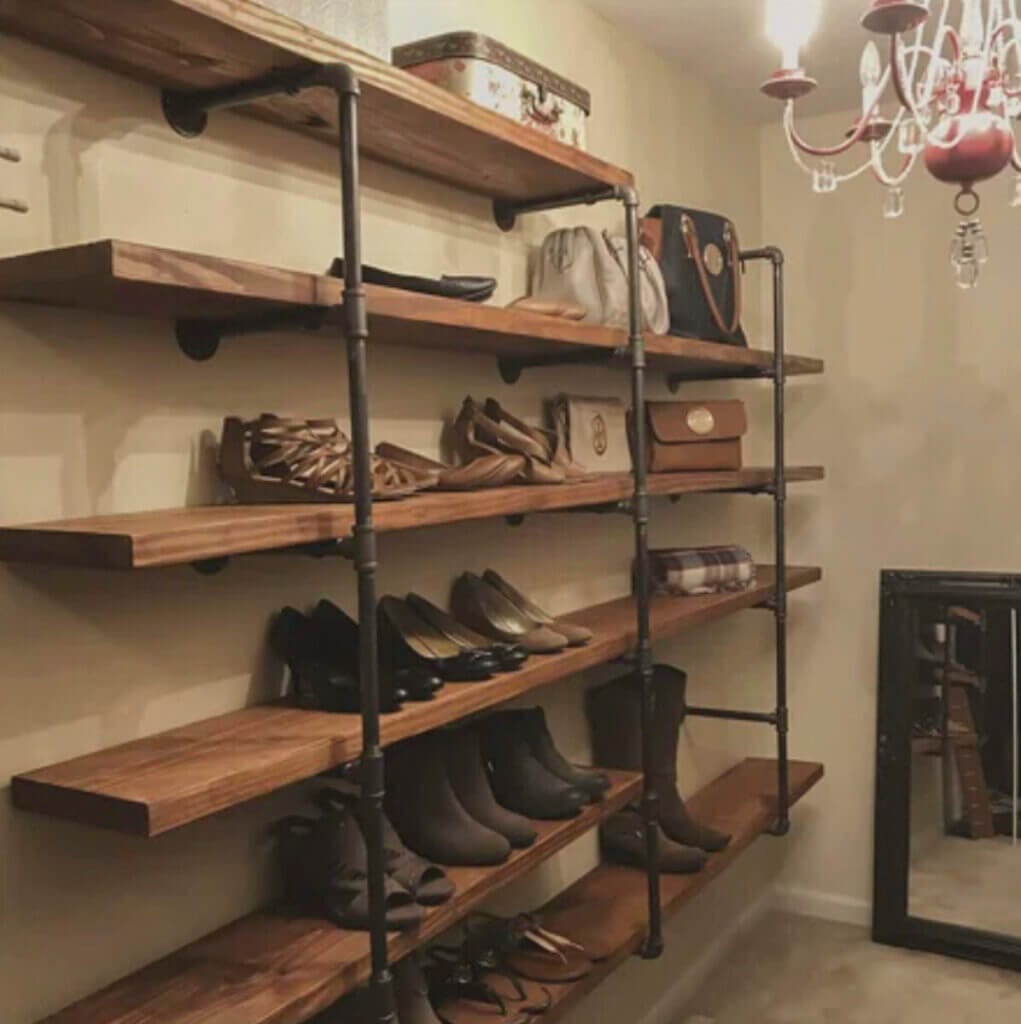
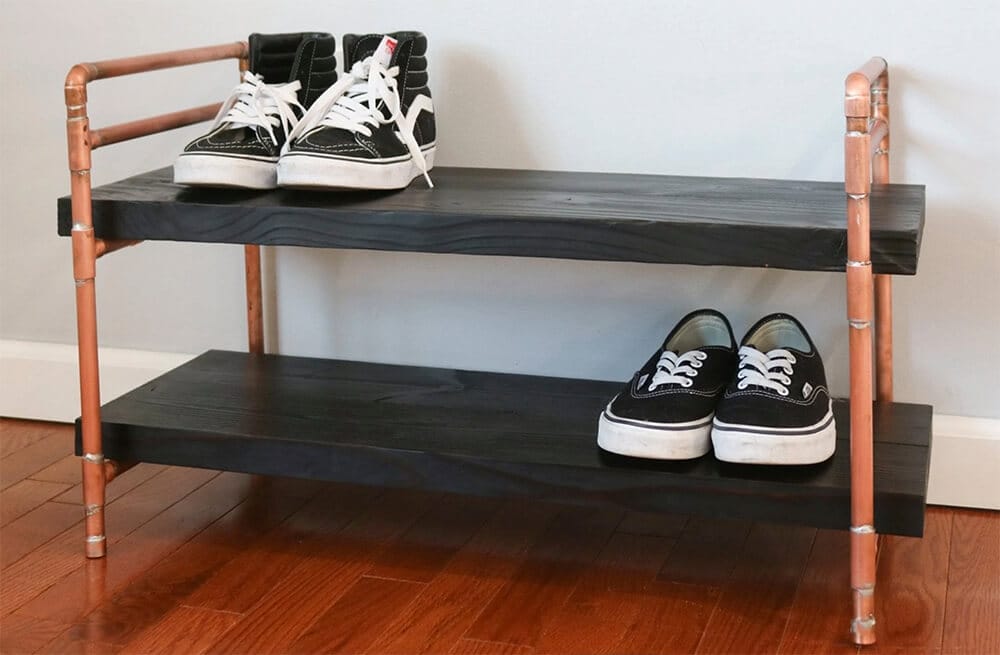
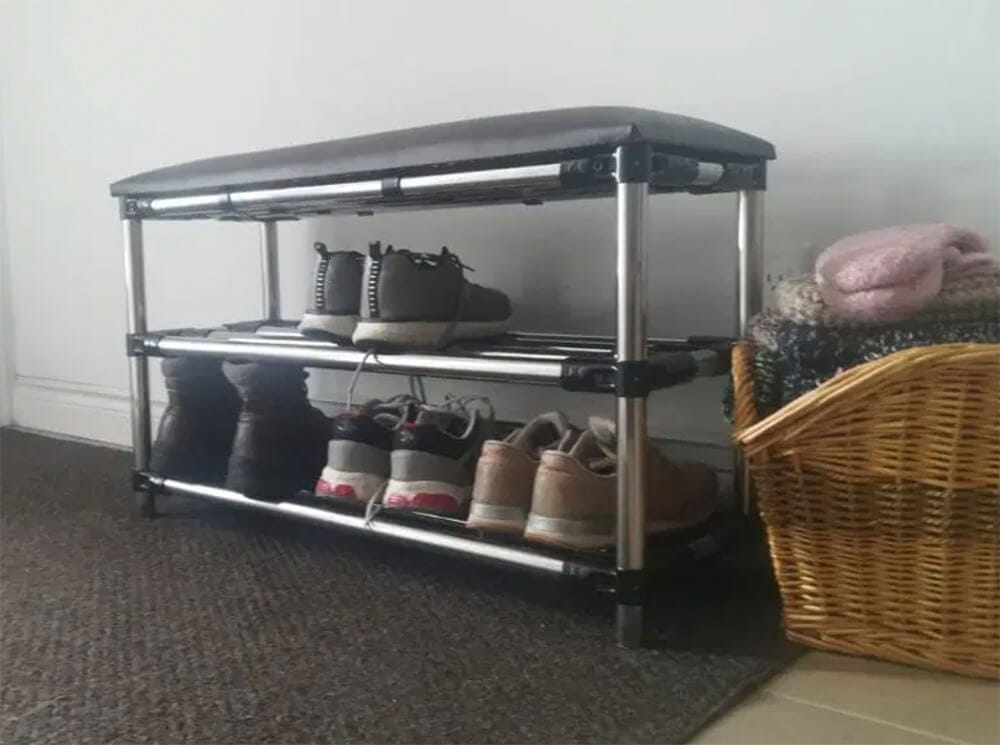
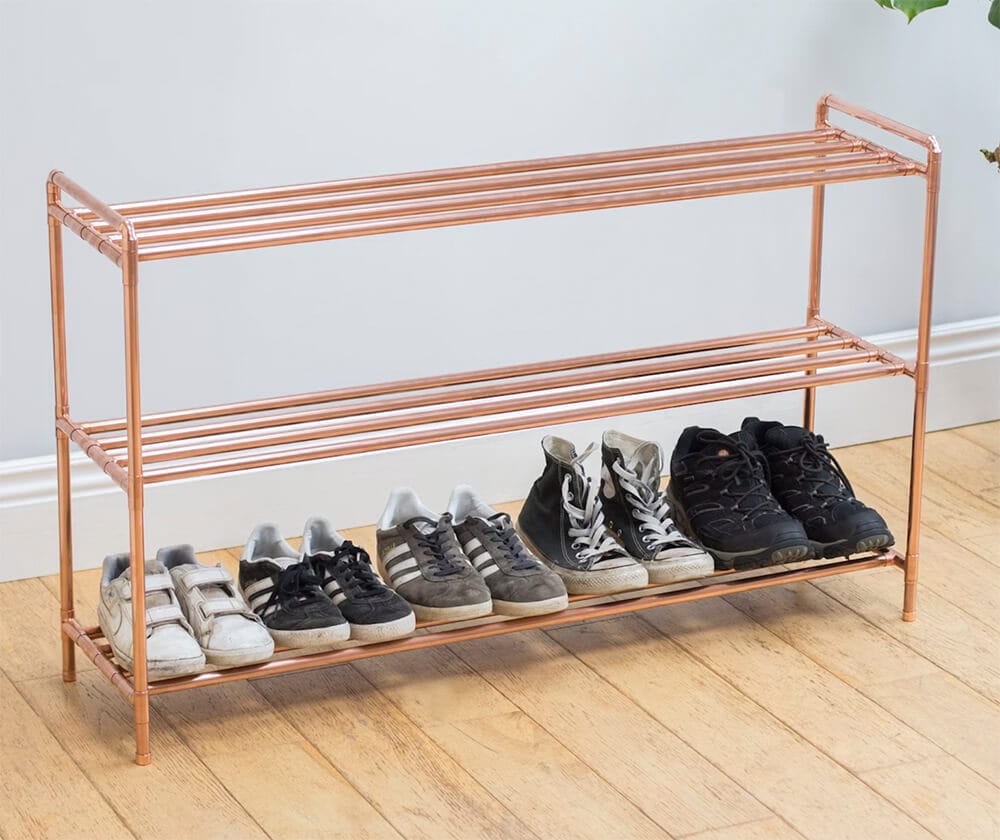
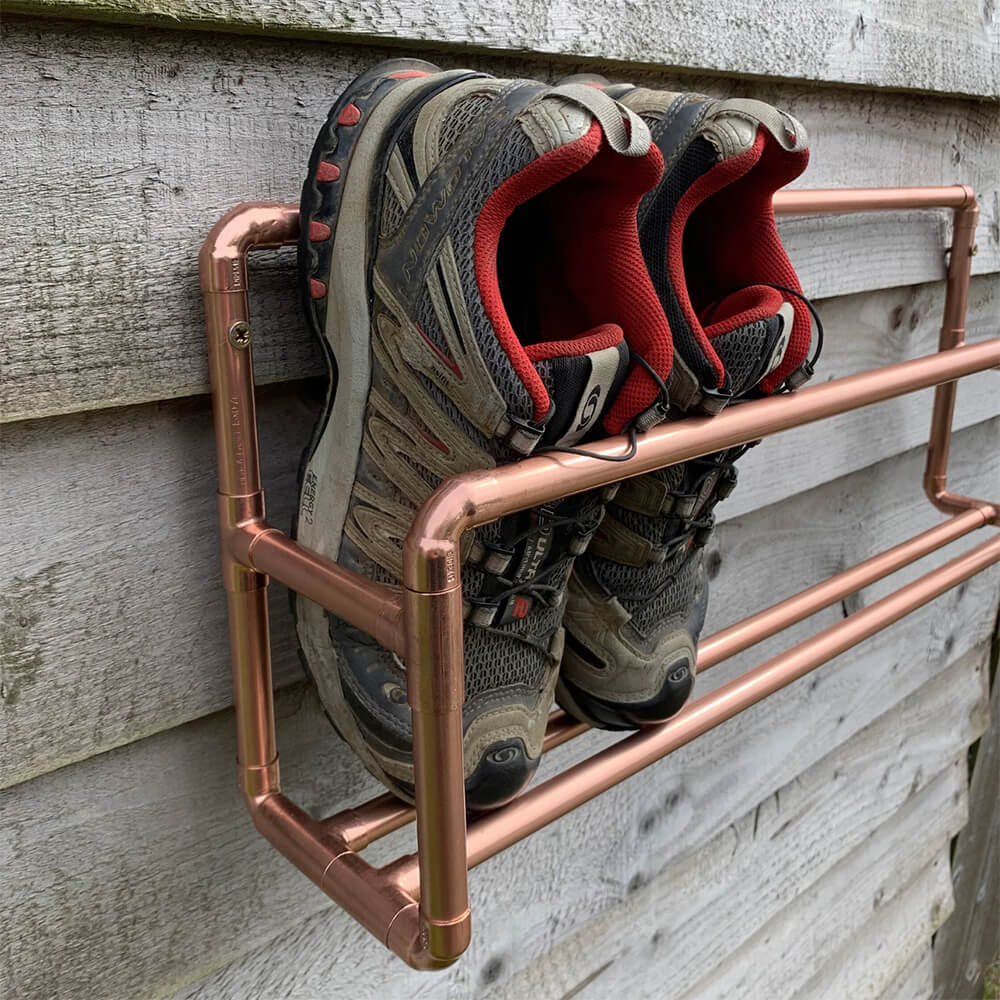
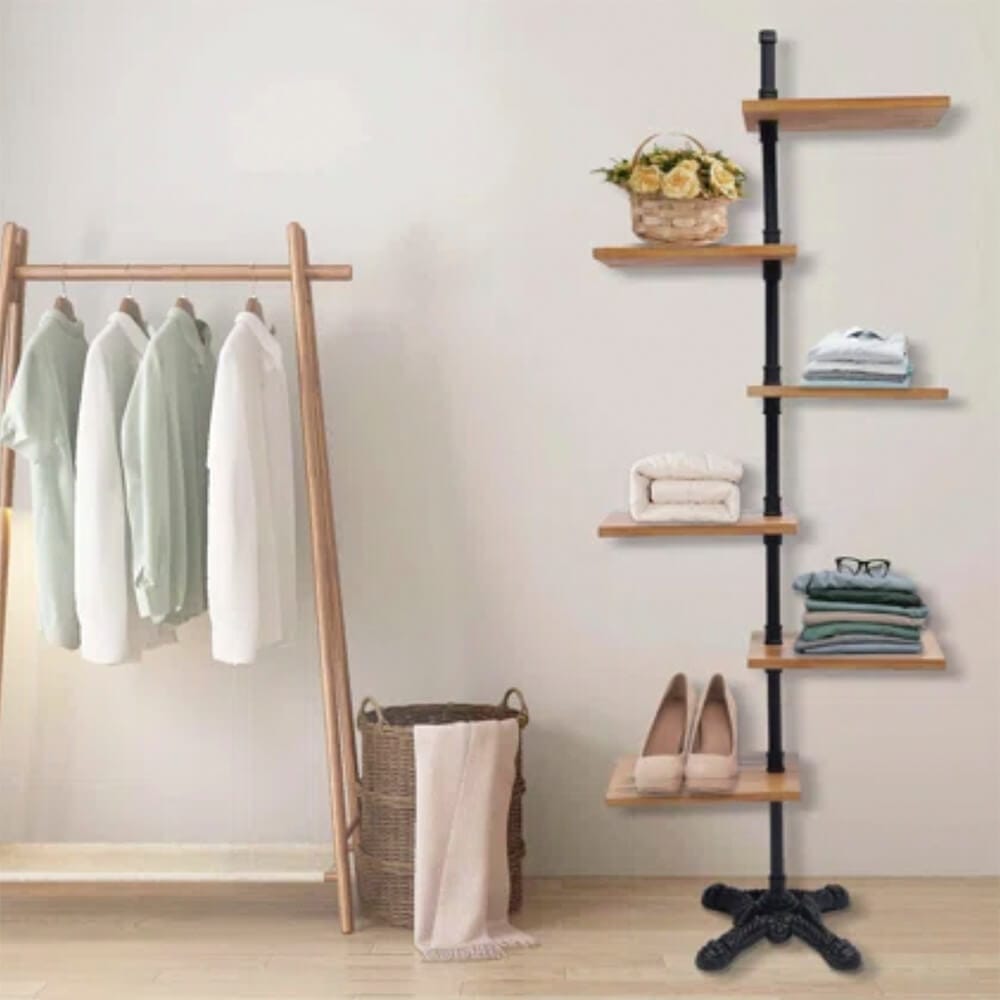
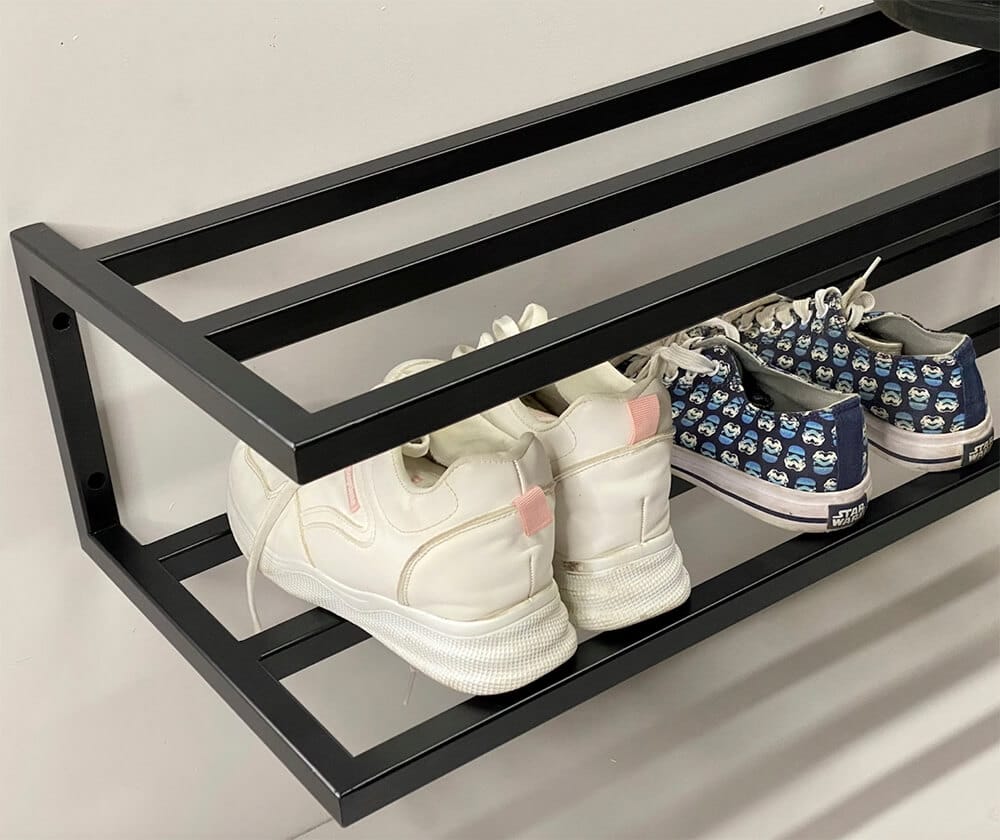
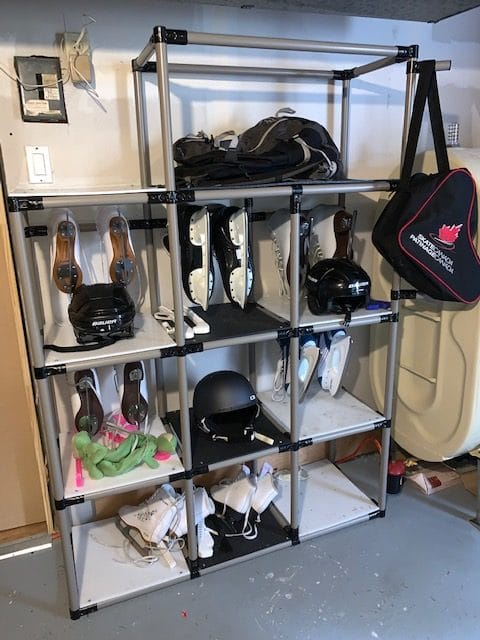
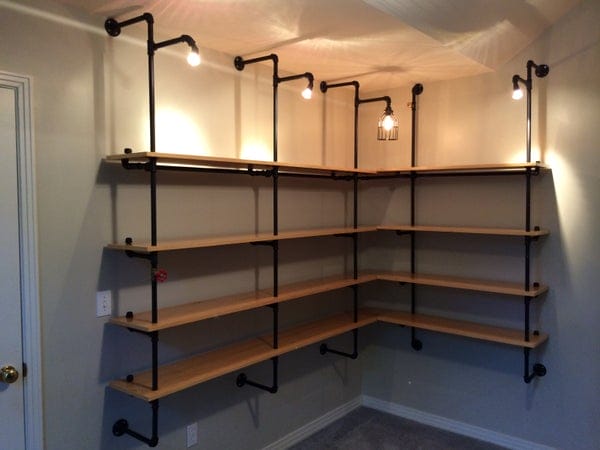
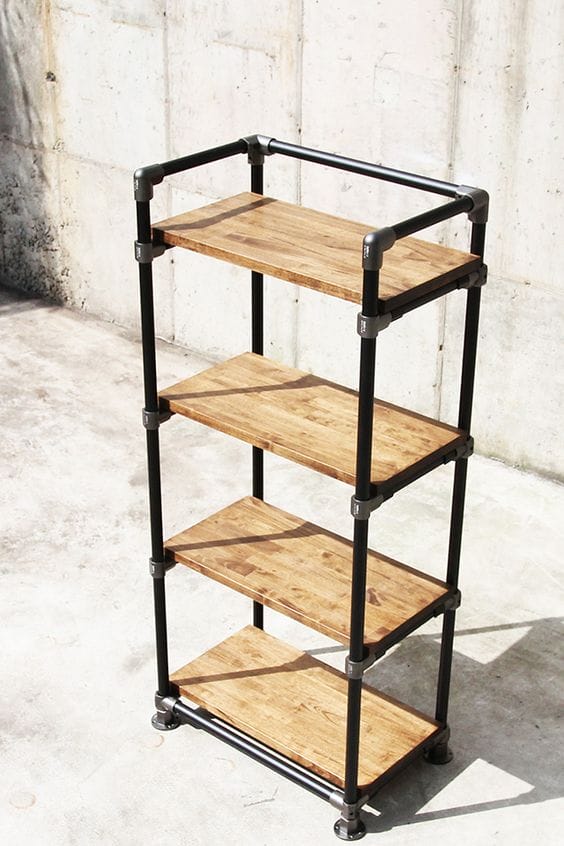
To truly make your DIY pipe shoe rack stand out, draw inspiration from a wide range of design ideas. Whether you prefer the industrial chic look or want to repurpose materials for an eco-friendly touch, there’s no shortage of creative possibilities. Experiment with colors, textures, choice of surfaces and patterns to create a unique shoe display that reflects your style and needs!

Maintenance and care
How should DIY shoe storage be maintained and cleaned to prevent rust?
If built with steel, your DIY pipe shoe rack is a durable storage solution that can last for years with minimal maintenance. To ensure it stays in great condition and continues to serve its purpose effectively, follow these tips on cleaning and preventing rust:
Regular cleaning:
Dust and dirt can accumulate on the pipes and connectors over time. Regularly wipe down the entire shoe rack with a damp cloth to remove surface dust. Use a mild soap solution if necessary, but avoid abrasive or harsh chemicals that could damage the finish.
Preventing rust:
Rust is a common concern with metal pipe furniture. To prevent rust, consider these strategies:
- Apply a protective coating: You can apply a clear coat of rust-resistant paint or a metal sealer to the exposed metal parts of your shoe rack. This protective layer creates a barrier between the metal and moisture, preventing rust formation.
- Keep it dry: Ensure your shoe rack stays dry by avoiding placing wet shoes directly on the rack. If your shoes are wet, let them air dry thoroughly before placing them on the rack.
- Use rust-inhibiting products: There are various rust-inhibiting sprays and products available that can be applied to the metal components of your shoe rack. These can offer additional protection against rust.
Inspect for wear and tear:
Periodically inspect your shoe rack for signs of wear, loose connectors, or any damage. Tighten any loose connectors and make necessary repairs promptly to maintain stability and prevent further damage.
By following these maintenance and care guidelines, you can ensure that your DIY pipe shoe rack not only remains rust-free but also continues to be a functional and attractive addition to your home for years to come. Regular attention and preventive measures will help preserve its appearance and longevity.
Budget-friendly appeal
What makes DIY shoe racks a budget-friendly storage solution?
DIY shoe racks offer several compelling reasons why they are an exceptionally budget-friendly storage solution. Let’s explore the financial advantages of creating your own shoe rack compared to purchasing store-bought alternatives and strategies for sourcing affordable materials while maintaining quality.
Cost Savings:
When you build your own shoe rack, you have control over the expenses and can tailor the project to fit your budget. Store-bought shoe racks often come with a significant markup to cover manufacturing, distribution, and retail overhead costs. By eliminating these factors, DIY projects can be significantly cheaper.
Customization also means you can choose the materials and finishes that match your budget while still achieving a personalized look. For example, instead of using expensive hardwood, you can opt for more affordable materials like plywood, MDF (Medium-Density Fiberboard), or even repurpose reclaimed wood. Using materials that are readily available and cost-effective can significantly reduce the overall project cost.
On top of that, your DIY shoe rack could utilize materials that you may already have on hand, such as scrap wood or unused pipes. Repurposing materials not only saves money but also reduces waste. You can also look for discarded or discounted materials at salvage yards, construction sites, or online marketplaces to further cut costs!
Step into shoe organization bliss: DIY with a dash of creativity
It’s safe to say that DIY pipe shoe racks aren’t just a functional storage solution; they’re a canvas for your creativity, a money-saving miracle, and a stylish addition to your living space. With a pinch of ingenuity and a dash of tinktube’s versatile steel tubes and connectors, you can transform your chaotic shoe collection into a work of art.
So, why delay the inevitable shoe organization revolution? It’s time to turn your cluttered closet into a shoe-lover’s paradise! Dive into the world of DIY pipe shoe racks, where you call the shots on design, functionality, and style. Make your shoes feel loved and cherished, give your living space a stylish upgrade, and have some crafty fun while you’re at it. Grab your steel tubes, connect those connectors, and let your imagination run wild—happy crafting, fellow shoe enthusiasts!
Arbor made by Ian
Ian built an arbor for his frontyard path.
