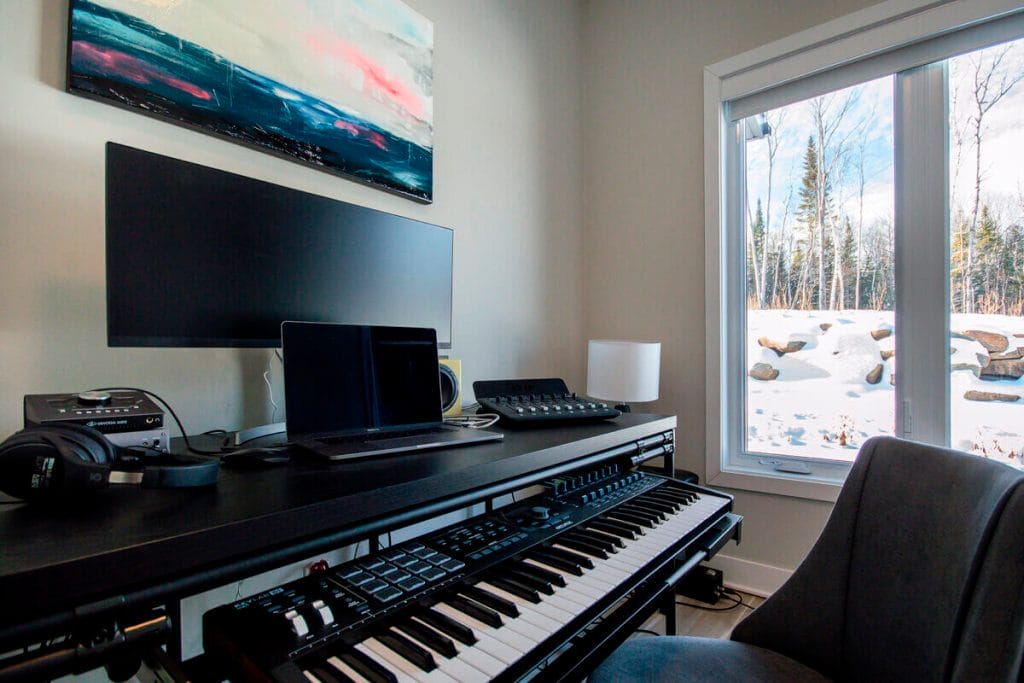
How to jazz up and customize your own home studio desk!
Because they are designed and built with a very specific use in mind, recording studio desks can be pretty expensive. Eric already knew that when he started thinking about his own. Being used to DIY projects, he did not think long before he decided to create his dream version of a music production desk himself! That way, he would get to choose the exact dimensions of the tabletop, the height of the desk, and the specific features he wanted to include in his project. Check out Eric’s story and learn all about his DIY studio desk!
Step 1: Find the perfect tabletop
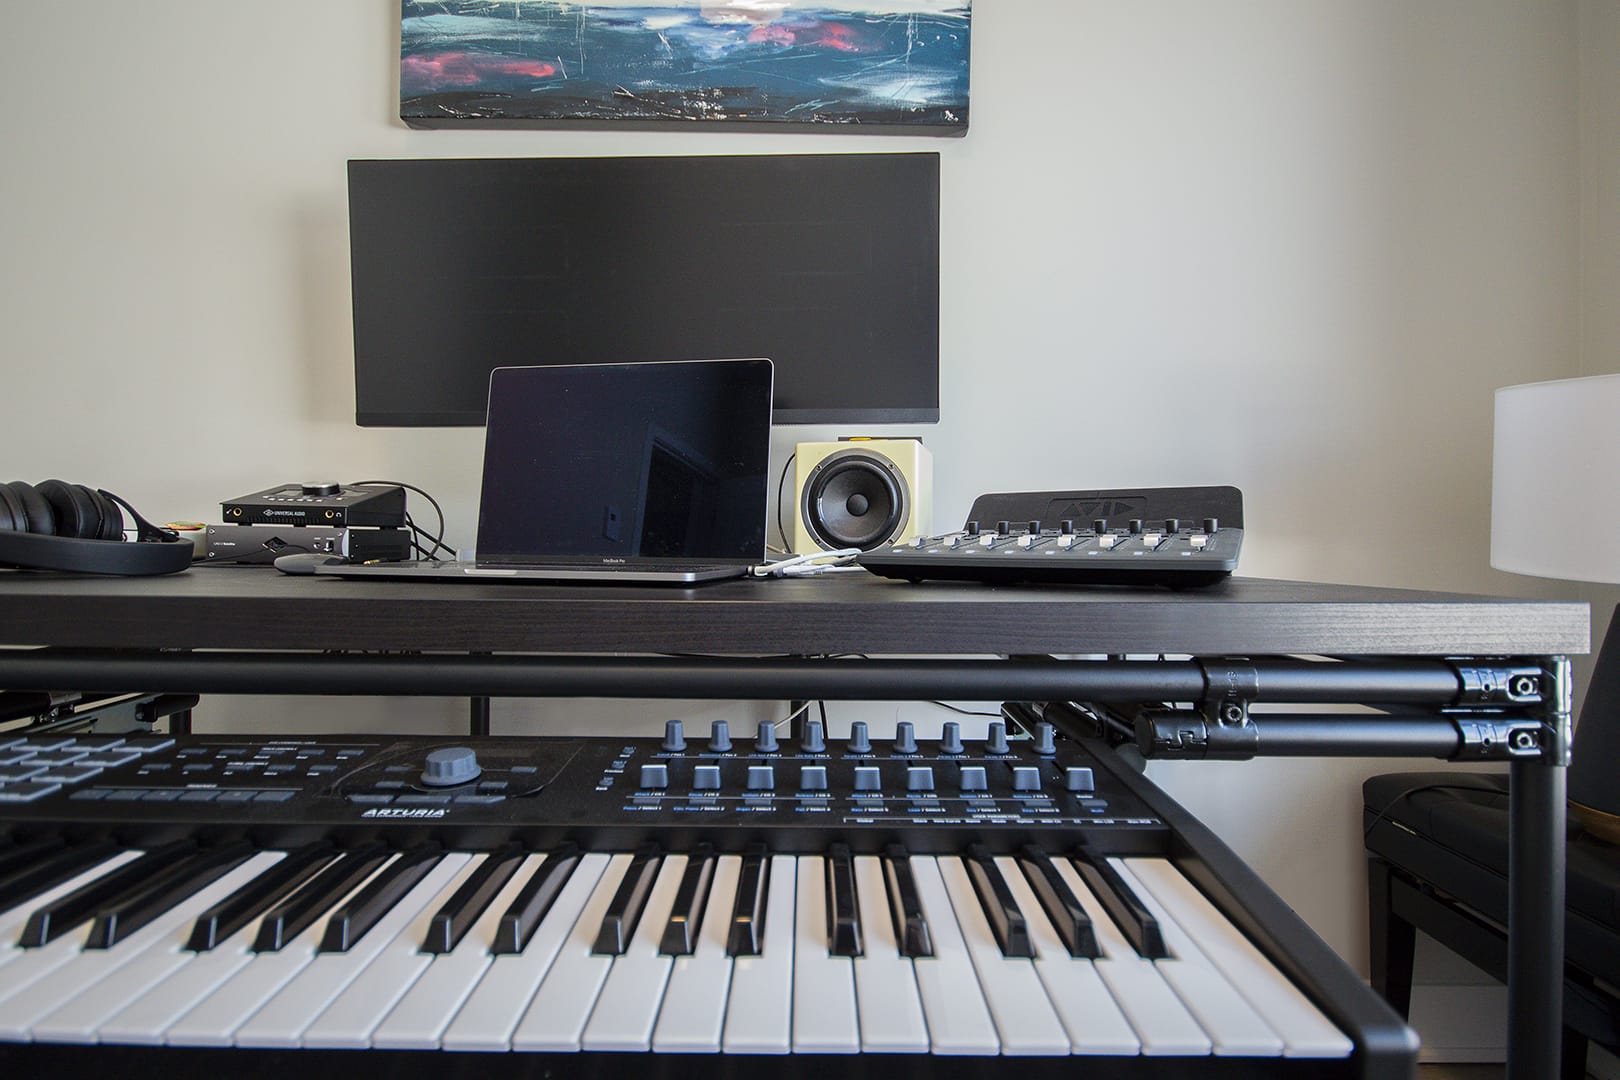
Our tinktuber’s studio is not a very big space, so he found a tabletop that would be perfect for the room -and very cheap too!- at IKEA:

Adaptable features
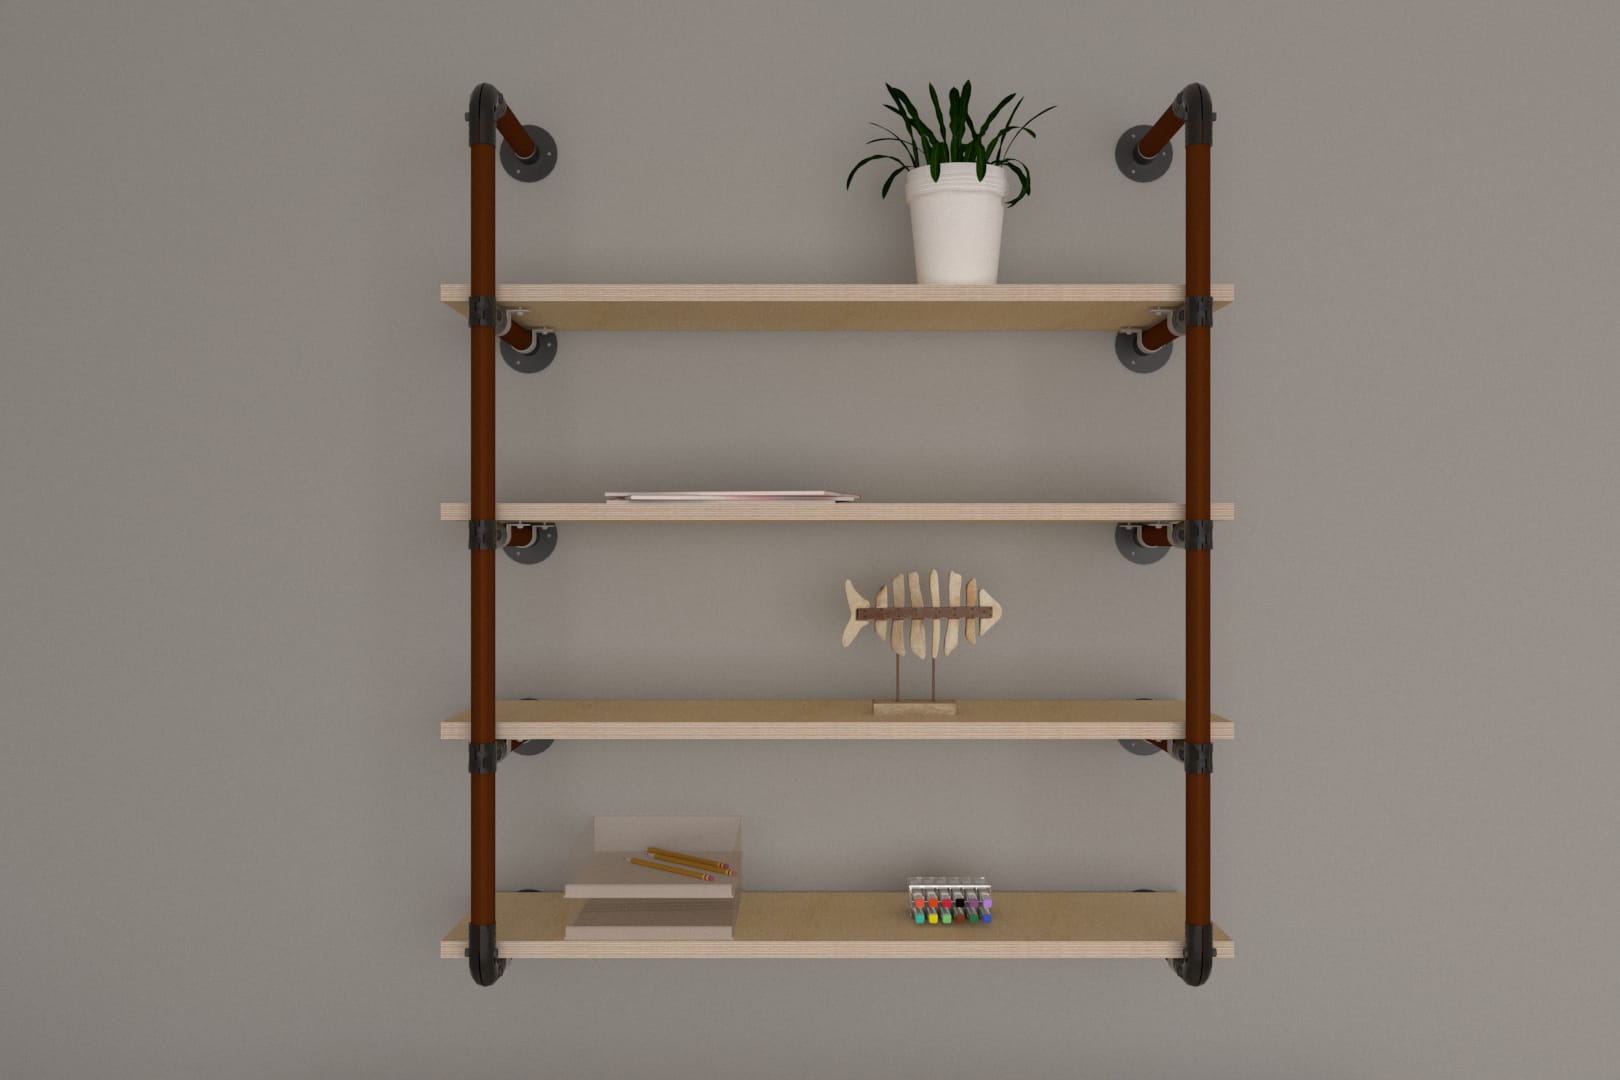
Eric plans to move out of the apartment he is currently renting in a few months, so he’ll eventually have a much bigger room for his studio. Once he’s moved into his new home, he’ll adapt his desk: he’ll use the same pipes and fittings, but change the tabletop to make it bigger, maybe add some built-in shelves to the desk too! What a great example of a customized studio desk!
Step 2: Choosing the parts and buying online
Inspired by this industrial pipe desk free plan he found on tinktube’s website, Eric planned the number of tubes he would need. He then determined which fittings to buy and ordered everything online, buying a little more than the exact number of parts he needed, just in case. He made sure to buy a T-Cutter as well since it was his first tinktube project -he didn’t already have this tool on hand!
Step 3: Building the thing
Measuring and cutting the pipes
Once he got his package, it was only a matter of building the perfect DIY studio desk -the fun part-! He measured and cut the pipes, after watching this tutorial to learn how to measure the pipes correctly -thanks, Esteban!-.
Assembling the fittings and the tubes
The next step of the building process was to assemble the fittings and the tubes together, which went pretty well for Eric. He watched a few tutorials to learn how to assemble the first connectors, then he was on his own! He added the adjustable metal feet he’d bought to the end of the 4 vertical pipes. Here is the complete playlist of tutorials shared on tinktube’s Youtube Channel, in case you need it!

Adding the bottom sliding surface for the keyboard
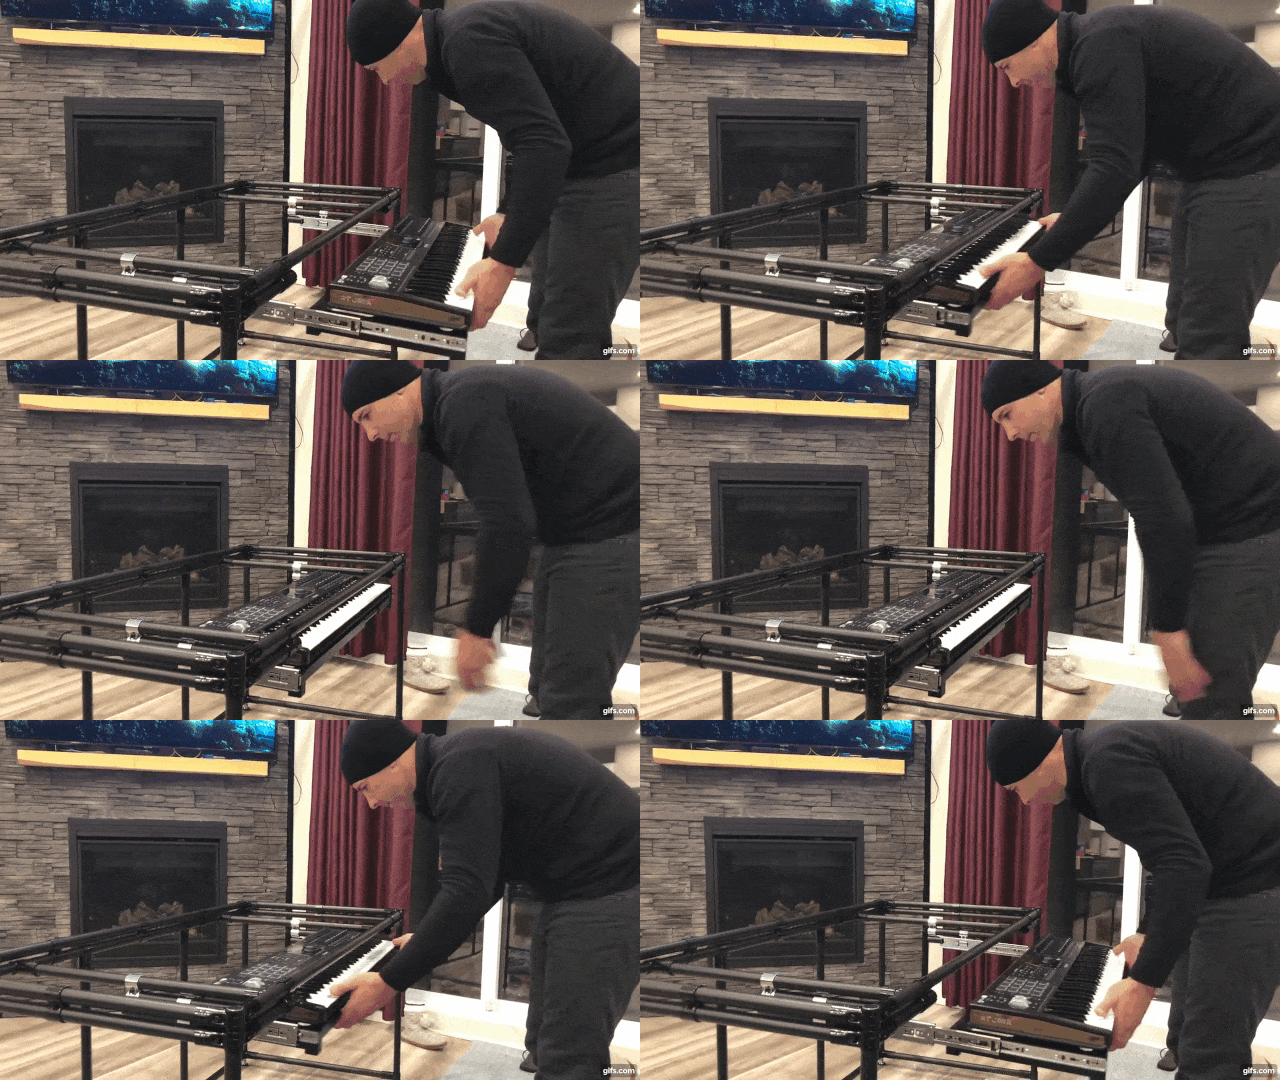
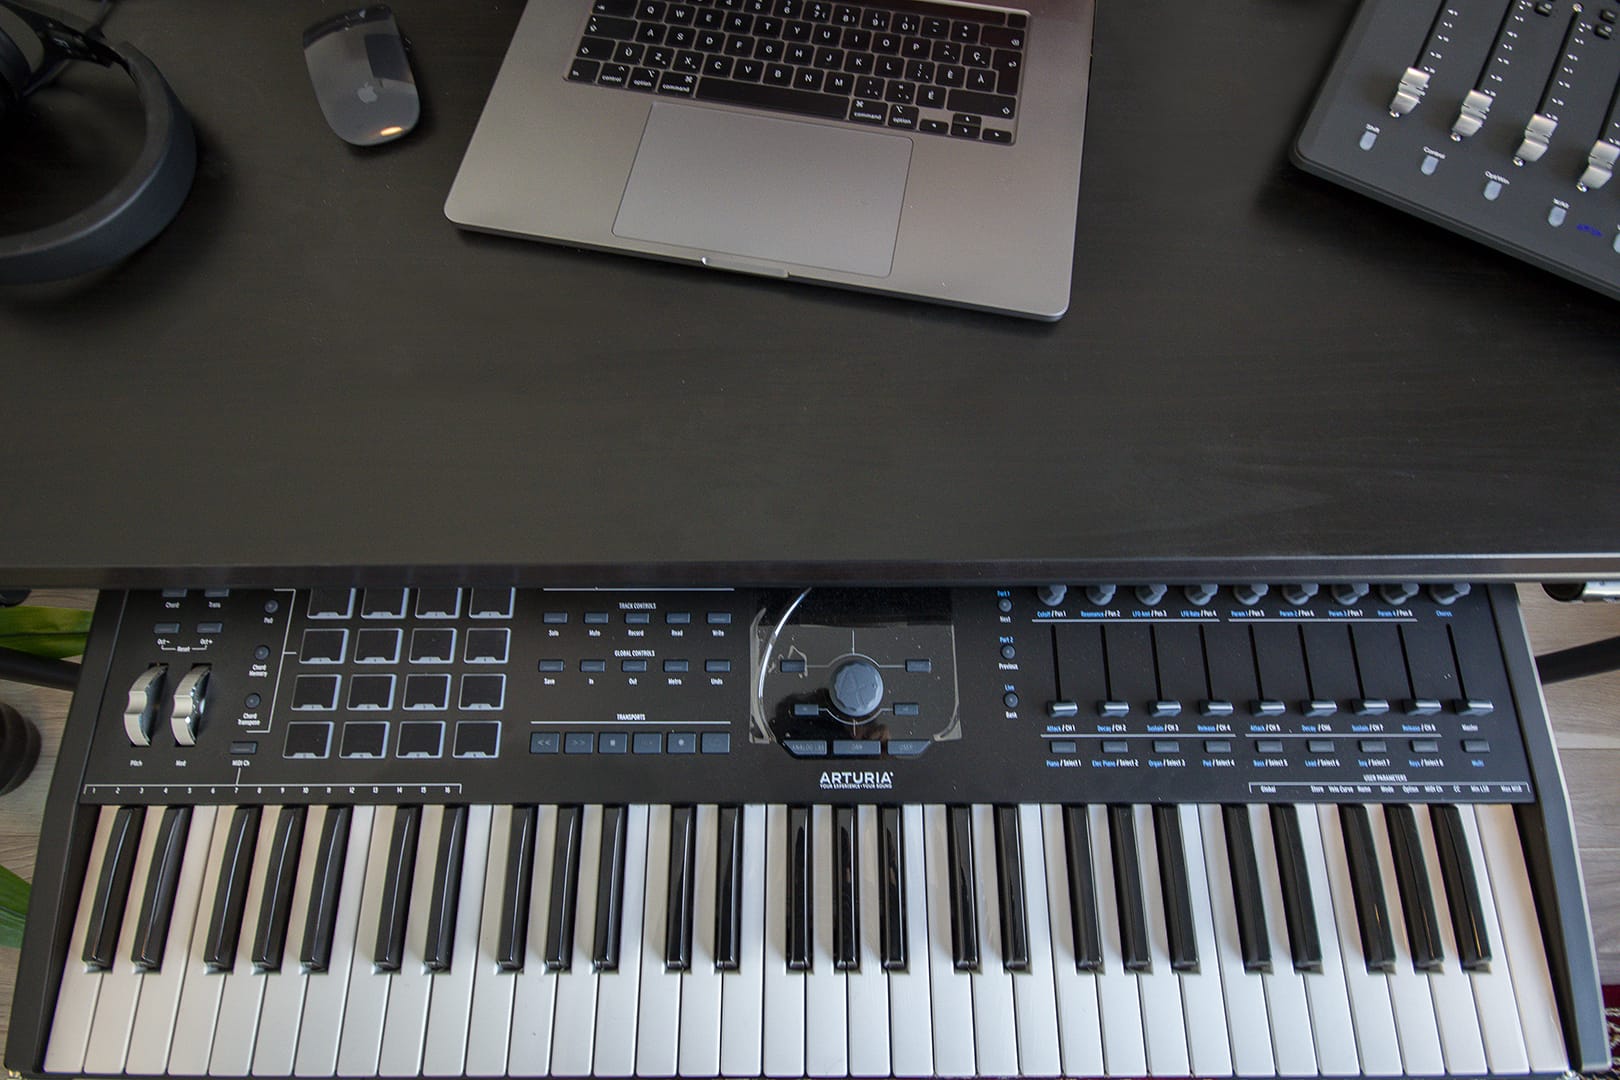
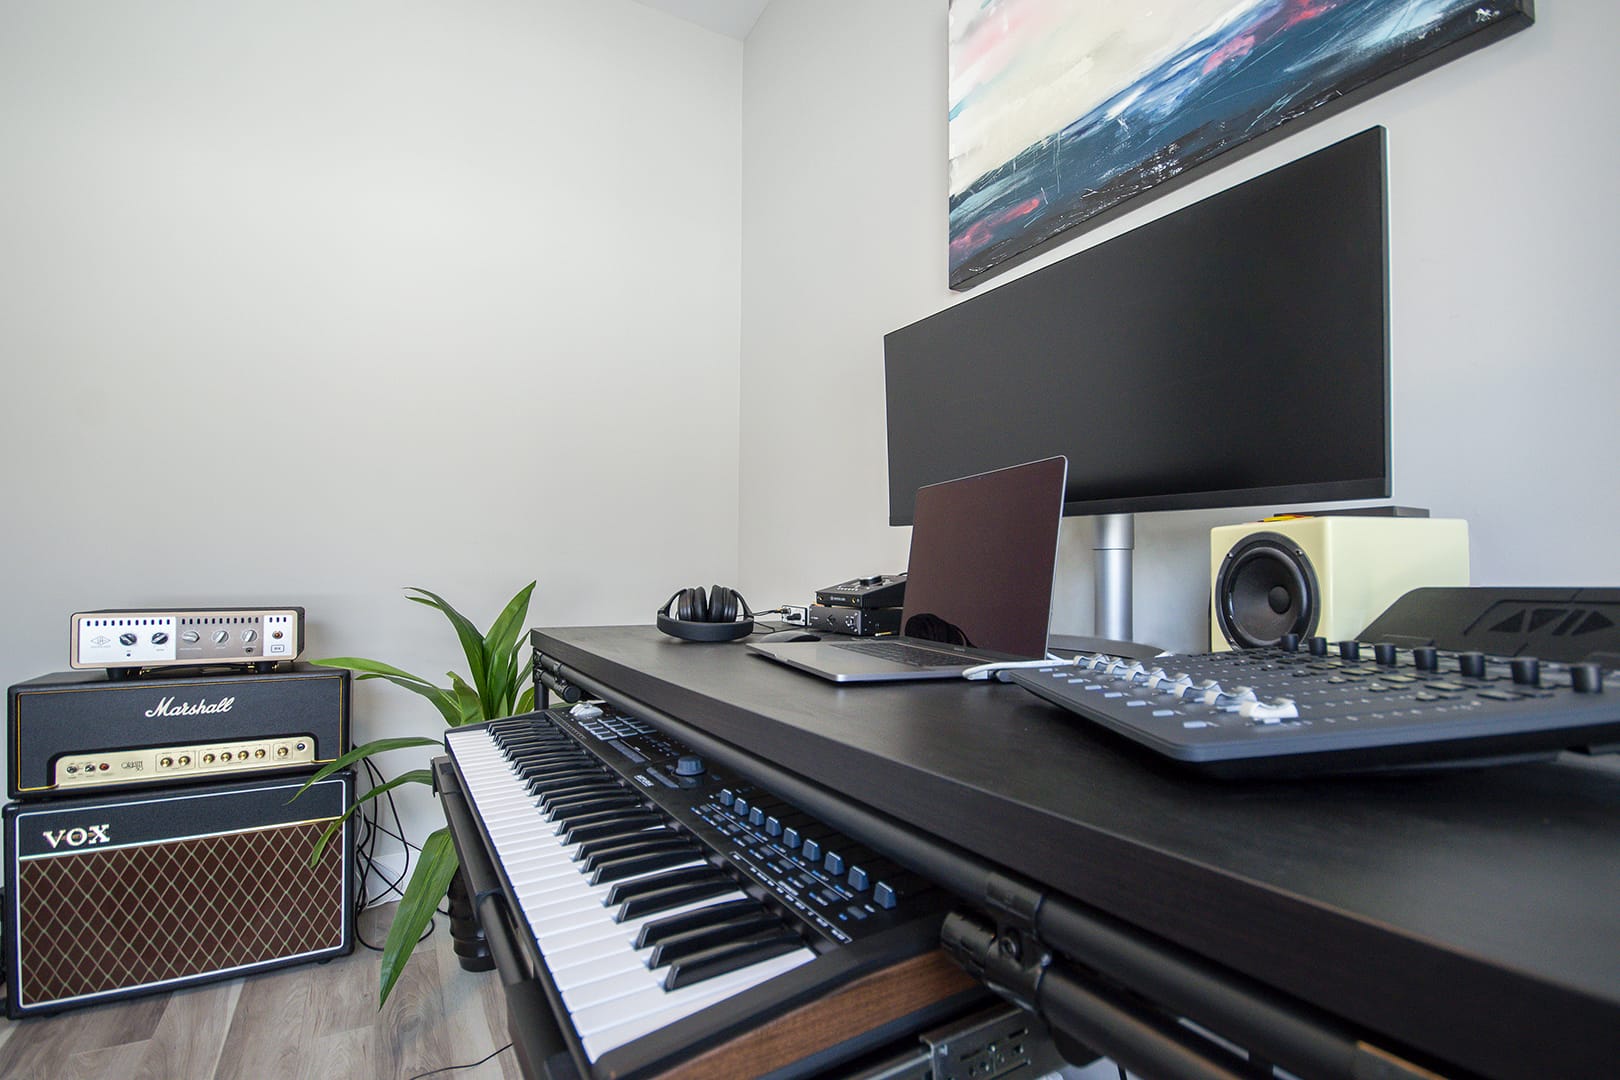
This part was the trickiest. Eric actually had to adapt his original plan and add one more layer of tubes to make the sliding surface lower than what he’d originally thought -otherwise, the keyboard wouldn’t slide back under the tabletop, because of its height-. He used HJ-13 connectors for this part.

And tadam!
Fixing the surface
The last part was easy! Eric fixed the tabletop to the desk structure using these pipe clamps.

And the trick was done!
Step 4: Enjoying your DIY studio desk!
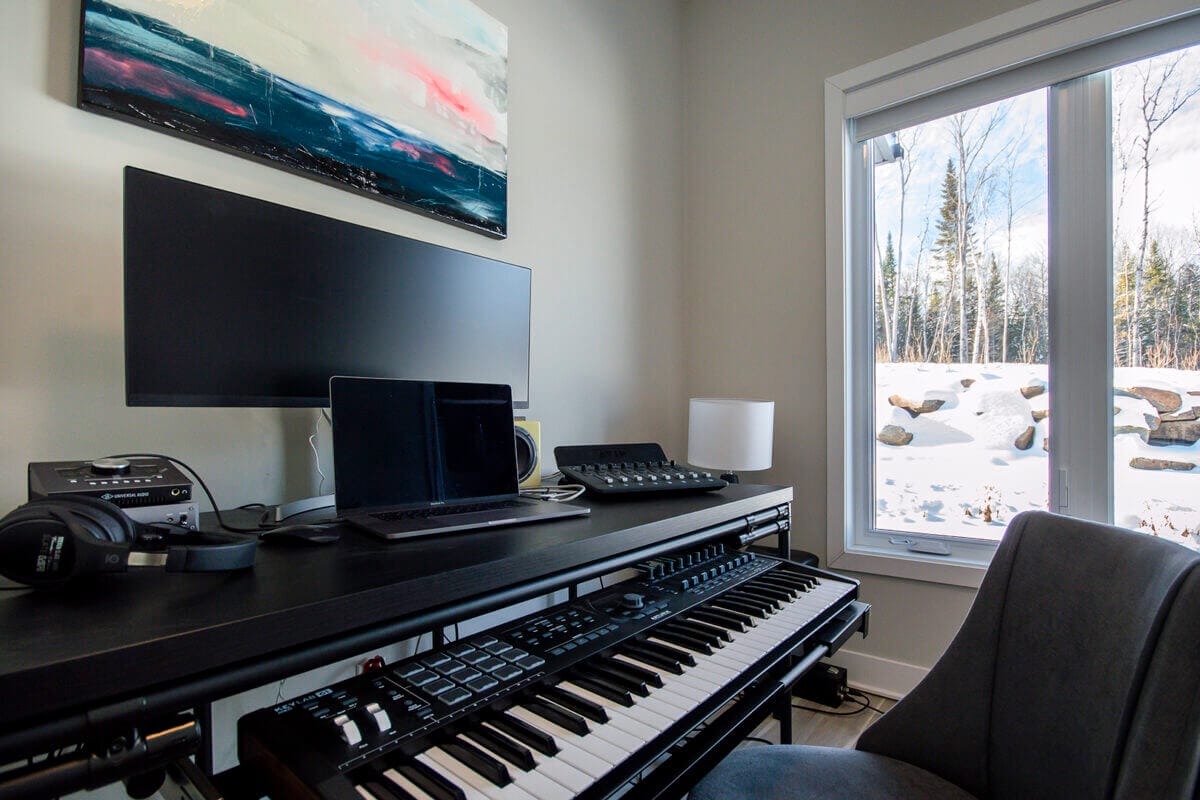
Whether you’re planning on mixing jazz, country or rock n’ roll music, you’re set for hours and hours of work with this awesome DIY studio desk! Eric is working on his own musical creation these days. He might need to build a vocal booth to enhance the quality of the recordings. It just might become his next tinktube venture. Until then, let the good times rollllll!
