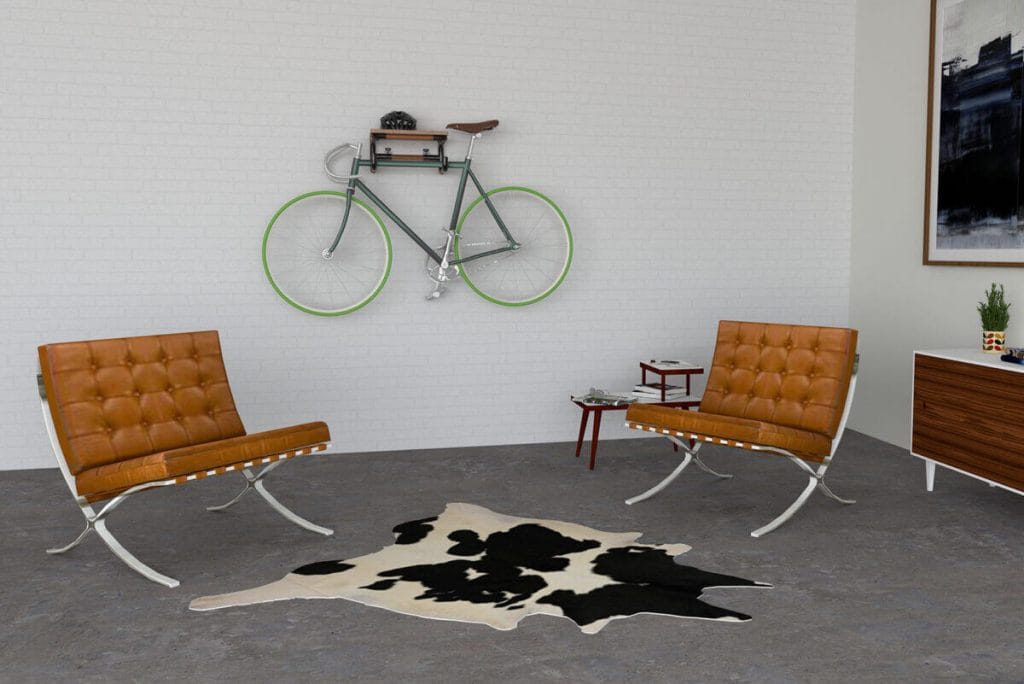
If you live in a small condo or apartment, you might have to use your space in the most efficient way to fit all your belongings -including your bike!-. The perks of creating your own DIY wall bike rack:
- The possibility to adjust dimensions of the rack according to your needs (1, 2, 3, + bikes)
- Being able to install your bike anywhere you want in your living environment
- Getting to choose the color of the tubes and the fittings to build the rack
- Being able to integrate any other functions to your wall mounted bike rack (coat, helmet or keys holder…)
1. The parts you’ll need
Here are the parts you’ll need to create your bike rack.

What you’ll need:
| Qty. | Part | SKU | Link |
|---|---|---|---|
| 1 | 92″ Copper Pipe | PT-92-CU | Buy now |
| 2 | T-connector joint set bk | HJ-1 | Buy now |
| 2 | Pipe end cap plastic | AP-ICAP | Buy now |
| 8 | 90° Elbow joint set bk | HJ-90 | Buy now |
| 4 | Flat clamp joint set bk | HJ-15 | Buy now |
3. The build (the fun part)

The tinktube joint sets are assembled with bolts that require one of the following tools -you might also have this at home-:
| Tool name | Number | Link |
|---|---|---|
| Hex drill bit set (x5) | T-BIT | Buy now |
| T handle wrench | T-HANDLE | Buy now |
4. Use your new wall bike rack!
Use your new wall bike rack to store your bike and more! You have to admit it looks very good on your wall!
If you’re interested in DIY projects made for bikes, check out these free plans:
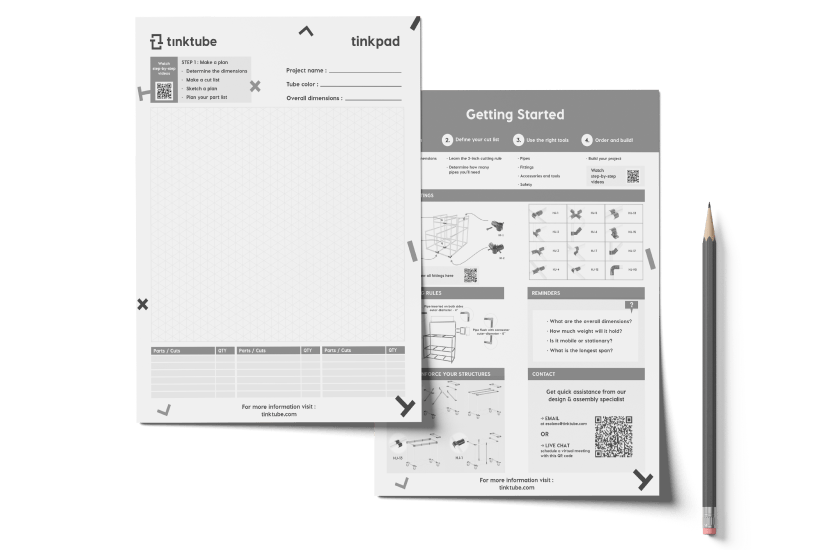
Adapt this project with the tinkpad!
Draw your project with this free printable tool which includes an isometric grid and our best tips to get started.


