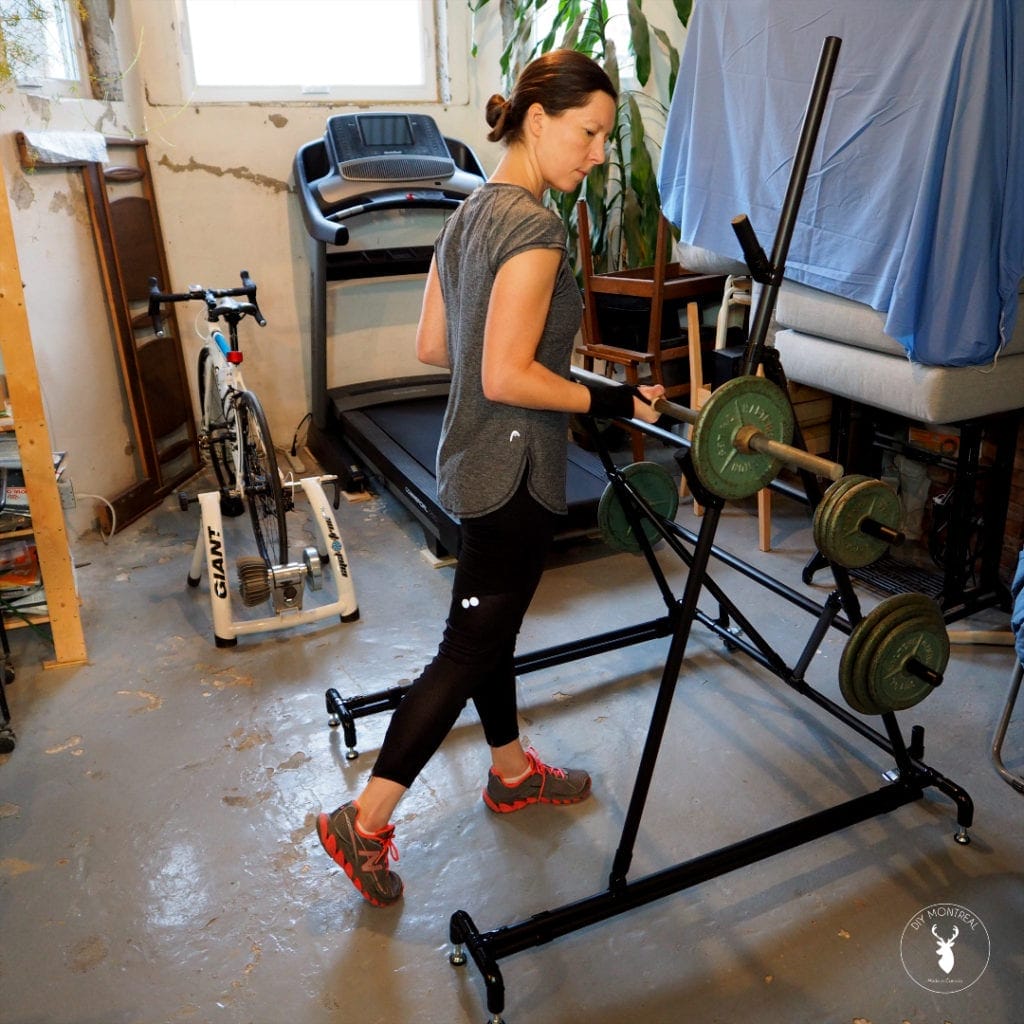
Marie is a very popular handywoman on social media. In addition to being active on Instagram, the Montreal influencer regularly posts videos on her YouTube channel. If you’ve built furniture yourself in the past, you’ve probably come across one of her posts -you might even have already seen her DIY squat bench rack-!
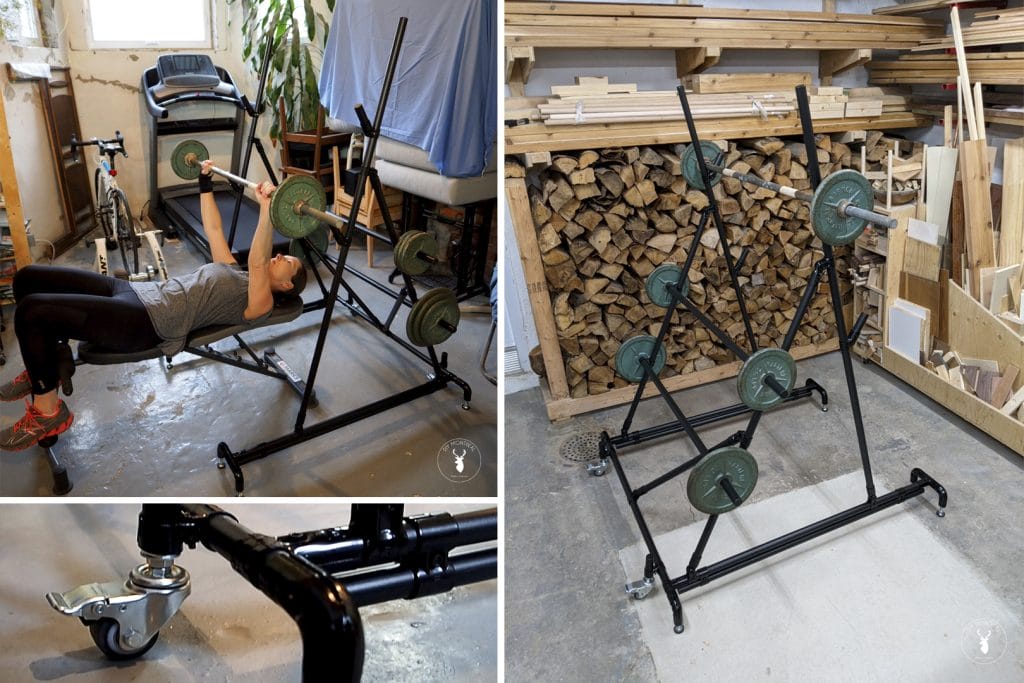
Marie recently wanted to improve her home gym by building her own squat rack. She required a piece of exercise equipment in order to bench presses on a weight bench and squats in a safe manner. The stand also needed to allow her to store her dumbbells.
The weight rack couldn’t be too bulky either, as the space in her gym was quite tight. She ultimately chose tinktube tubes and connectors. Although she is accustomed to working with other building materials, such as wood, Marie found these products very easy to use!
Plan design
Marie began by making a quick squat rack design that would help her structure her work well and estimate the number of pieces required to bring her custom project to life.

While tinktube products come in multiple colours, she chose black tubes and connectors. This colour paired perfectly with her other weight training equipment.
Cutting the pieces
Once she received her tinktube order, Marie couldn’t wait to get started! She first measured the tubes with a tape measure and made her cut marks with a pencil.
To cut the tubes, she resorted to a pipe-cutter. This tool is more affordable and compact than a saw and is easy to use, even for those new to DIY projects. It only takes about 10 turns around the tube, while making sure that the blade is still in contact with it.
Building a solid base
Marie began by assembling the structure’s base. To increase its strength, she doubled the number of tubes on each side with two parallel joint sets.

To improve the stability of the squat rack, she also built several mini feet with adjustable feet, black tubes, and a black, 90-degree elbow joint set. Once the legs were assembled, they were attached to the base using T-joints.
Assembly of the upright
One of Marie’s favourite parts was a pivot tee joint set that enables her to choose any angle with a simple twist and turn of a screw. She used it to build the upright part of the structure.
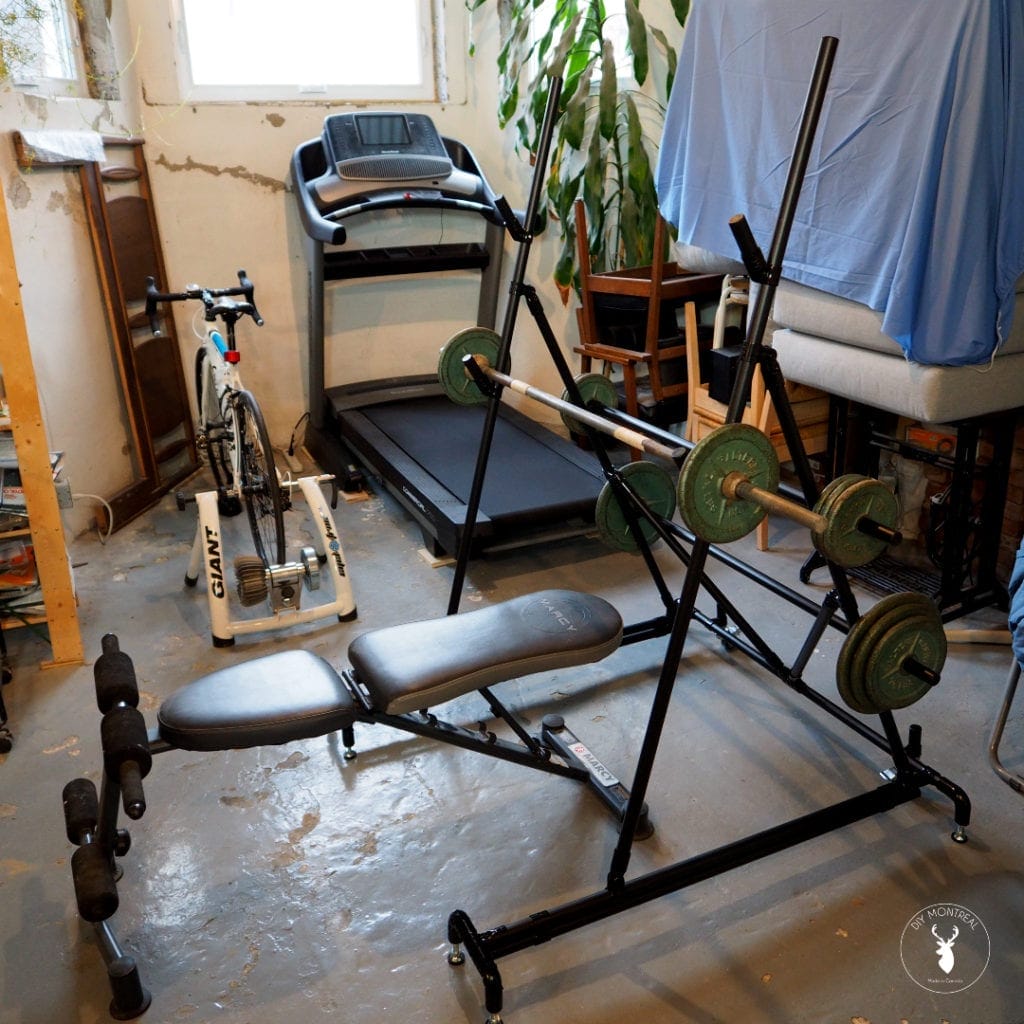
She then installed two crossbars at the back of the squat rack. Their purpose was twofold: to ensure better lateral stability and to store dumbbells. To make the unit even more solid, she also added two stabilization bars positioned between the upright part and the base of the DIY squat bench rack.
Bar support installation
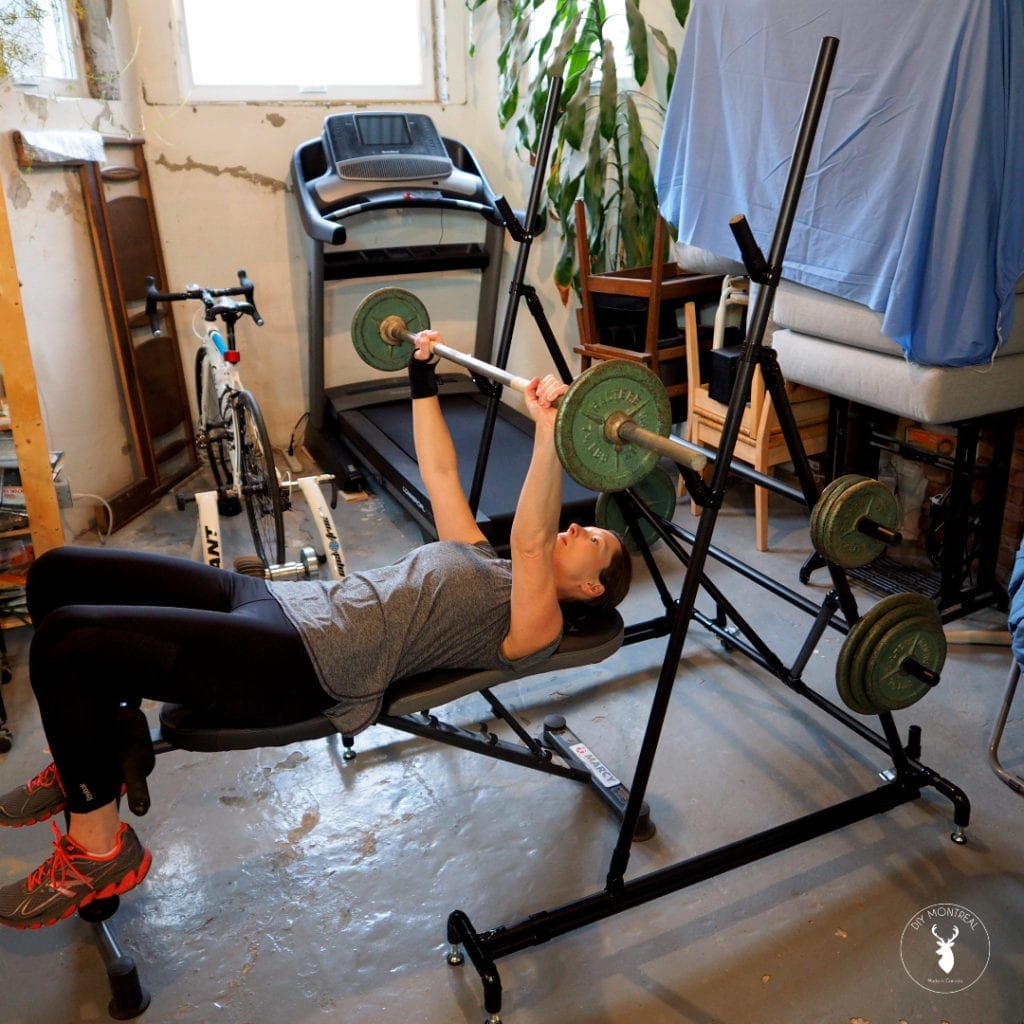
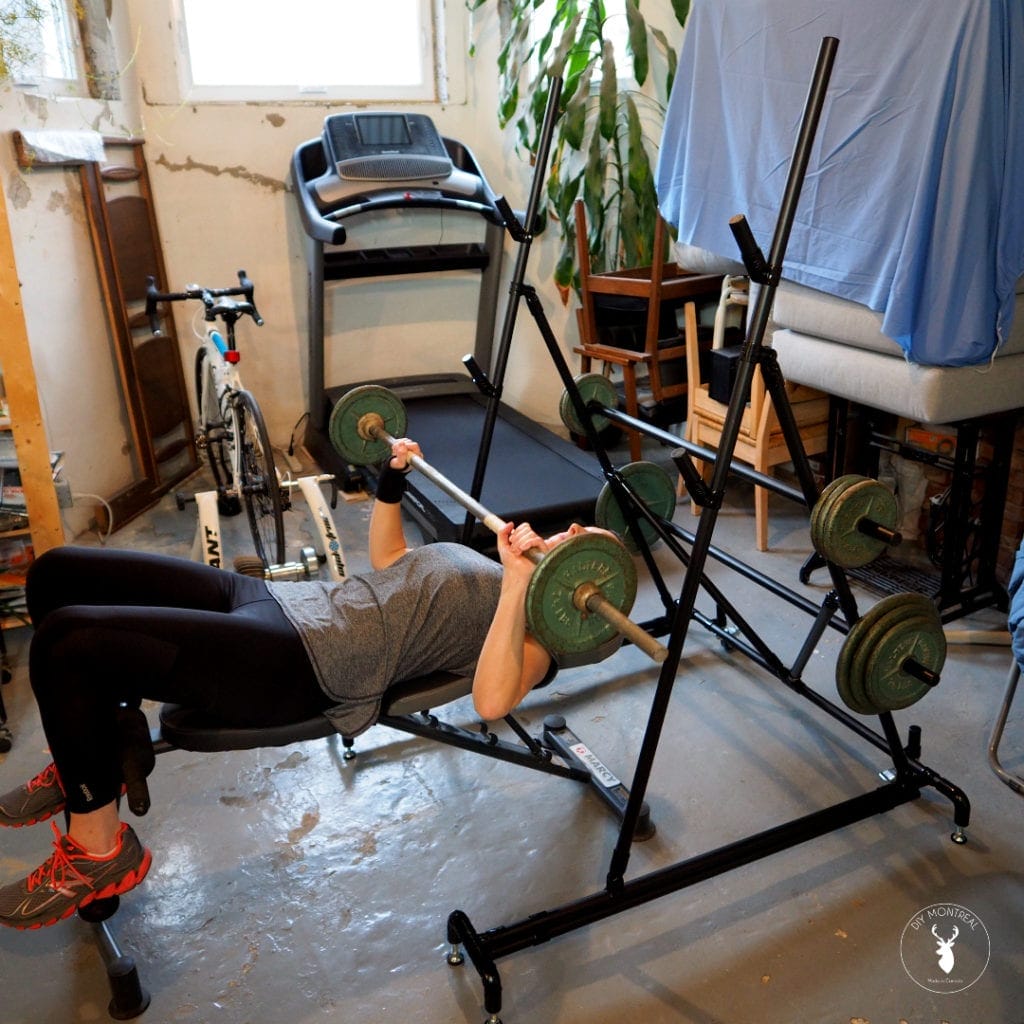
Marie designed her squat rack so that she could lift dumbbells while lying down and standing. She installed two supports intended to accommodate her weight bars, the first at armpit height and the second at hip height. In both cases, she used two pairs of black fix angle joint sets and small tubes installed on each side of the stand.
However, while doing bench press tests, she realized that the lower support was a bit too low. All she had to do was unscrew the screw on the two connectors to raise the brackets slightly, as tinktube products are very adjustable.
Once the two weight bar supports were at the correct height, she secured them with screws.
Adding wheels to facilitate movement
To make it easier to move this piece of bodybuilding equipment, Marie added two 2″ stem swivel casters with brakes on one end of the structure (see our tutorial for more details).
The wheels contact the ground only when the other end of the squat rack is lifted, like a lever. This way the structure remains stable during workouts.
A thrilled tubetinker!
Marie was super excited about her first experience with tinktube. She loved the tubes and connectors’ flexibility, versatility, and strength. Now she can work out safely at home. Are you also considering building a home gym? Take a look at our Inspirations and Plans section.
Do you also want to build your own gym at home? Take a look at this article listing several great home gym ideas!
Marie’s tips
- Keep small parts (screws, connectors, etc.) in plastic containers for easy retrieval.
- Order additional parts if you ever want to make any changes to your equipment along the way.
- Use a 5 mm Allen key to easily assemble connectors to tubes. Watch our tutorial for more information.
- Insert caps in the open ends of tubes not connected to other parts.
