Tinktubers, meet Luke Kennedy: an undisputed DIYer and projects enthusiast! Detail-oriented and highly motivated by opportunities to design any kind of customized project that will suit his quality criteria, Luke is the kind of tubetinker who’s always looking for ways to improve his environment. After building his own kitchen table, some bookshelves, a laundry rack, and more, he decided to build himself a DIY standing desk!
Luke’s project
Working in the field of quality management, Luke often brings home a load of work. Since he spends a lot of time working from home, he started looking for a customized working space that would help him be as efficient as possible. He wanted a home office desk that would perfectly fit his living space, one that he could roll over to his patio whenever he felt like working outside and one that would be ergonomically optimal. He looked online for material options… and guess what he found? He found tinktube.

Luke’s DIY standing desk made with pipes and fittings 
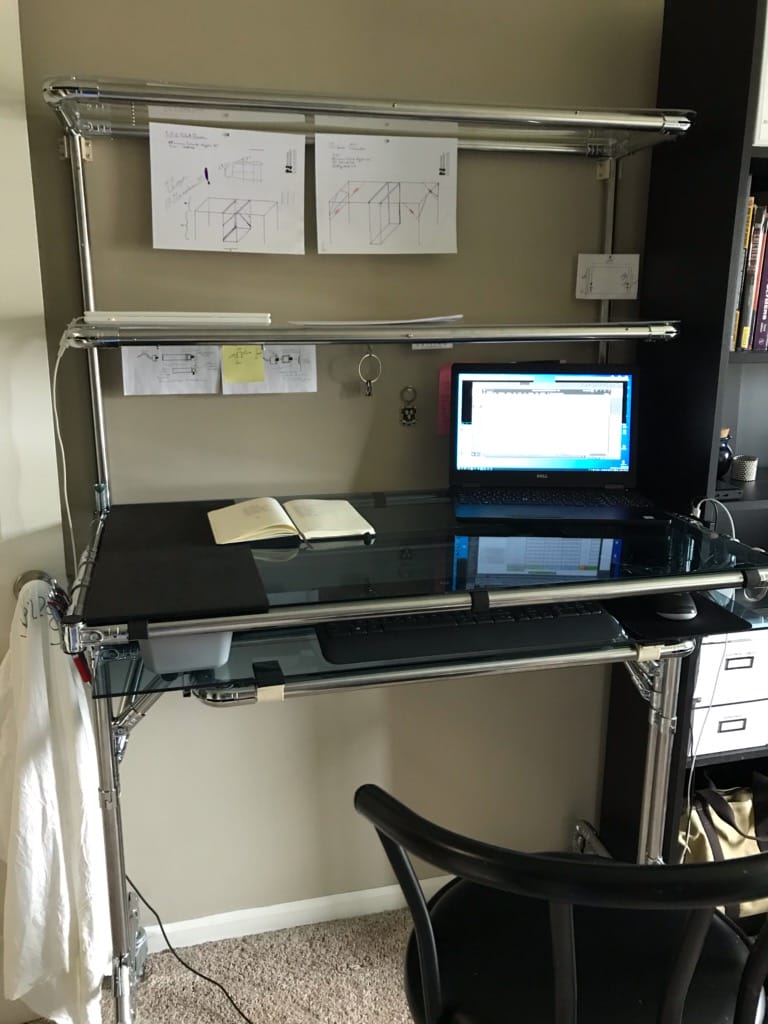
Entirely customized DIY work and study desk 
DIY standing desk made with tinktube
DIY standing desk: preparation is key
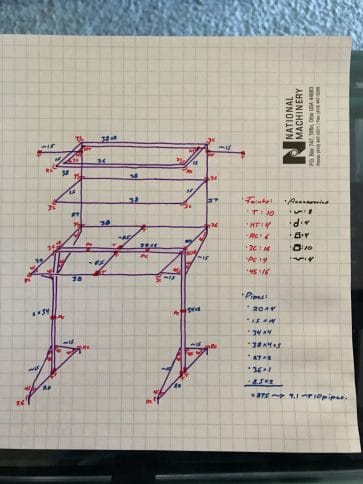
He started by drafting a plan. He already had an old desk from which he was planning on upcycling the glass surface -he liked the size-, so that guided him through his conceptualization process.
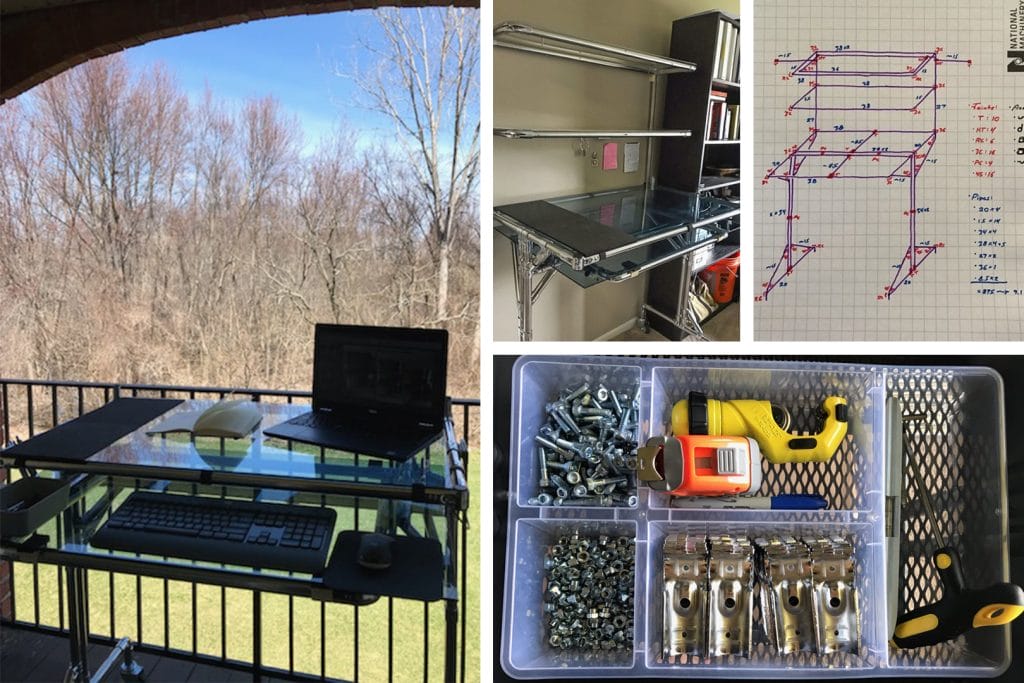
Used to drawing plans, Luke developed a color-coding method to gather and identify some specific information more easily.
For example, he draws the project to scale, then labels dimensions in one color and joints in another color.
This system facilitates the building process and makes it easier for him to order the right number of different parts and components online!
Once his tinktube order arrived, Luke was ready to start building his dream desk. He cleared his working space, organized all the components so they would be easy to find, gathered all the tools he would need for his project…
And the DIY journey began.
Cutting and assembling the pipes and fittings
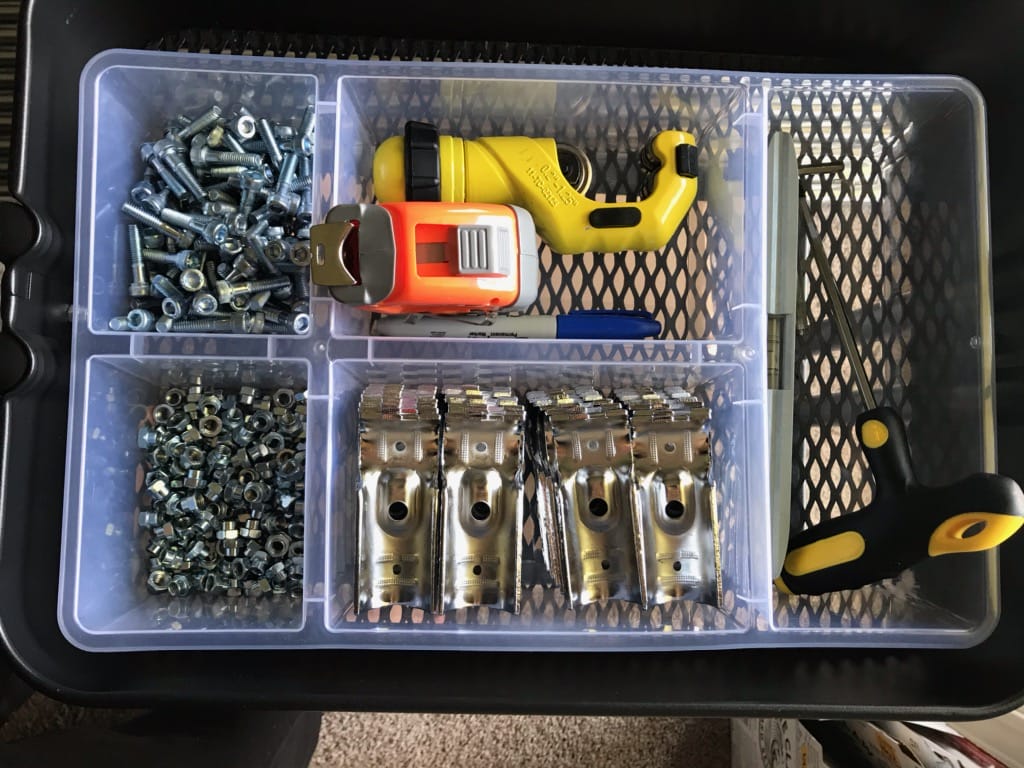
Because it was Luke’s first tinktube project, he had to learn how to cut the pipes. He used the pipe cutter, got his box of joint sets and tools ready, and proceeded. If you are planning your first tinktube project, here are some tips to help you cut the pipes!
Picture of a box of tools, connectors and hardware used to build project box of tools, connectors and hardware used to build project
If you are planning your first tinktube project, here’s a video to show you hot to cut the pipes!
Once this step was done, the rest was fairly easy. The only tools he needed to build the project were this Allen wrench, a level, a measuring tape, and a sharpie.
Our DIYer’s challenges
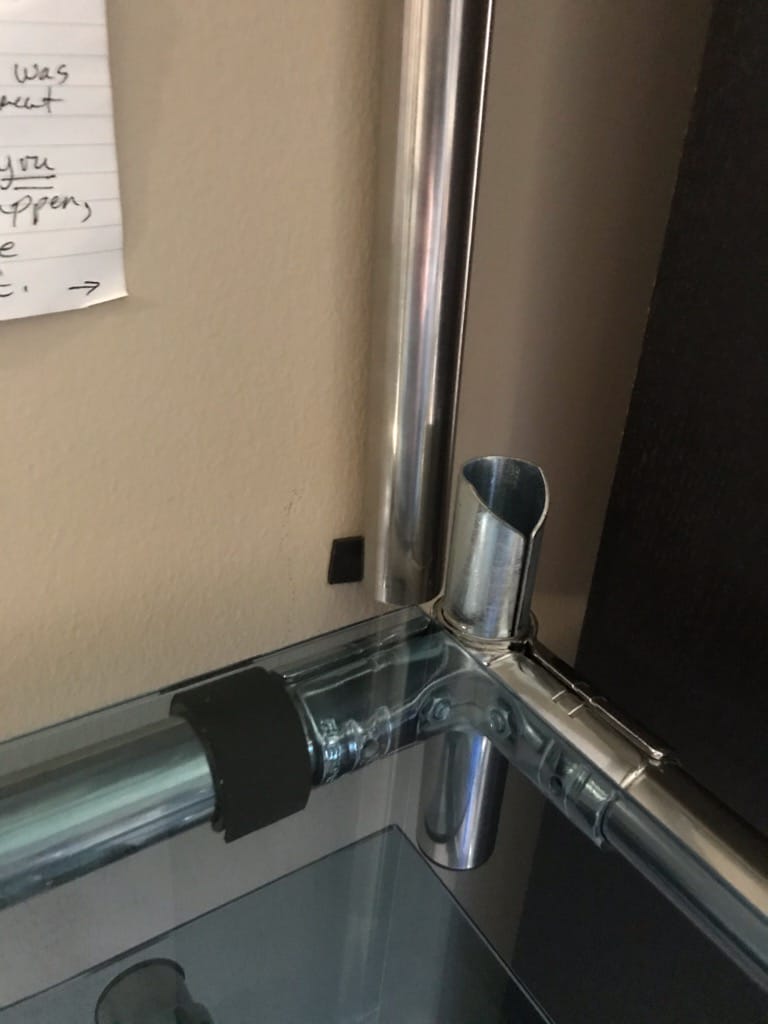
Constantly adapting was a key element to the realization of his DIY desk, especially during the assembling process, when our tubetinker realized the angle joints were a little different than what he expected and they would not be able to serve the purpose he had intended! Having assembled most of the desk already, he was familiar enough with the materials to redesign around the obstacle, pleasantly resulting in a more minimalistic framework without sacrificing structural integrity.
The perks of building your own DIY standing desk – Customizable hacks
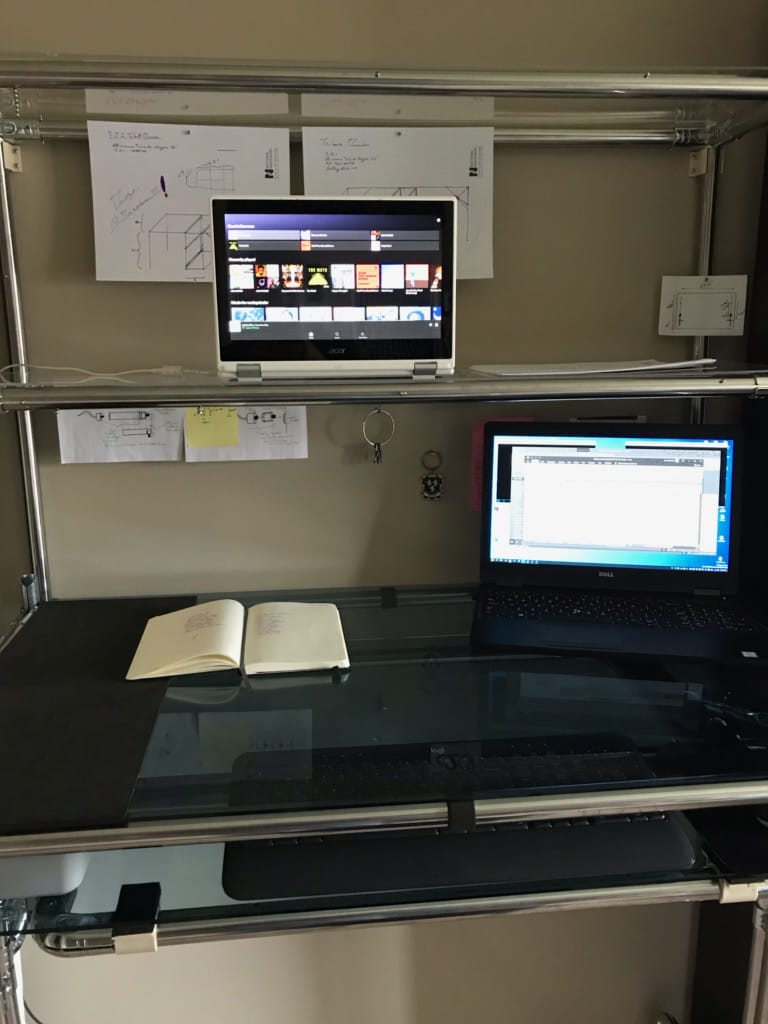
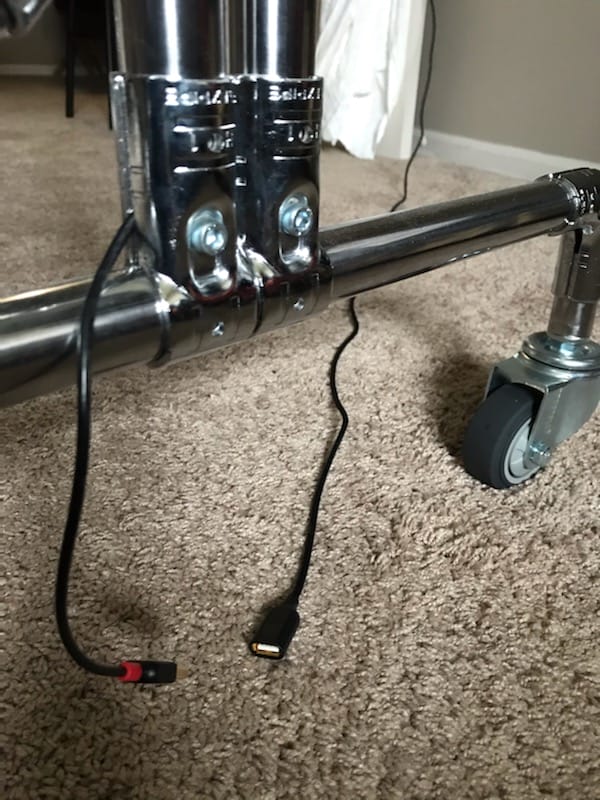
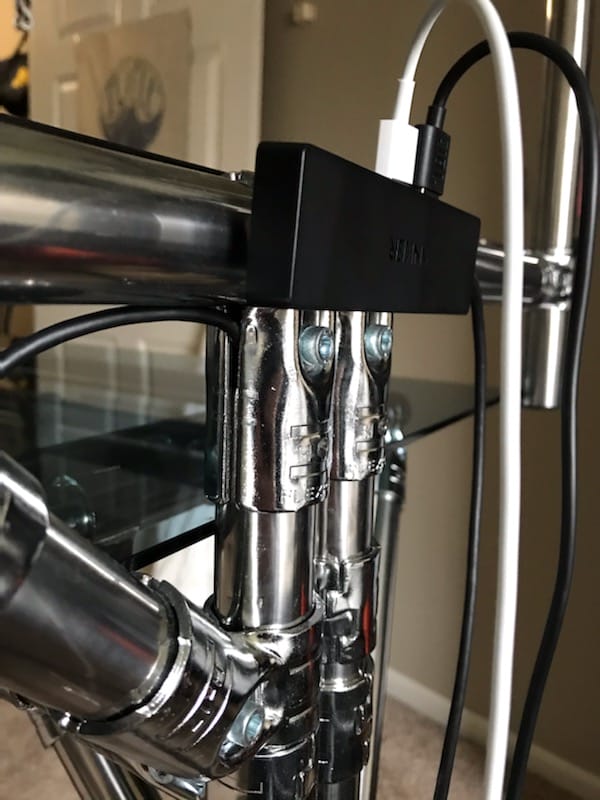
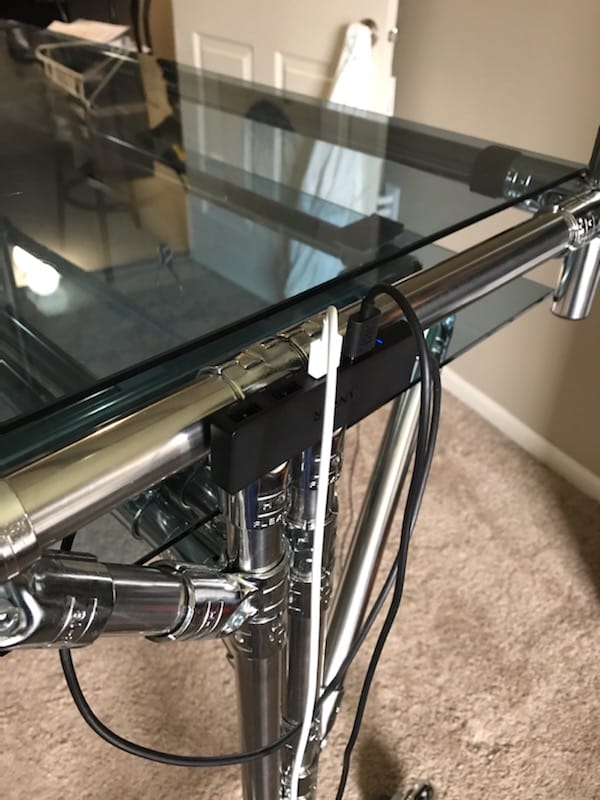
To make the most out of his DIY work desk, Luke decided to fix a USB phone and computer charging station to it, wiring the cables through the pipes -a clever idea! -.
The charging station allows him to move the desk around easily without having to unplug his work tools every time.
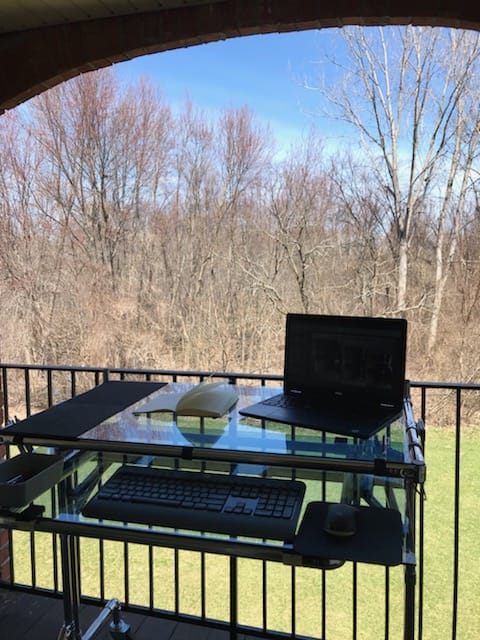
USB phone and computer charging station on DIY desk USB phone and computer charging station on DIY desk USB phone and computer charging station on DIY desk USB phone and computer charging station on DIY desk Picture of Luke’s outdoor work station
Since Luke wanted to move the desk from his living room to his patio –outdoor workspaces are a thing, guys, and they are great for professional motivation!-, he fixed wheels to the desk.
Here is a video if you want to learn how to fix whels to a structure:
Bottom sliding surface
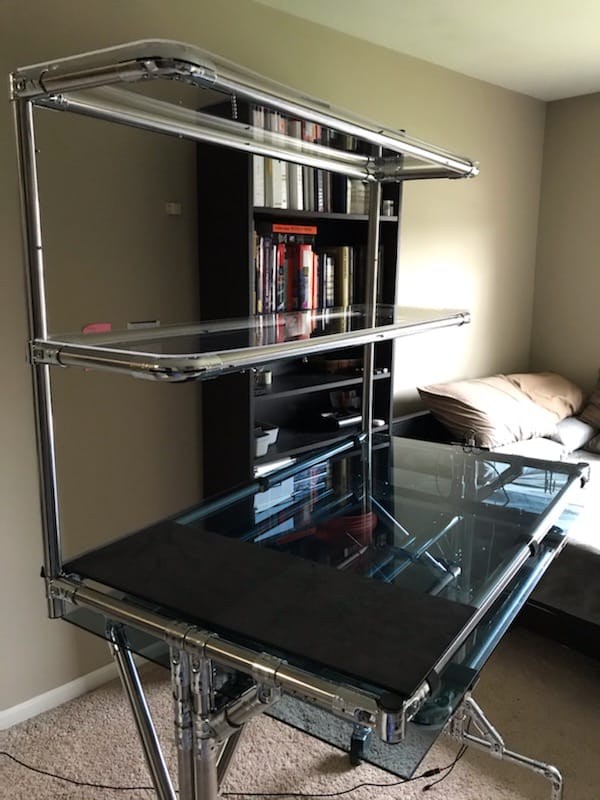
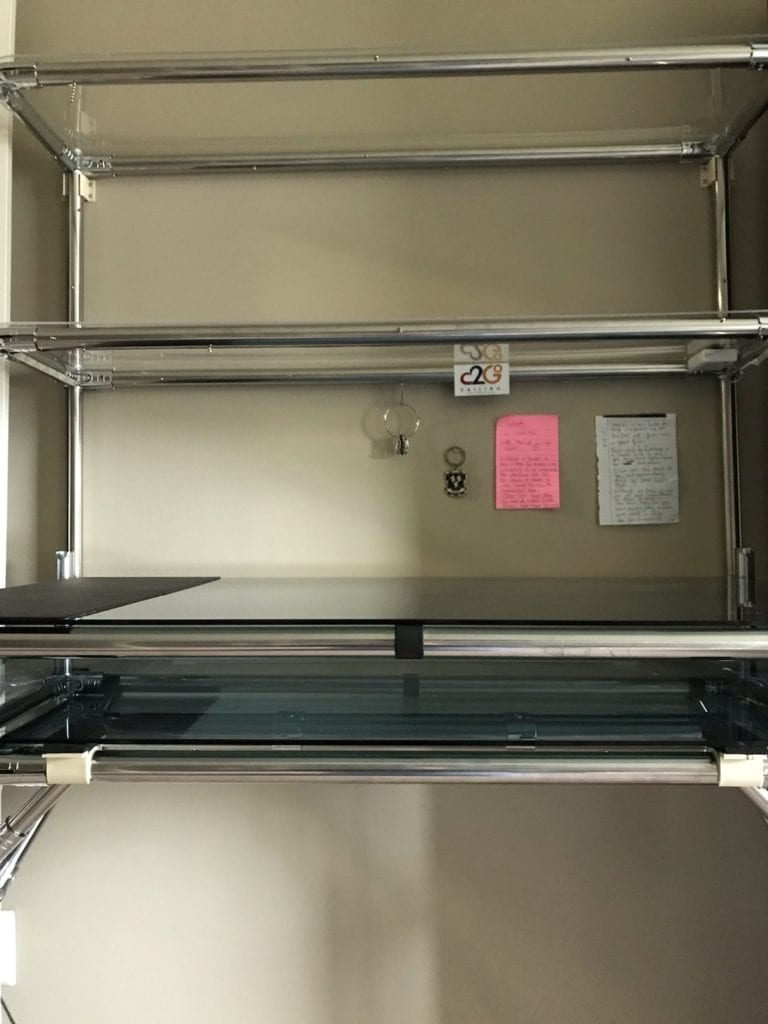
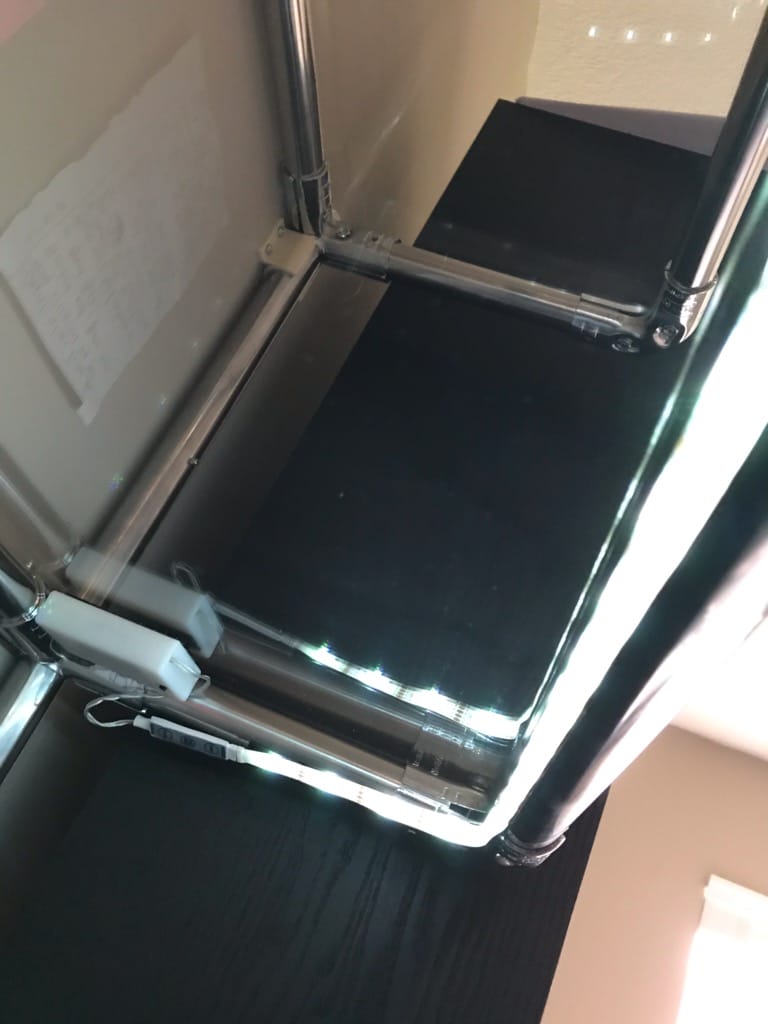
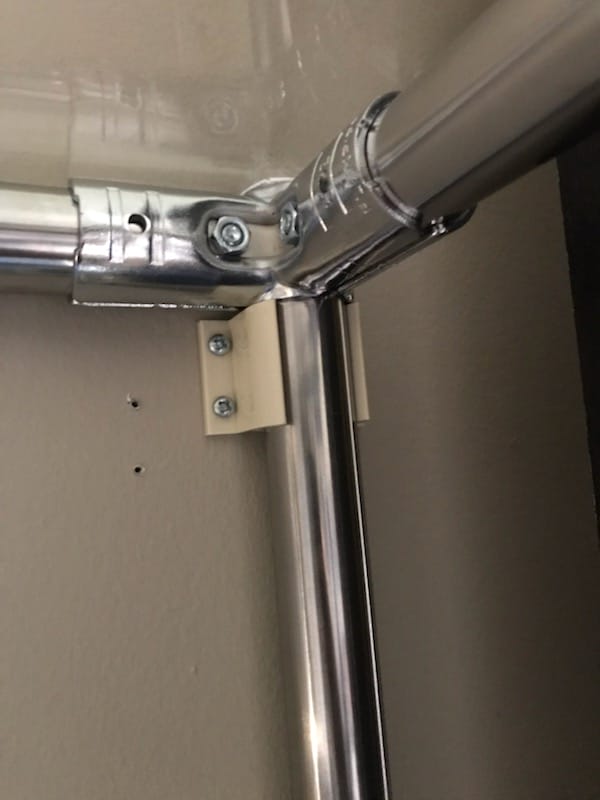
Luke created an optional shelf unit that can either be fixed to the wall or to the desk on.
Optional shelf unit that can either be fixed to the wall or to the desk Part of a shelf unit that can either be fixed to the wall or to the desk Pipes when shelf unit is moved
Final result
Luke can now enjoy an optimized work desk adapted to his needs. Well done Luke!
Luke’s tips ?
- Adaptation is key: when “DYI-ing”, keep in mind that adapting your methods will help you build the best version of your project!
- Organization is -also- key: make sure all your project’s tools and components are easy to find once you start. You don’t want to spend all your time and energy searching for things once you’ve started your project!
- Be creative: Creativity is what DIY projects are all about. Use your imagination to build something that’s really going to make a difference in your quality of life!
If you want more ideas to build your own DIY pipe desk, you should really take a look at our new Pipe Desks Ideas.
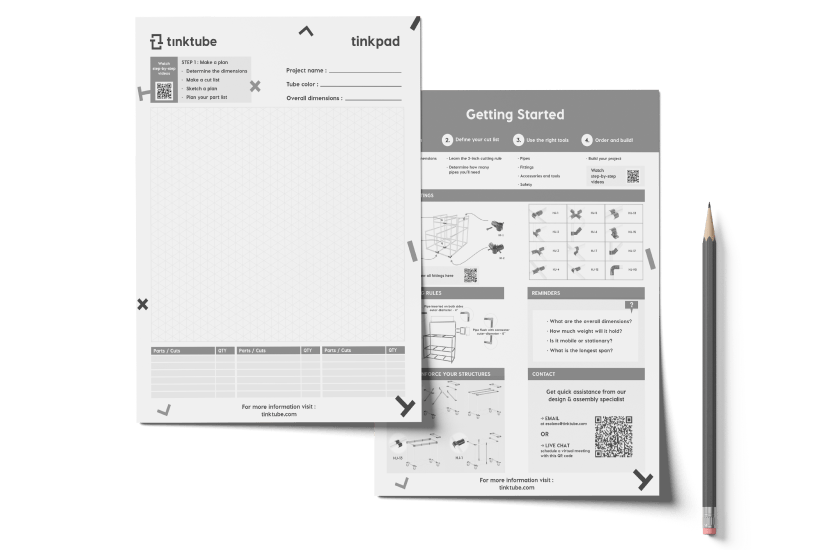
Adapt this project with the tinkpad!
Draw your project with this free printable tool which includes an isometric grid and our best tips to get started.
