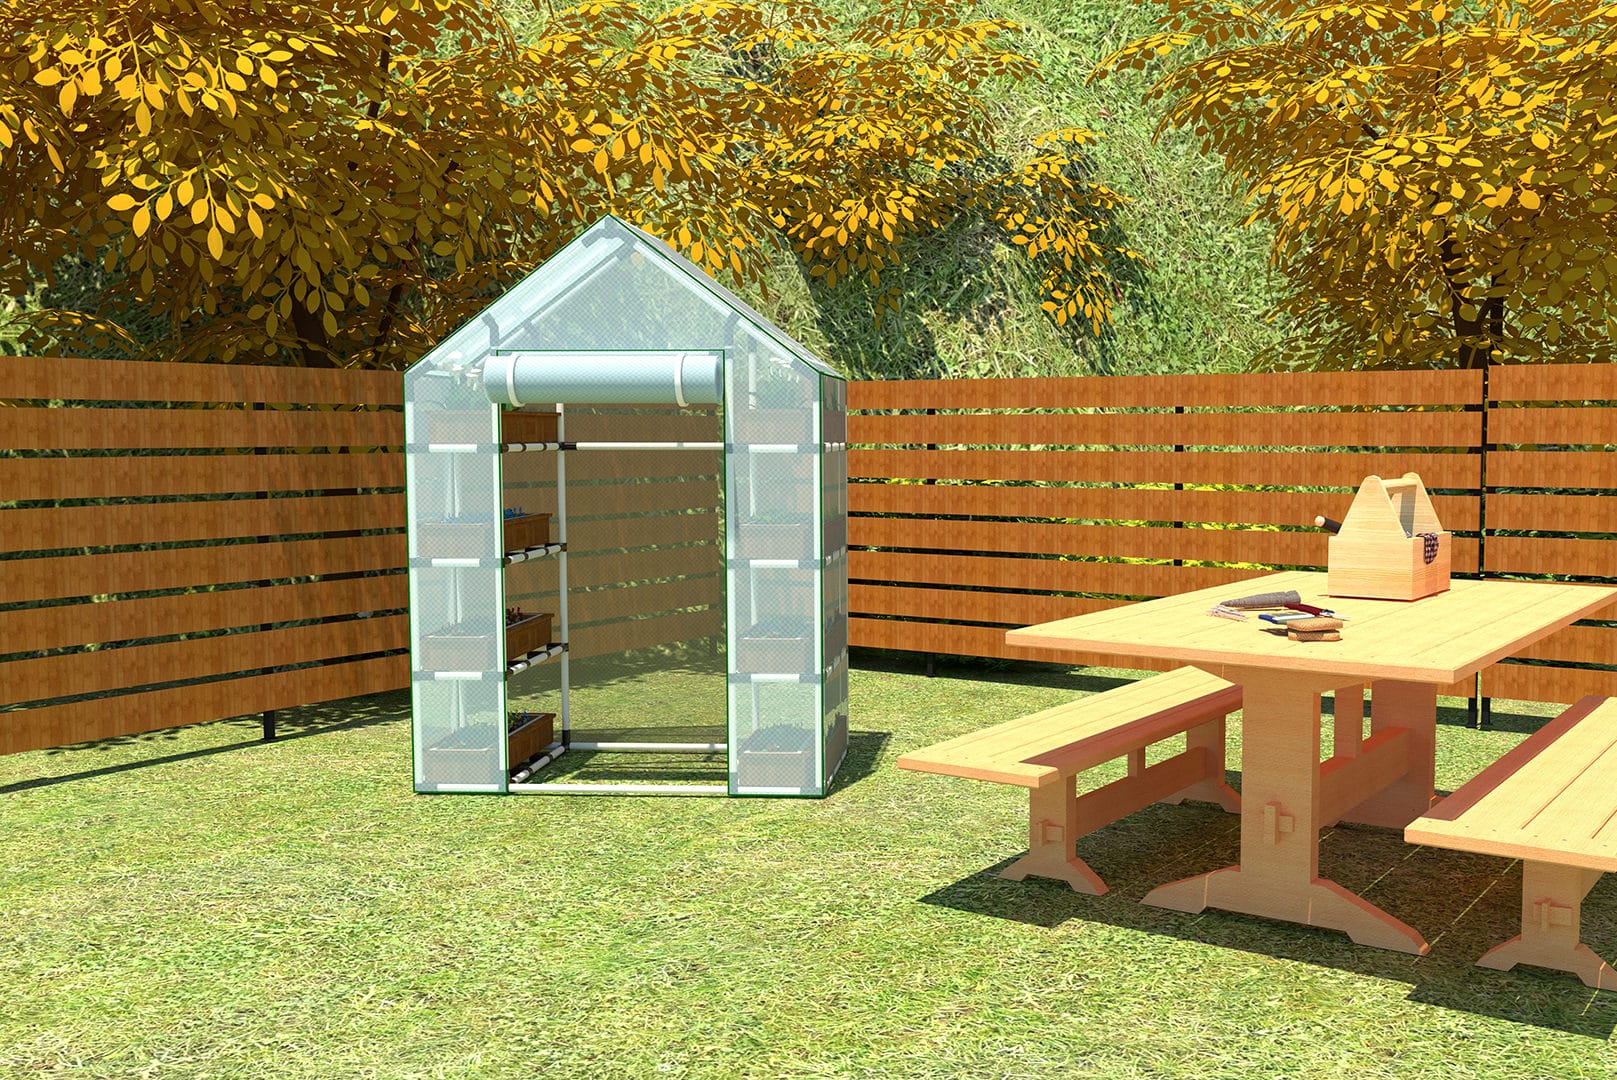
If you are a fan of green DIY projects, you may have already visited the GreenShortz DIY YouTube channel. This is administered by the friendly and resourceful Tom and is a wealth of information for people who want to build all kinds of green structures at home without spending too much money. In fact, in one of his latest videos, Tom decided to build the roof of his DIY greenhouse by using tinktube tubes and connectors. And as you’ll see: the result is really cool!
A versatile roof
Initially, Tom intended to use PVC. But when he heard about tinktube products, it was love at first sight!
Unlike many traditional materials, tinktube products offer better durability. If Tom ever decides to change his greenhouse’s roof, he can always reuse tinktube to create something else, instead of throwing away the products. It will thus reduce his environmental footprint.
The DIY greenhouse
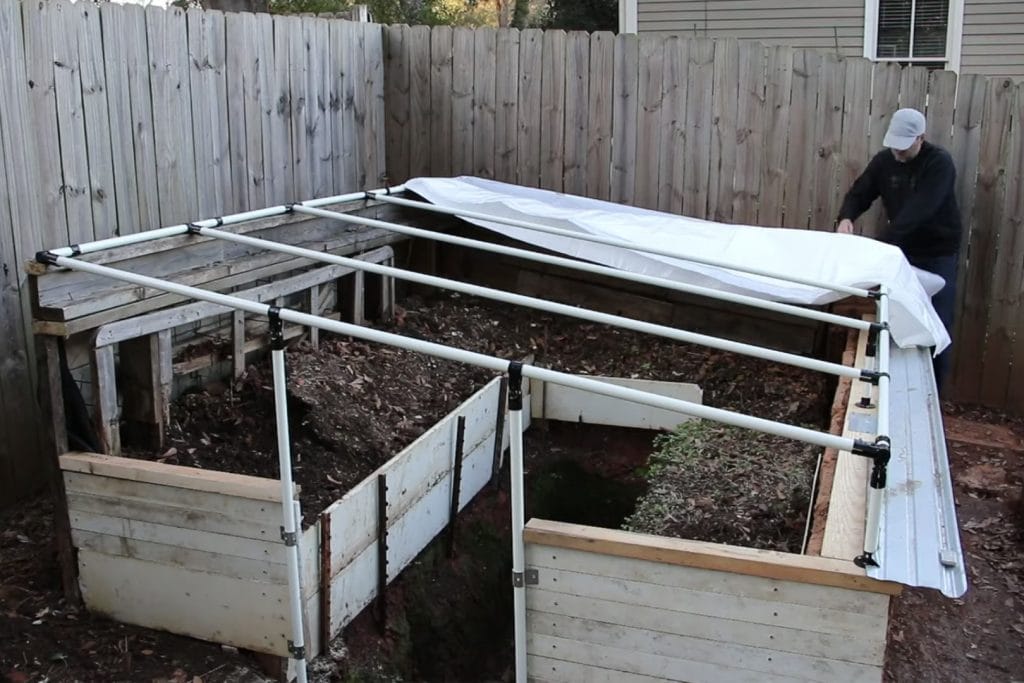
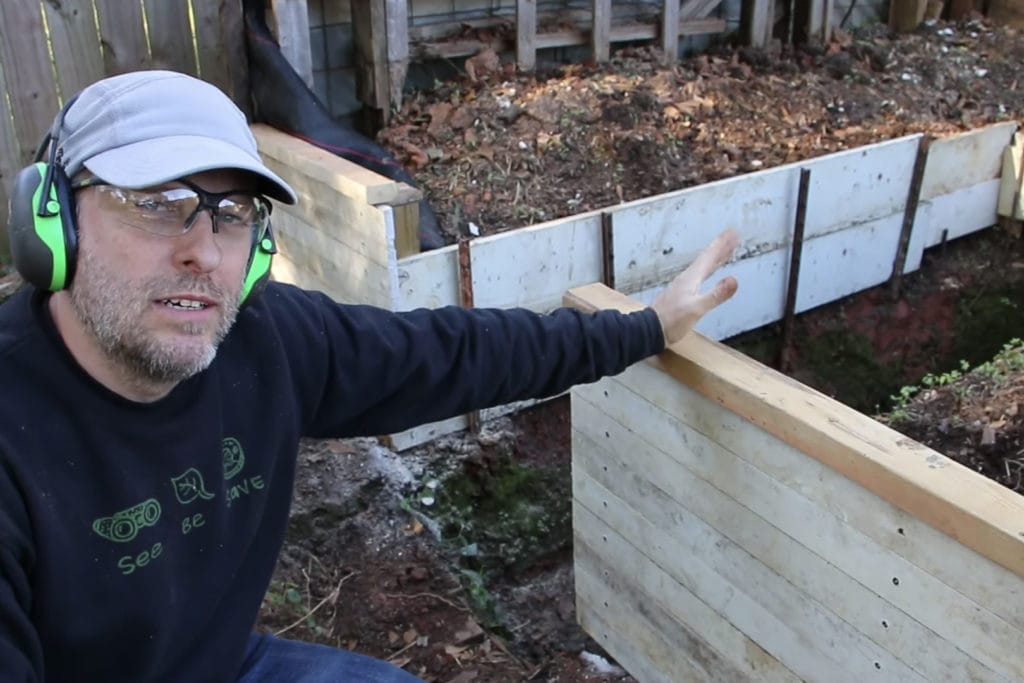
Before starting construction on the roof, Tom had already built the base of the greenhouse out of adobe bricks and wooden boards. It was mainly on these boards that the eight-by-twelve-foot roof would rest.
The front of the greenhouse was also lower than the rear to create a slight slope to facilitate water flow. The roof angle not only helps with drainage, but the angle also faces the southern exposure, so the greenhouse captures more sunlight, especially during the winter months.
Getting to work!
To build the roof of the DIY greenhouse, Tom proceeded in stages. He got the plan he had previously drafted and followed it through the assembly process:

He then measured and cut the tubes, reamed out the cut tubes, and started to assemble the first connectors together.
Then he assembled the first half of the roof using six tubes: four vertical and two horizontal.

Then, he placed this first part on the base of the greenhouse. To secure the upper end of the roof to the rear, he used an HJ-15 connector, which saved him from drilling into the tubes.
Instead, to secure the lower end of the roof to the front, Tom used short tubes a few inches long installed perpendicular to the wooden boards, much like pillars. He used metal structural anchors to attach the tubes to the wood and connectors to connect them to the roof. Only three tubes were needed, as the structure was very solid.
With the first half of the roof complete, Tom tackled the second part using much the same working method.

When the roof was fully assembled, the handyman built the greenhouse door using two tubes as a frame. Since the roof was sloped, the handyman used swivel angle connectors to properly connect the two tubes to the roof.

Lastly, when the entire structure was installed, Tom was able to lay the plastic wrap. He used magnets and a few shims to attach it to the tinktube structure. Thanks to the presence of vertical tubes every two feet, the roof easily stayed in place.
After only a few hours of work, Tom now has a greenhouse in which he can grow vegetables, rain or shine! He really enjoyed his experience with tinktube and says it won’t be his last project!
Products used
Like many tubetinkers, Tom used very few materials and tools, which allowed him to quickly get his custom project underway.
In terms of materials, the handyman used:
| Qty. | Parts description |
|---|---|
| 14 | 92-inch white tubes |
| 12 | black HJ-1 connectors |
| 12 | black HJ-15 connectors |
| 3 | black HJ-4 connectors |
| 5 | black HJ-6 connectors |
| 6 | black metal structural anchors |
| 40 | black shims |
And white polyethylene plastic film for a 10 x 25 foot greenhouse.

Tom used the following tools:
- A drill to attach the connectors to wooden boards
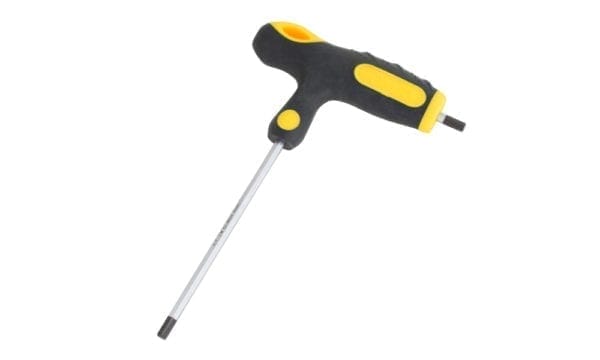
- A 5mm Allen key to open and close the connectors (99% of tinktube connectors use M6-25B bolts)
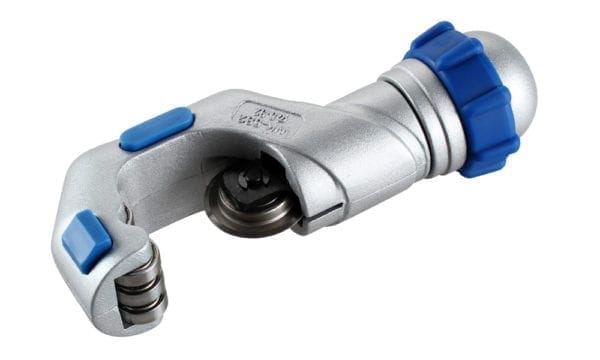
- A pipe cutter with a blade to cut certain tubes to the correct length.
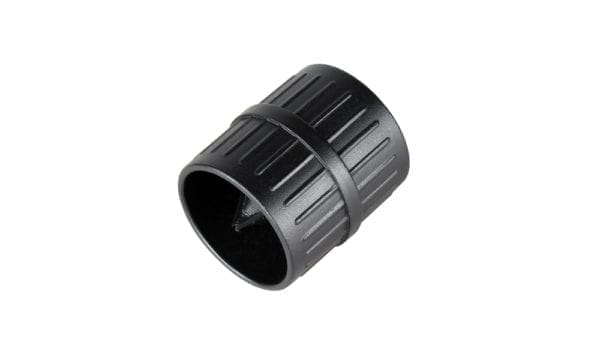
- A pipe reamer to clean the inside bore of the tube and to deburr and bevel the outside part.
Are you wondering how easy it is to cut pipes with a pipe cutter? Here’s a tutorial that may help you!
If you’d like to see Tom’s step-by-step video for this DIY greenhouse:
We can’t wait to see his next DIY creation!
If you want to see Tom’s other DIY projects, visit the GreenShortz DIY YouTube channel!
Tom’s tips ?
- The connector dovetails must be properly closed before inserting the tube.
- When making measurements, take into account the length of the connectors, which can add a few inches to the length or width of your structure. To learn how to measure the length of your tubes, watch this tutorial!
- Always ream out cut tubes, even those that aren’t accessible. This way, if you reuse your tubes, you’ll avoid injuring yourself on tubes with sharp ends.
- Use caps to cover the ends of tubes that come into contact with the open air to prevent rust from forming. To learn more about using tinktube products outdoors, read this article.
You liked Tom’s DIY greenhouse and would like to see other DIY projects? Here is a free plan to learn how to build your own greenhouse.
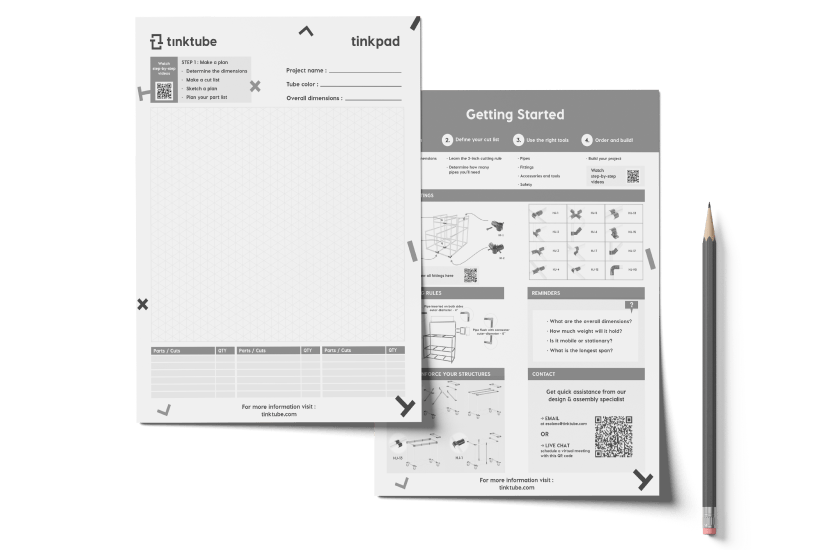
Adapt this project with the tinkpad!
Draw your project with this free printable tool which includes an isometric grid and our best tips to get started.
