If you’re like us, you know every single square foot of your workshop counts. Why? Because space optimization is the perfect opportunity to maximize your efficiency. In the DIY world, efficiency lets you create more fascinating projects, in a safe and pleasant environment. On top of being ergonomic, a good workbench can also increase storage space, helping you maintain a better organized work area. So, what’s not to like about DIY workbenches? If you’ve decided to build your own, we’ve got the perfect plan for you. It’s free and it’s relatively simple to follow, in just 4 steps.
If you’ve never used tinktube’s construction system to build anything before, you may also want to make a detour by our Getting Started section. This is where you’ll find basic information on how to make your plan, determine your cut list, use tinktube’s tools and build your project!
1. The parts you’ll need
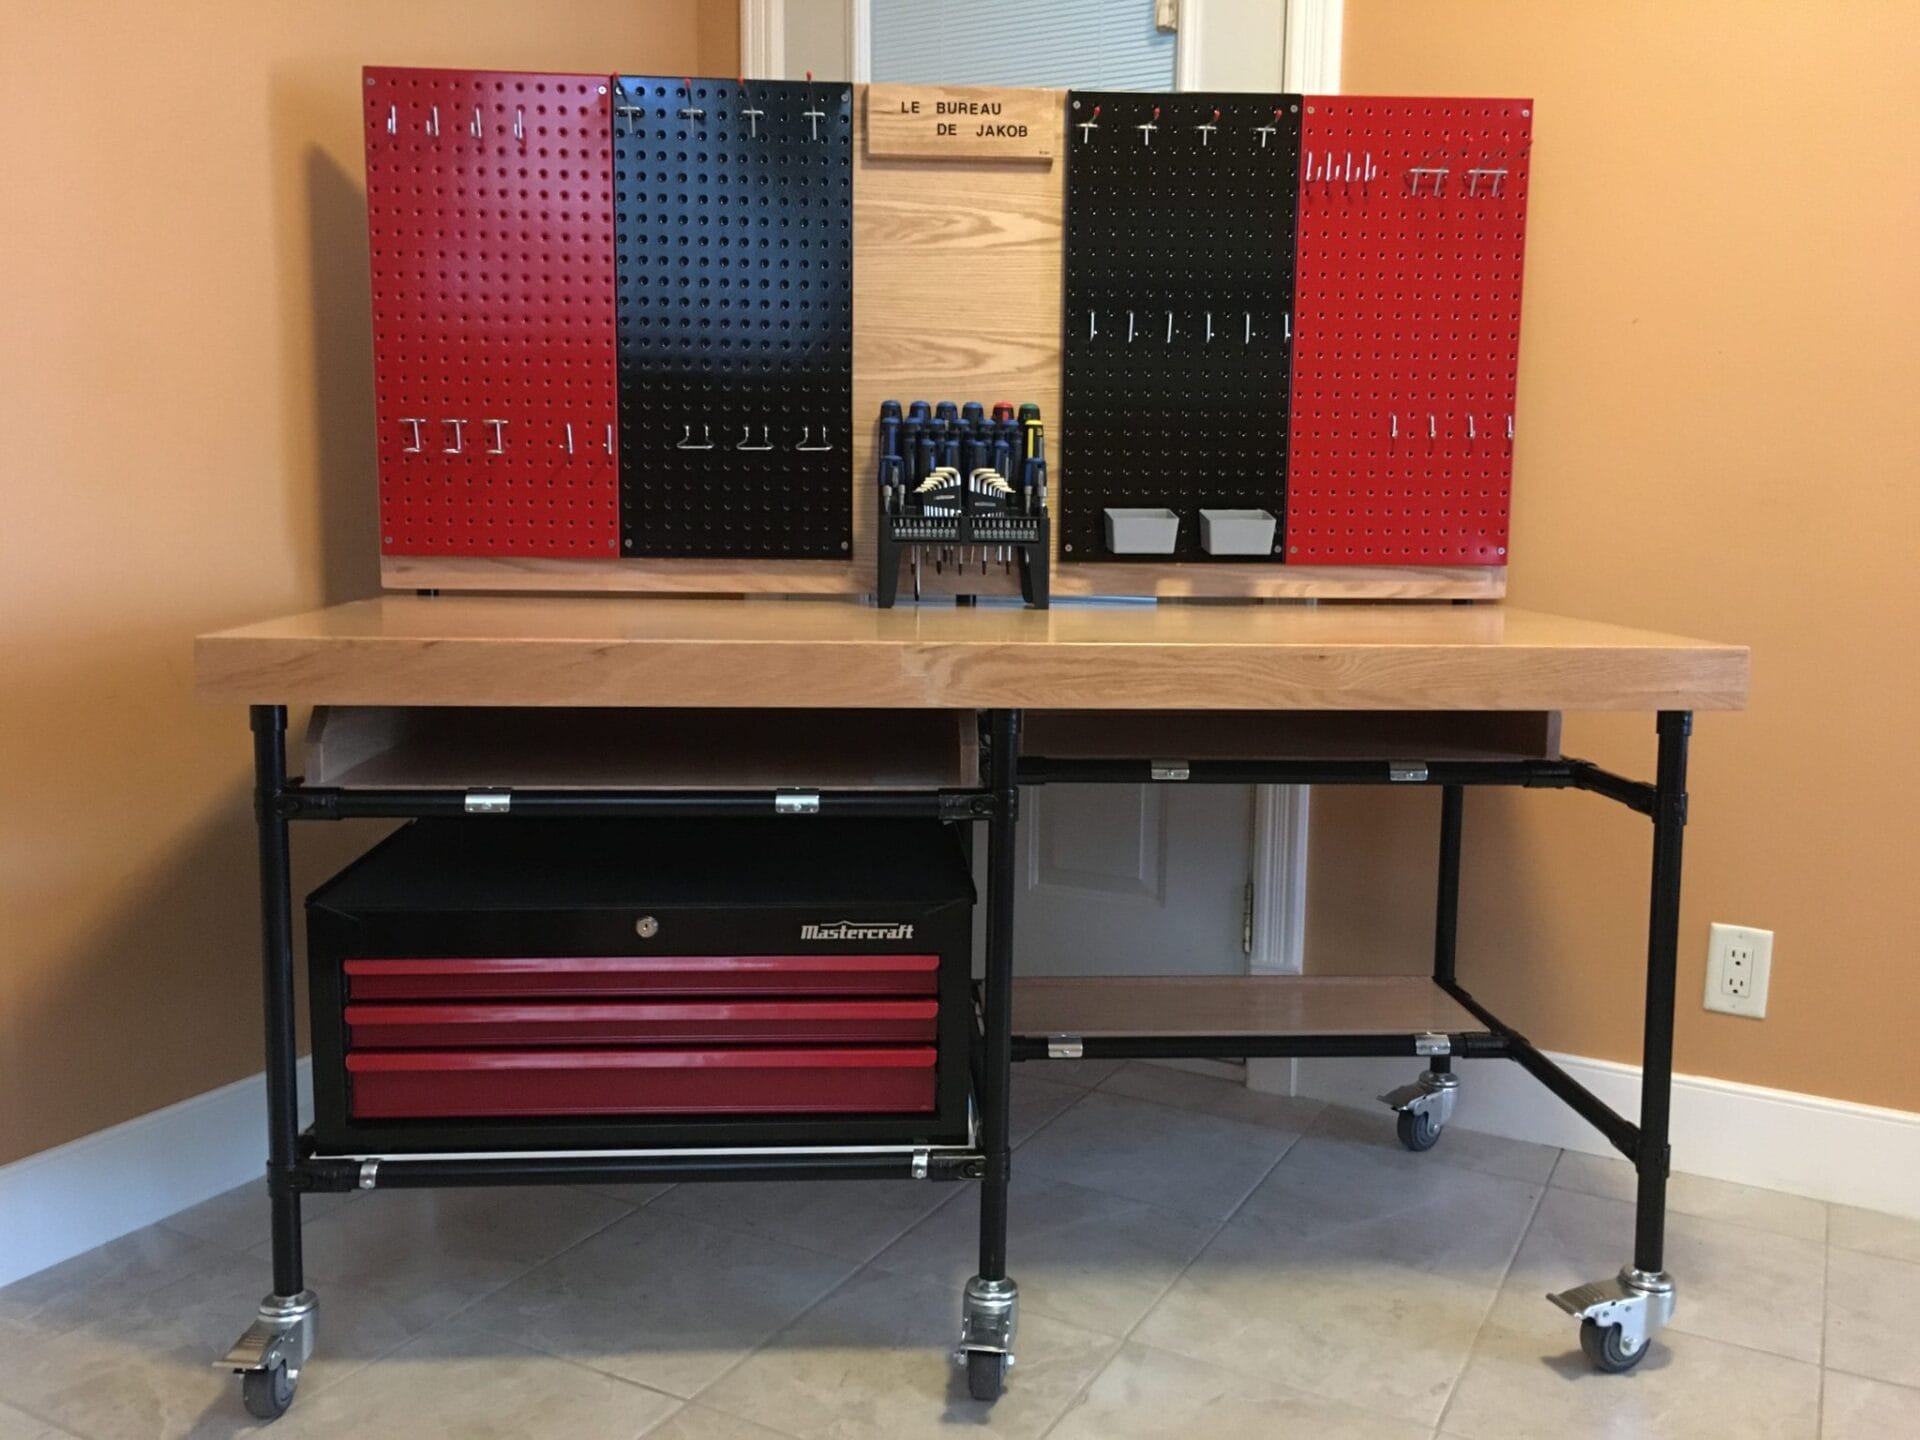
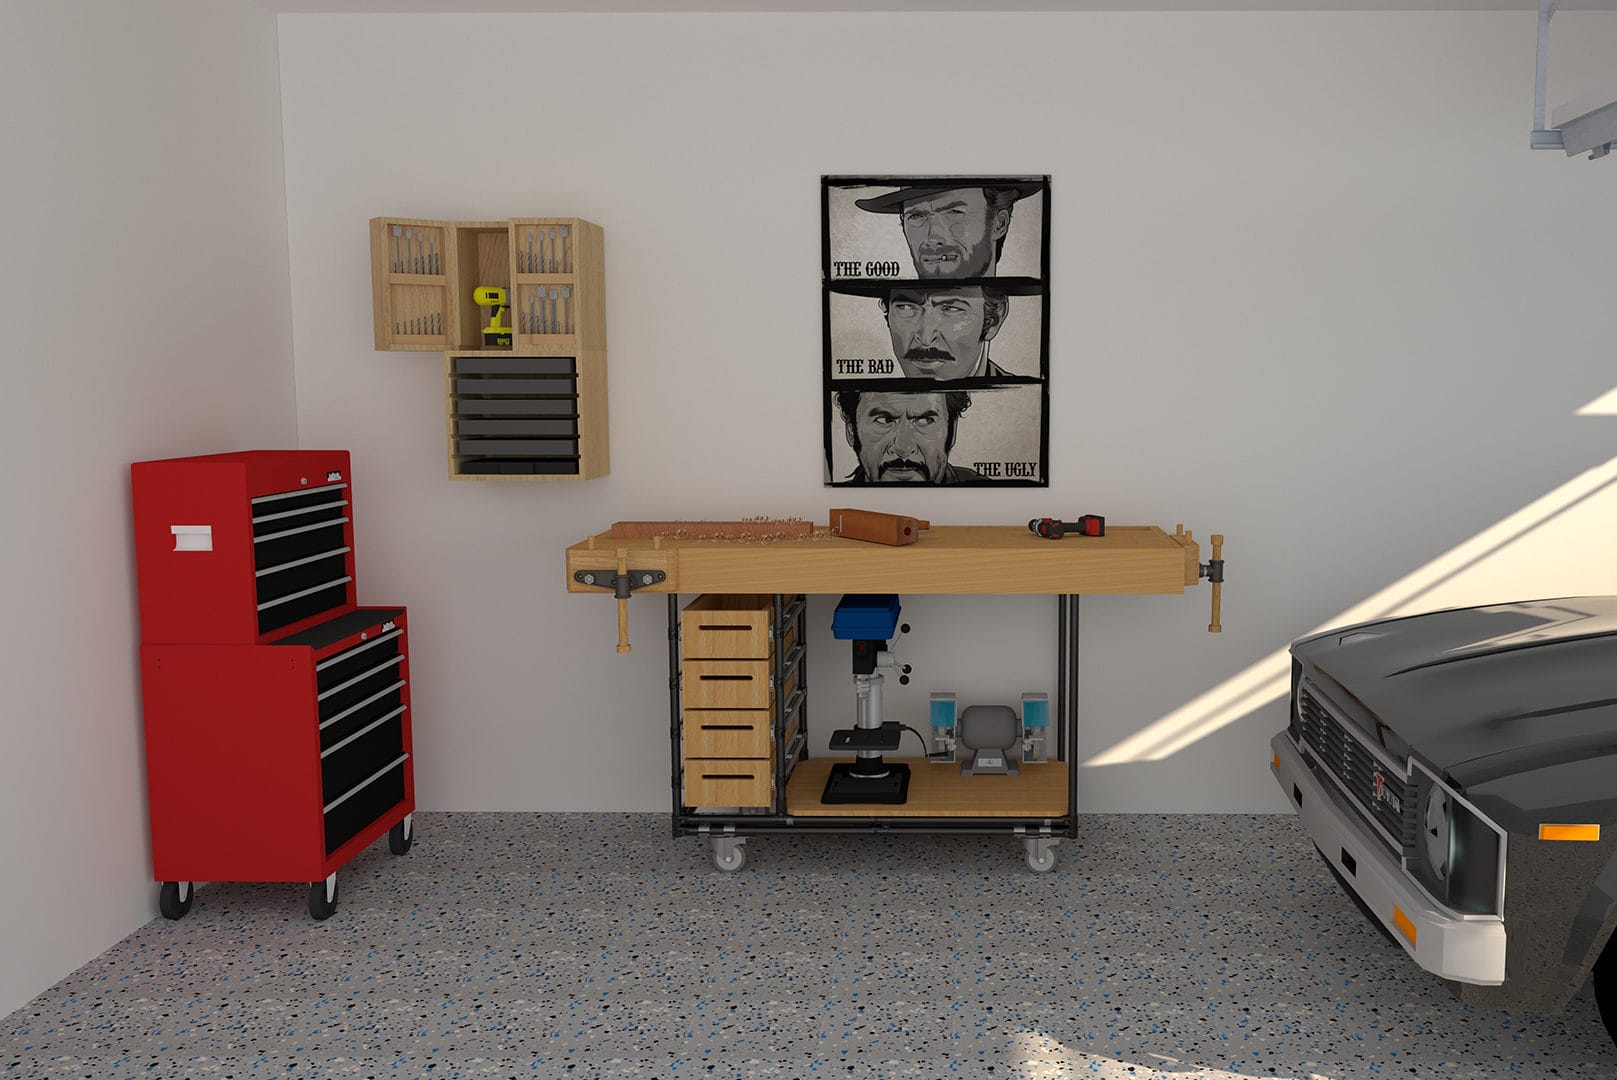
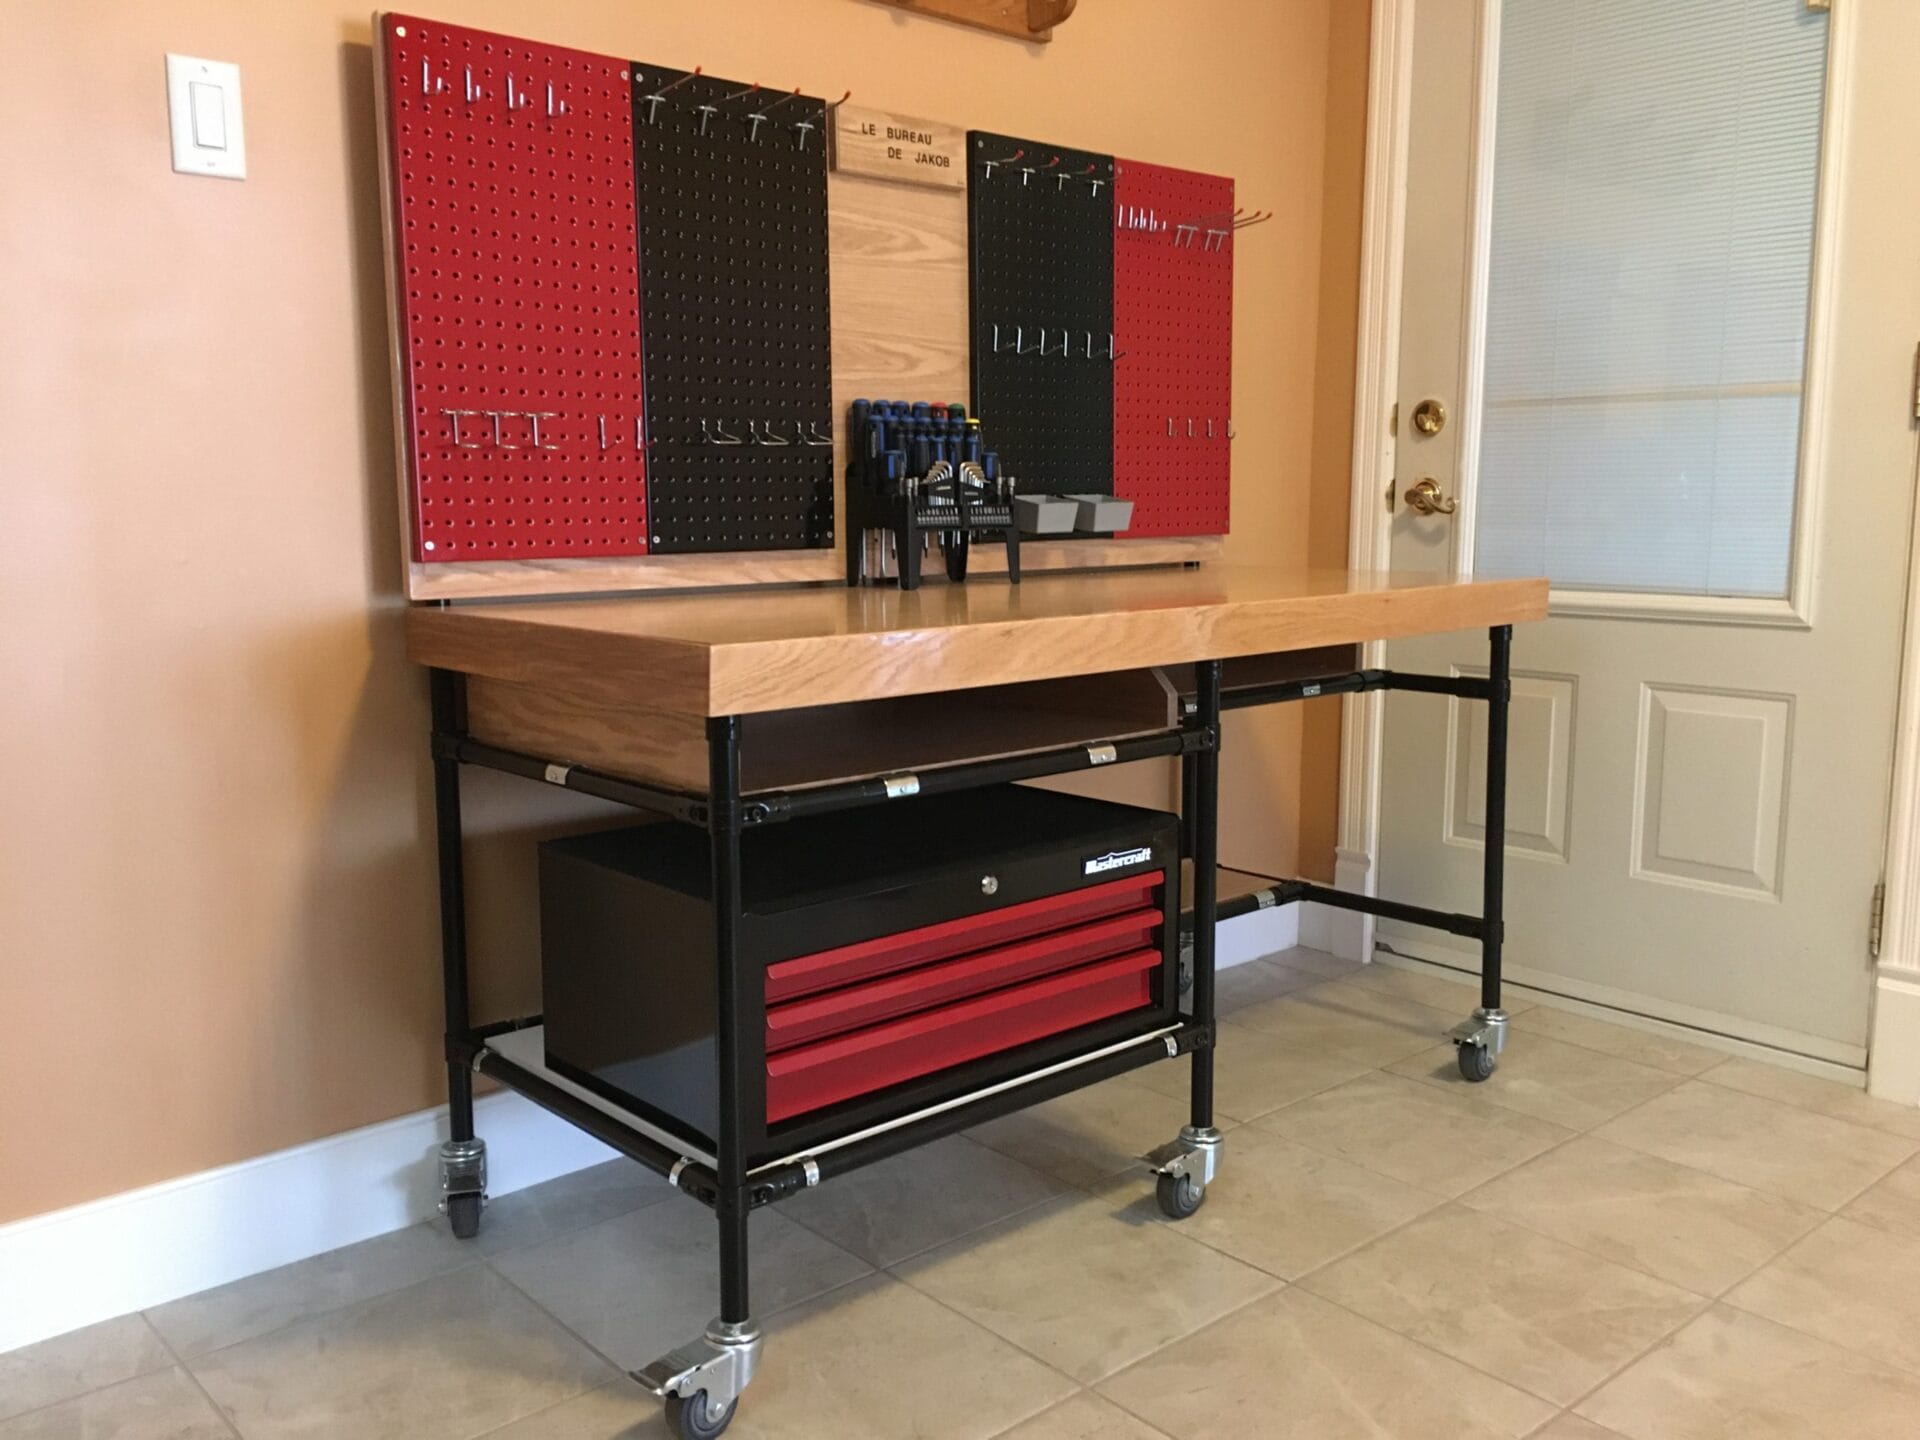
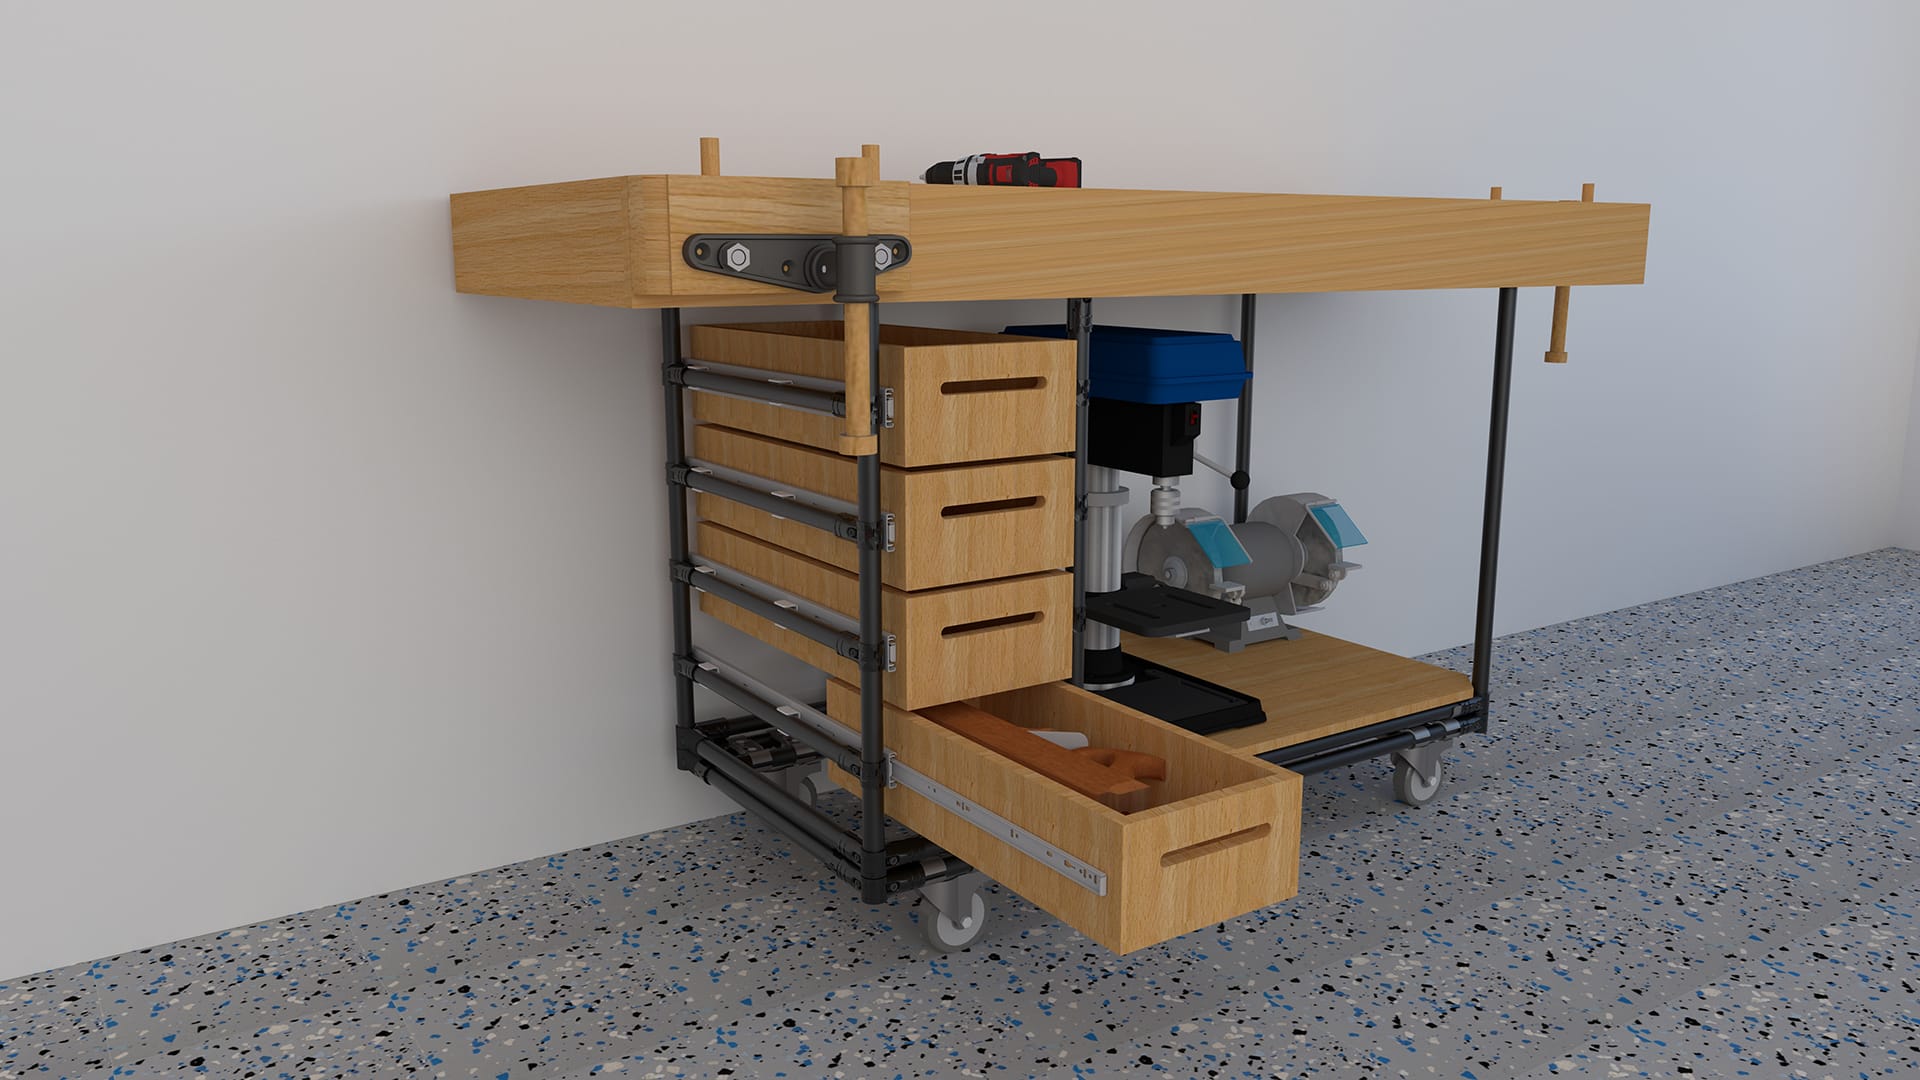
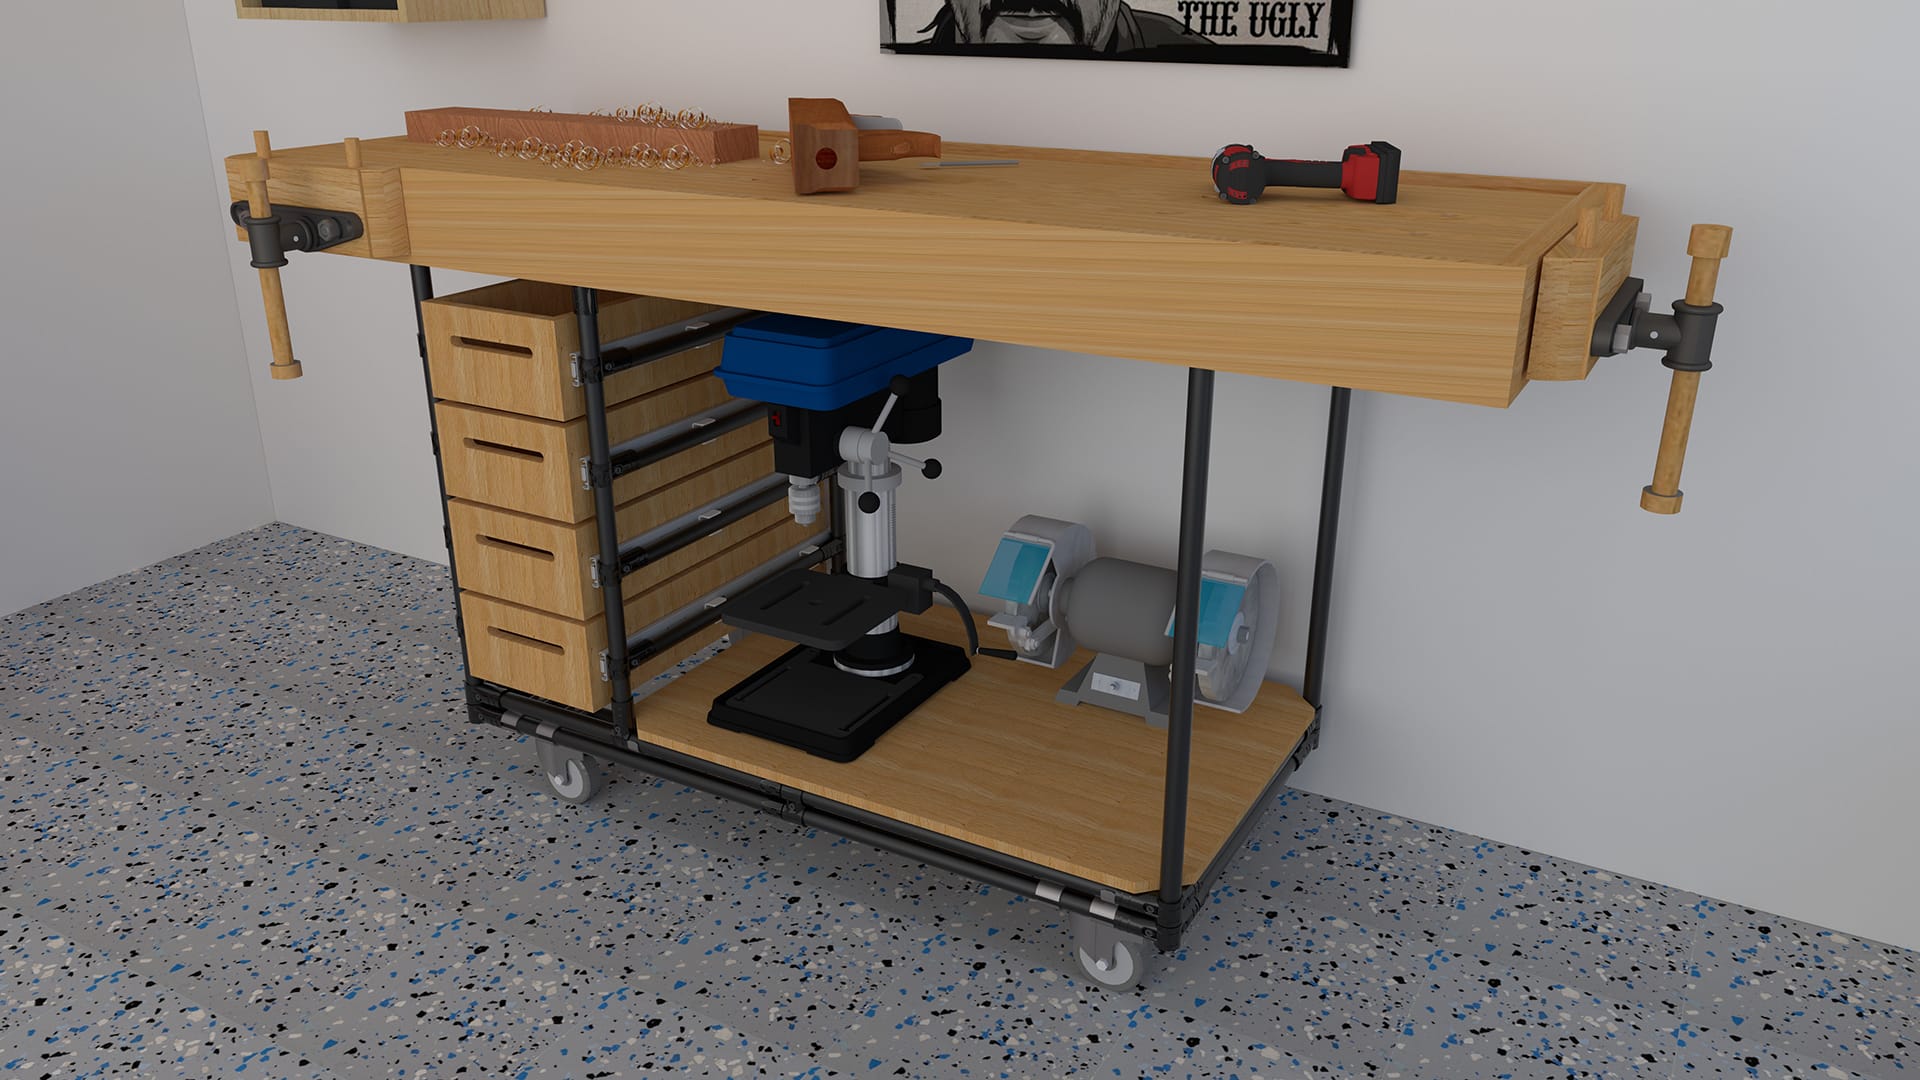
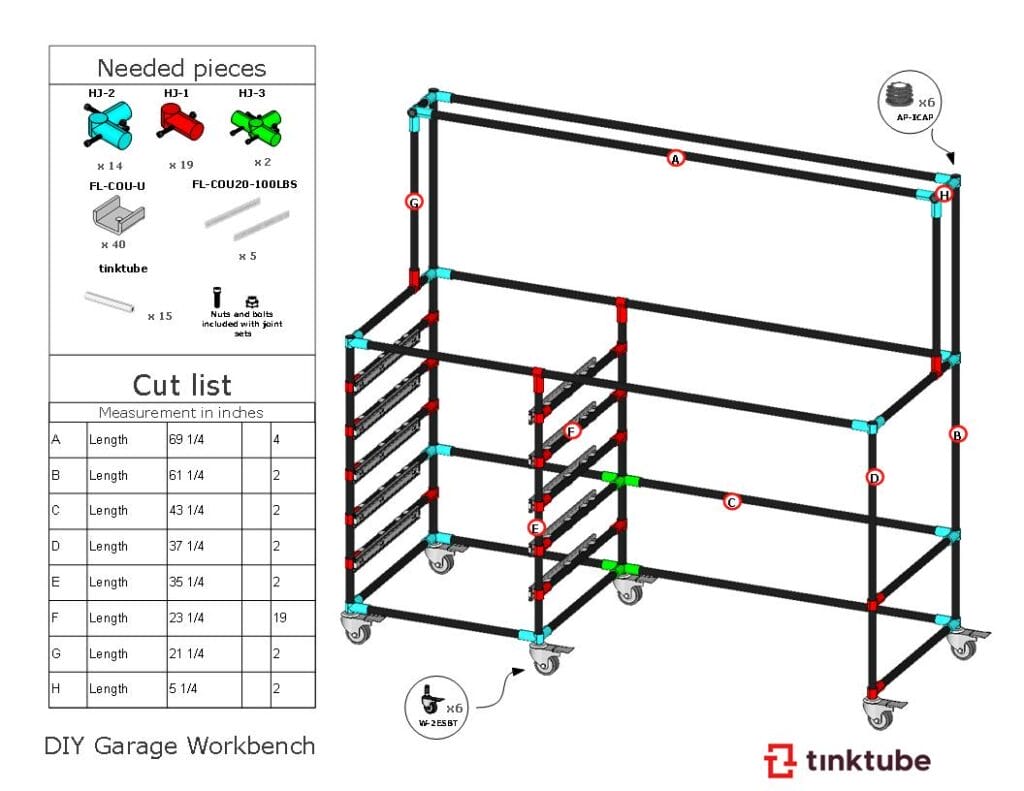
This free plan gives you an idea of how to build a project that’s similar to the workbench below.
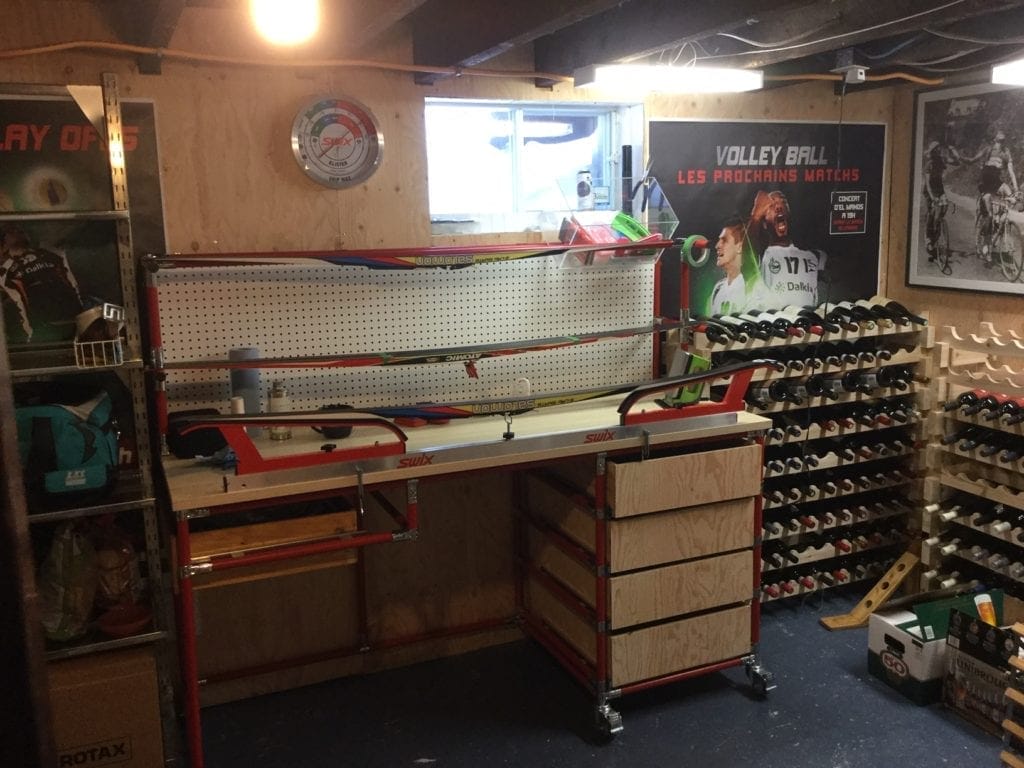
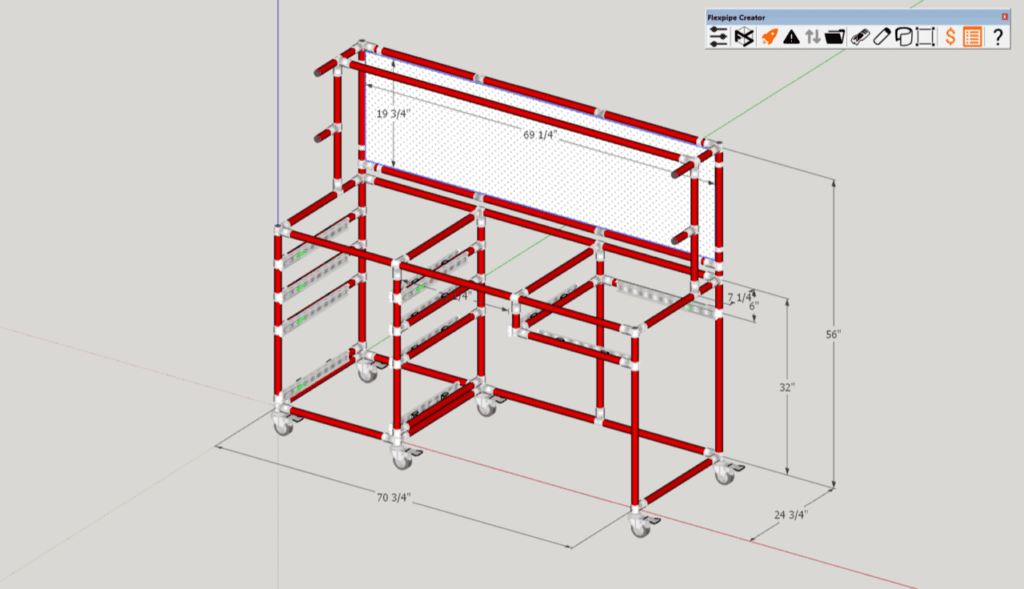
Before ordering the parts you need, make sure you adapt the plans in section 2 according to your own workshop space and to any modifications you’d like to do to the original set up of the workbench. You can use the measurements presented for reference and change the number of tubes or other parts needed according to your own design!
| Qty. | Part | SKU | Link |
|---|---|---|---|
| 15 | 1-1/16" x 92" Galvanized steel pipe | PT-92-GV | Buy now |
| 14 | 90 Degree Corner Pipe Connector | HJ-2K | Buy now |
| 19 | Modular & Structural T Connector | HJ-1 | Buy now |
| 2 | 4 Way Structural Pipe Connector Joint | HJ-3 | Buy now |
| 5 | 20'' pair drawer slides steel zn | FL-COU20-100LBS | Buy now |
| 40 | Slides bracket steel zinc | FL-COU-U | Buy now |
| 6 | Plastic Pipe End Cap | AP-ICAP | Buy now |
| 6 | 2" swivel caster w/brake | W-2ESBT | Buy now |
2. The cut list
This part is when you’ll have to concentrate to get all the cuts right. To make your life easier, use the cut list below to create the exact version of a DIY workbench presented here. Remember: everything is adjustable, so customize it however you need and adjust the cut list accordingly!
| Qty. | Length (inch) | Length (centimeter) |
|---|---|---|
| 4 | 69 1/4″ | 175.90 cm |
| 2 | 61 1/4″ | 155.58 cm |
| 2 | 43 1/4″ | 109.9 cm |
| 2 | 37 1/4″ | 94.62 cm |
| 2 | 35 1/4″ | 89.53 cm |
| 19 | 23 1/4″ | 59.01 cm |
| 2 | 21 1/4″ | 53.98 cm |
| 2 | 5 1/4″ | 13.35 cm |
3. Build your DIY workbench (the fun part)
Now that all the pipes are cut and you’ve gathered all the connectors, you’re ready to start building your dream workbench. This plan includes all the information you need to do it right. Use the color codes to assemble the right connectors with the tubes at the right places.
The tools you’ll need:
If you don’t already have a pipe cutter, get one from our shop here (you’ll need it to cut the pipes, and you’ll get to use it again on your next tinktube project)! The tinktube joint sets are assembled with bolts that require the following tools -you might already have this at home-:
| Tool name | Number | Link |
|---|---|---|
| Hex drill bit set (x5) | T-BIT | Buy now |
| T handle wrench | T-HANDLE | Buy now |
We don’t sell surfaces, so to create the counter of your workshop, you’ll find very great options at your local hardware store like Home Depot or Ace!
4. Time to organize your garage
You’ve worked hard to build your DIY workbench and you can now get all the benefits of your project. To learn more about another DIYer’s creation and building process, take a look at Alex’s DIY workbench project. We hope you’ve enjoyed this content and had a blast building your workbench! If you caught the tinktube fever doing so, send us pictures of your build at [email protected] and we’ll give you a 10% promo code for your next order.
