Picture this: A rugged yet refined structure seamlessly integrated into your truck bed, providing a dedicated space for all your gear, equipment, and essentials. When your truck becomes more than just a mode of transportation, it transforms into a personalized powerhouse of utility. In this comprehensive guide, we invite you to explore the endless possibilities of building your own truck bed rack. The best part? We’ve got a free plan that demystifies the entire process!
The benefits of crafting your own truck bed rack extend far beyond the satisfaction of a successful DIY project. By taking the reins and constructing a custom solution, you not only tap into a sense of accomplishment but also unlock practical advantages that can enhance your everyday experiences. Imagine the convenience of having a secure platform for transporting bikes, camping gear, or any oversized cargo without the hassle of a crowded truck bed. Our free plan empowers you to tailor the design to your specific needs, ensuring that every inch of your truck’s cargo space is optimized. No more compromises – just a seamless integration of function and form that aligns perfectly with your lifestyle.
We’ll guide you through the entire process, breaking down each step with clarity and simplicity. From selecting materials to wielding the tools needed for the job, our goal is to make this DIY project accessible to all skill levels. Whether you’re a seasoned craftsman or a first-time DIYer, our free plan eliminates the barriers, providing you with the blueprint for a truck bed rack that reflects your vision and requirements!
1. The parts and tools you’ll need to build your truck bed rack
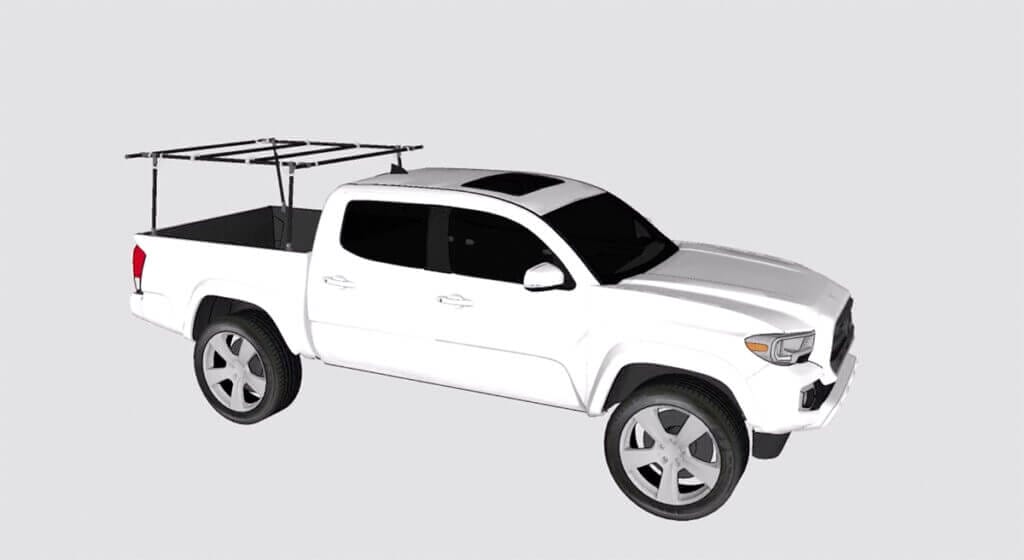
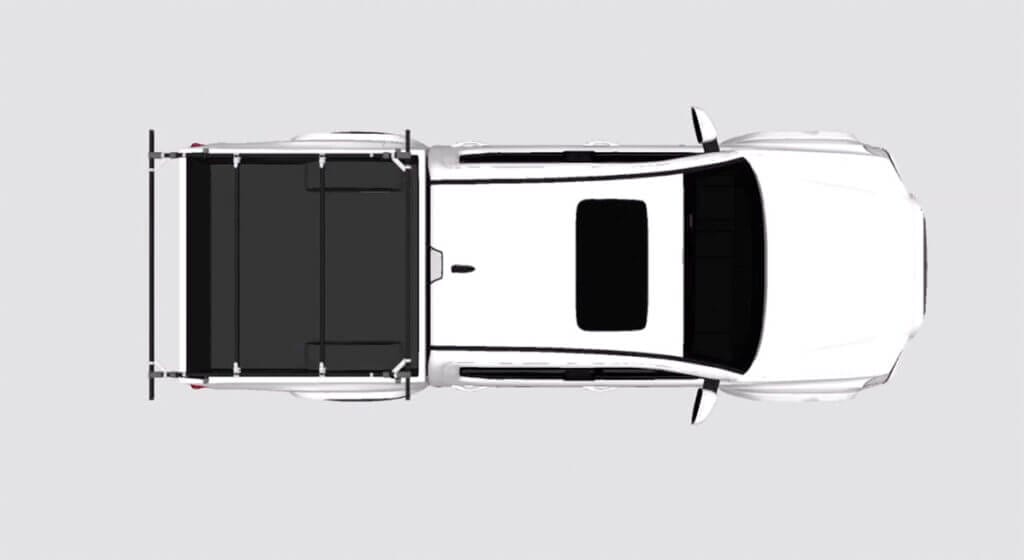
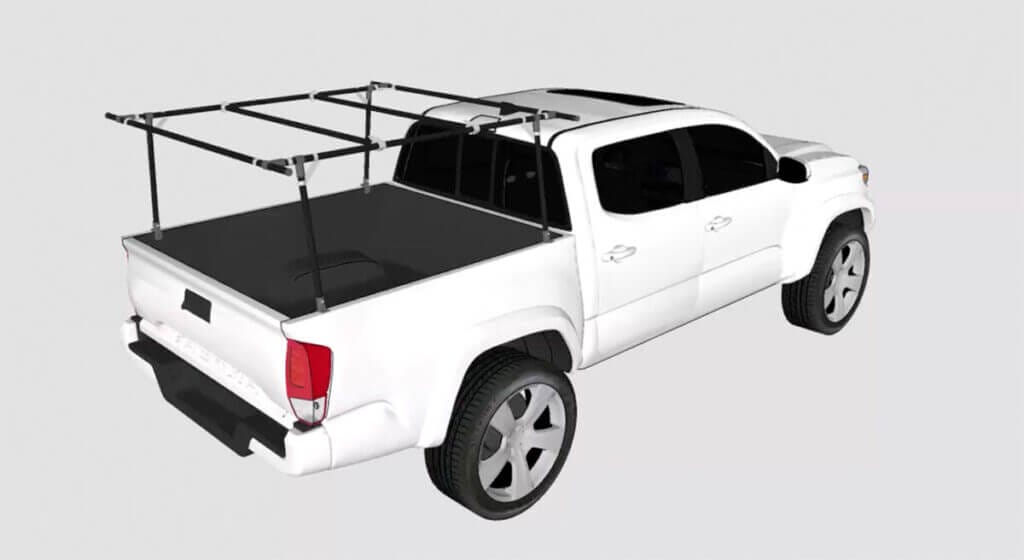
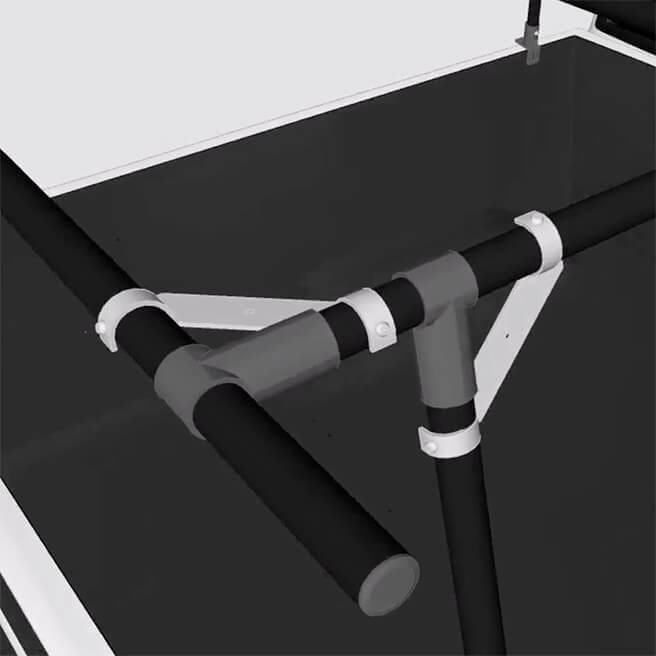
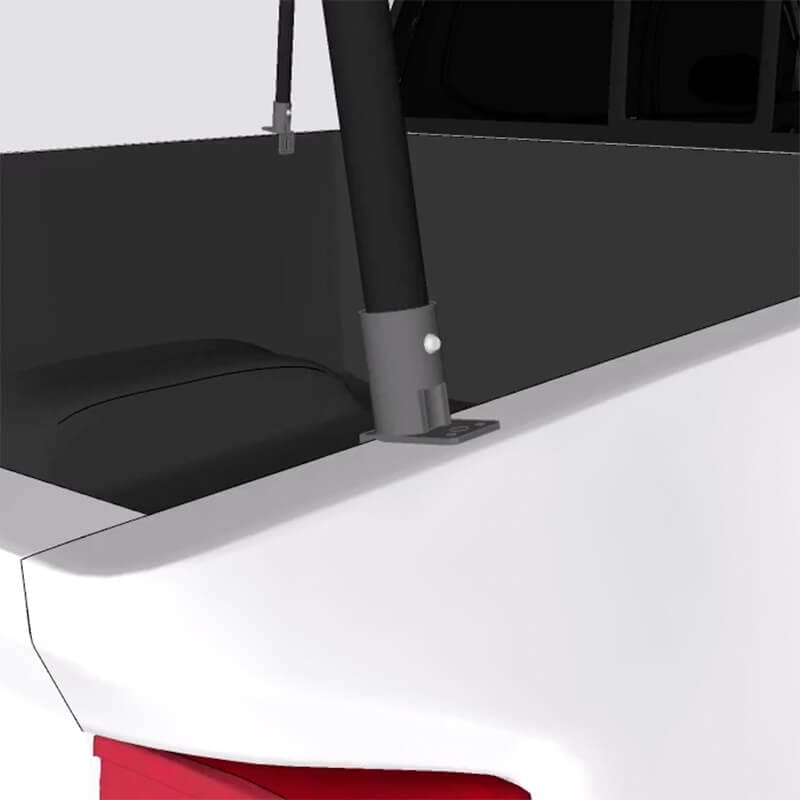
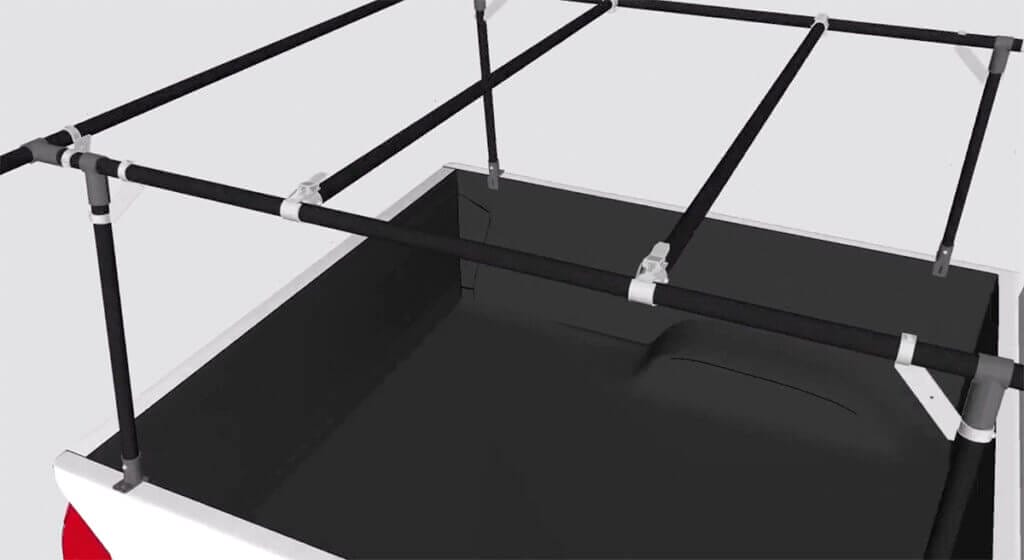
This is the part where we walk you through the essential components required for this project, ensuring that you have a clear shopping list before you start. No more wandering around hardware stores, feeling lost amidst a sea of options.
This free plan provides the materials needed to build a truck bed rack in the dimensions shown below.
The exact number and length of the tubes will depend on the dimensions of your own truck bed and the size of the rack you want to build. Feel free to adjust the list as necessary!
Just remember, if you change the dimensions, you should also adjust the number of pipes you buy to ensure you have enough tubes to create your project. We recommend having a few extra on hand for any unexpected changes or adjustments during assembly!
| Qty. | Part | SKU | Link |
|---|---|---|---|
| 7 | 1-1/16" x 92" Jet black steel pipe | PT-92-BK | Buy now |
| 8 | 45° Fix angle black connector set | HJ-17 | Buy now |
| 8 | Modular & Structural T Connector | HJ-1 | Buy now |
| 4 | Side anchor black connector set | HJ-8 | Buy now |
| 100 | 5/8" Screw to reinforce zinc-box of 100 | FA-A85/8 | Buy now |
| 4 | Corner bracket metal | AI-CORNER | Buy now |
| 4 | Rubber foot | AF-RUB | Buy now |
| 4 | Quick release latch metal | AC-STRAP | Buy now |
The tools you’ll need:
Before you start, make sure you have the right tools for the job. These are listed below:
| Tool name | Number | Link |
|---|---|---|
| T handle wrench | T-HANDLE | Buy now |
| Pipe cutter | T-CUTTER | Buy now |
Once you’ve gathered all the parts and tools, you’re well on your way to creating your truck bed topper. When your components arrive at your doorstep, you’ll be ready to move on to the next step of our free plan: creating the cut list.
2. The cut list to prepare for your truck bed rack
Once you’ve got all the necessary materials and tools in hand, it’s time to dive into the next exciting step: following a cut list to get your tubes ready. Measuring and cutting those steel pipes will be easy! To prepare for this step, we suggest watching the tutorial below to learn more about the two-inch rule.
Then, use the cut list to recreate your project. And if you’ve chosen to customize your truck bed rack, remember to adjust the cut list according to your own dimensions.
The cut list
| Qty. | Length (inch) | Length (centimeter) |
|---|---|---|
| 2 | 65 3/4″ | 167 cm |
| 2 | 60″ | 152.4 cm |
| 2 | 52 1/2″ | 133.35 cm |
| 4 | 24 5/8″ | 62.55 cm |
| 4 | 21 7/8″ | 55.56 cm |
Remember, precision is key when creating your cut list. Measure twice, cut once! With your accurately cut steel pipes in hand, you’re now ready to move on to the assembling part of our free plan.
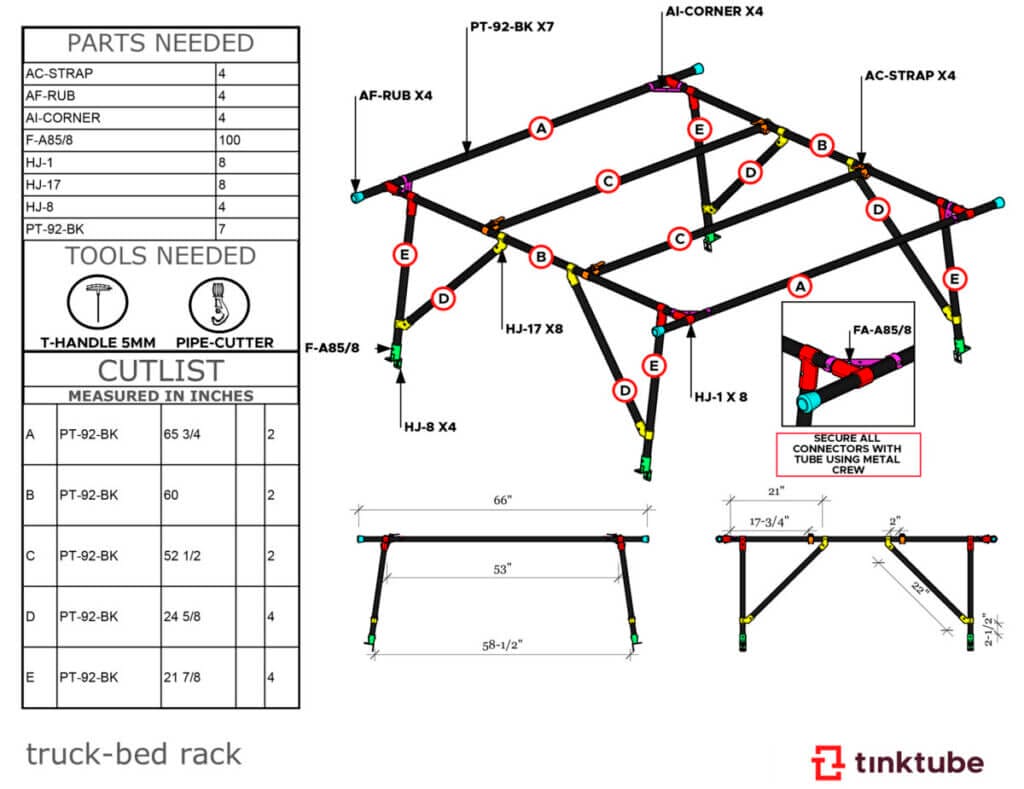
3. Use the plan below to build your project (the fun part)!
You know you’re ready to start building your DIY bed truck topper when all the pipes are cut and you’ve gathered all the connectors in one place. Use the plan below to place all the right connectors with the tubes in the right places.
Pro tip: Lay out and organize your components before you start assembling and take a moment to familiarize yourself with the different types of connectors and pipes you have. This will help you visualize the whole structure and ensure you have everything you need before diving into the assembly process!
Double-check and adjust:
After completing the initial assembly, take a step back and inspect your build. Check for any wobbling or unstable connections. Make any necessary adjustments to ensure a sturdy structure. It’s better to catch and fix any issues now than later!
Remember, this plan is only a starting point: feel comfortable making adjustments according to your specific dimensions and requirements. Building a custom truck topper rack should be an enjoyable experience, so don’t be afraid to adapt the materials and quantities to your vehicle.
4. Take charge of your custom truck bed rack and take the road
Now that you’ve completed the construction of your truck bed bike rack -or any other truck bed rack project, you can take the road with renewed confidence!
Lastly, if you’re feeling particularly proud of your bed truck rack (as you should be!), please share it with us: we absolutely love seeing the incredible projects our community creates. Send us pictures at [email protected], and as a token of our appreciation, we’ll send you a 10% promo code for your next order. It’s a small way for us to say thank you for being a part of the tinktube family and for embracing the spirit of DIY!
Arbor made by Ian
Ian built an arbor for his frontyard path.


