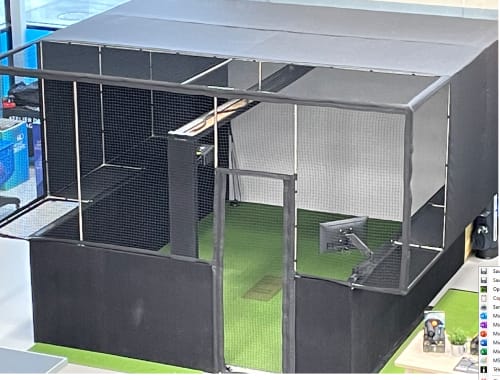
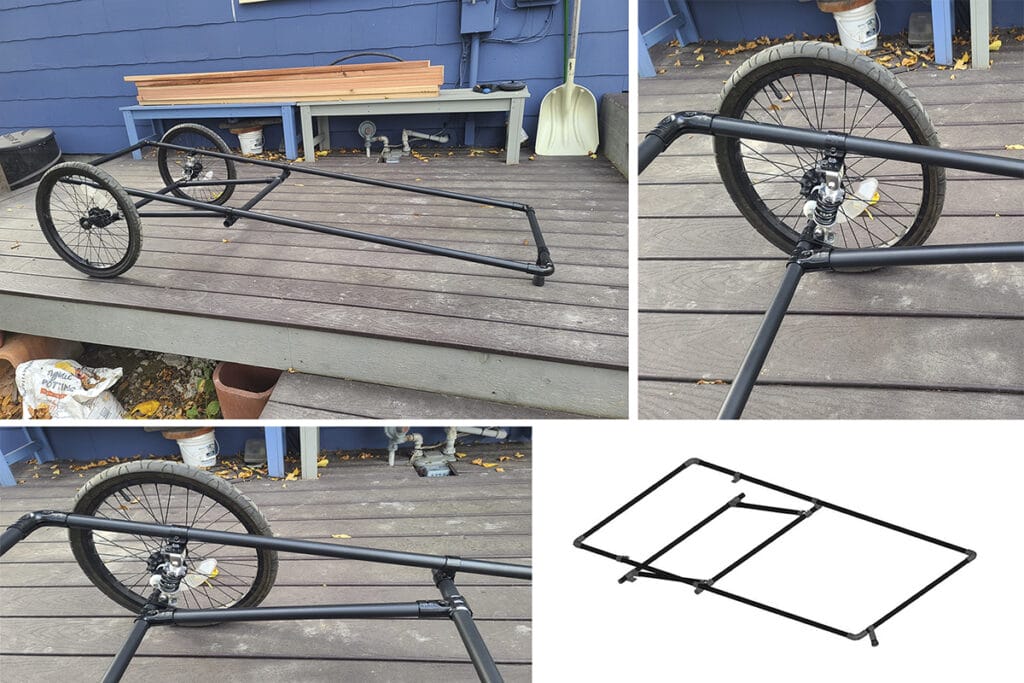
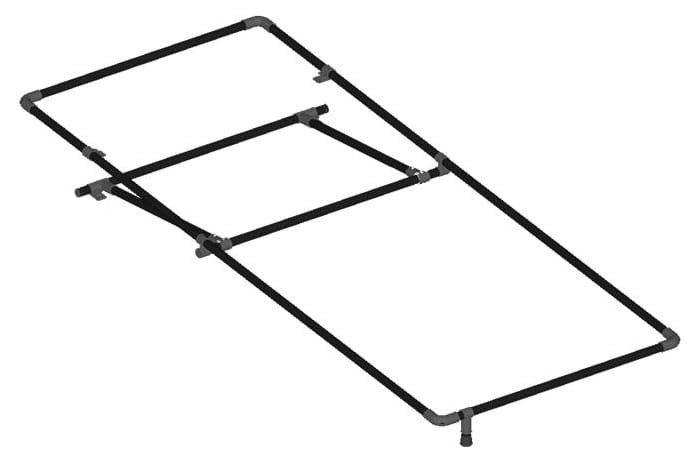
This free plan was inspired by Bryan’s project. “Who is Brian?”, you may ask. Bryan is a tinktuber who built a DIY kayak bike trailer for his ebike using the tinktube system. When he sent us pictures of his build, we all reacted in our own way.
- Caroline immediately started to plan her next trip.
- Jo had about 100 ideas for variations inspired by the original version of the trailer.
- Esteban started thinking about the best color of tubes and connectors to use for a unique and artsy design.
Needless to say, Bryan’s DIY kayak bike trailer left us impressed and inspired. When we asked him how his project went, here’s what he had to say: “I had an idea in my head for this trailer and there are many ways I could have built it but I went with you guys as I really like the idea of it being able to come apart as easy as it went together. The cost is also very good. The bushings cost me more to have made than the entire tinktube order.” Bryan had such great comments about using tinktube’s construction system to build his kayak bike trailer that we thought you might like it too!
Are you ready to start building your own?
1. The parts you’ll need
The information below gives you an idea of what you’ll need to build your own kayak bike trailer.
Before ordering the parts, make sure to adapt the plans according to your own version of the project. Once you’ve modified the original plans, you can go over this list and validate which parts are still needed and the ones you won’t need. You can use the measurements presented in section 3 for reference and change the parts according to your own design!
| Qty. | Part | SKU | Link |
|---|---|---|---|
| 5 | 1-1/16" x 92" Jet black steel pipe | PT-92-BK | Buy now |
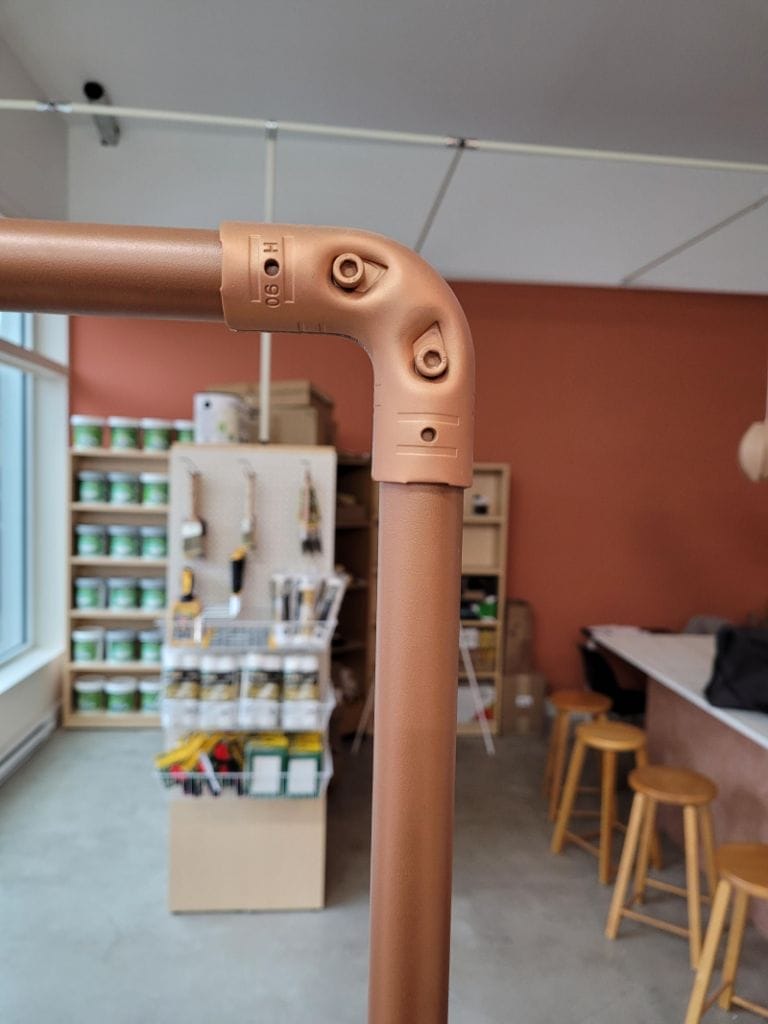
| 4 | 90° Elbow Pipe Connector | HJ-90 | Buy now |
| 3 | Modular & Structural T Connector | HJ-1 | Buy now |
| 4 | Flat Offset Pipe Clamp Black Set | HJ-15 | Buy now |
| 2 | Tee hinge black connector set | HJ-12 | Buy now |
| 2 | Intersection black connector set | HJ-7 | Buy now |
| 4 | Plastic Pipe End Cap | AP-ICAP | Buy now |
2. The cut list
This is when you’ll need to concentrate; you’ll want to get all the cuts right! To make your life easier, use the cut list below to recreate Bryan’s project. Remember: everything is customizable, so adjust the cut list according to your own project if necessary.
| Qty. | Length (inch) | Length (centimeter) |
|---|---|---|
| 2 | 89 1/4″ | 226.70 cm |
| 1 | 36 1/2″ | 92.71 cm |
| 1 | 36 3/8″ | 92.39 cm |
| 2 | 32 1/4″ | 81.92 cm |
| 2 | 24 5/16″ | 61.75 cm |
| 1 | 2 5/8″ | 6.67 cm |
3. Build your DIY kayak bike trailer
Now that all the pipes are cut and you’ve gathered all the connectors, you’re ready to start building your kayak bike trailer. This plan includes all the information you need to build it. Use the color codes to place all the right connectors with the tubes at the right places.
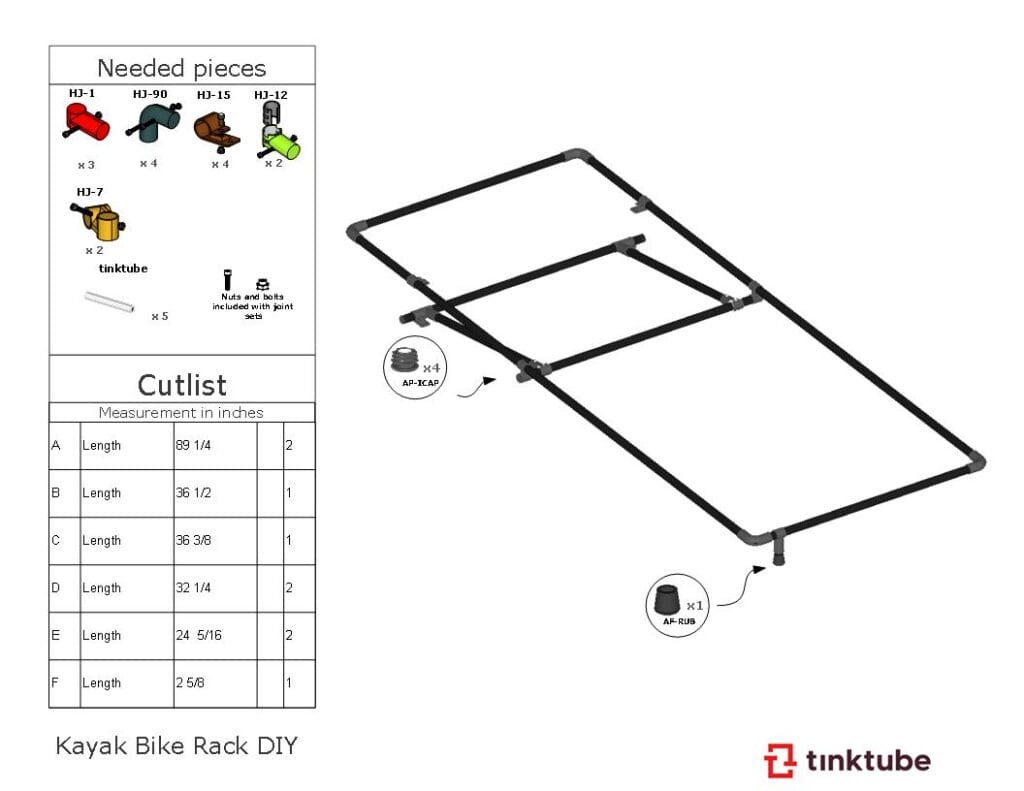
The tools you’ll need:
If you don’t already have a pipe cutter, get one from our shop here (you’ll need it to cut the pipes, and you’ll get to use it again on your next tinktube project)! The tinktube joint sets are assembled with bolts that require the following tools -you might already have this at home-:
| Tool name | Number | Link |
|---|---|---|
| Hex drill bit set (x5) | T-BIT | Buy now |
| T handle wrench | T-HANDLE | Buy now |
We don’t sell wheels for that type of trailer, so you’ll find the best options at your local hardware store or online. As for Bryan, the wheels he used were given by a friend who took it from an old kid trailer/jogger.
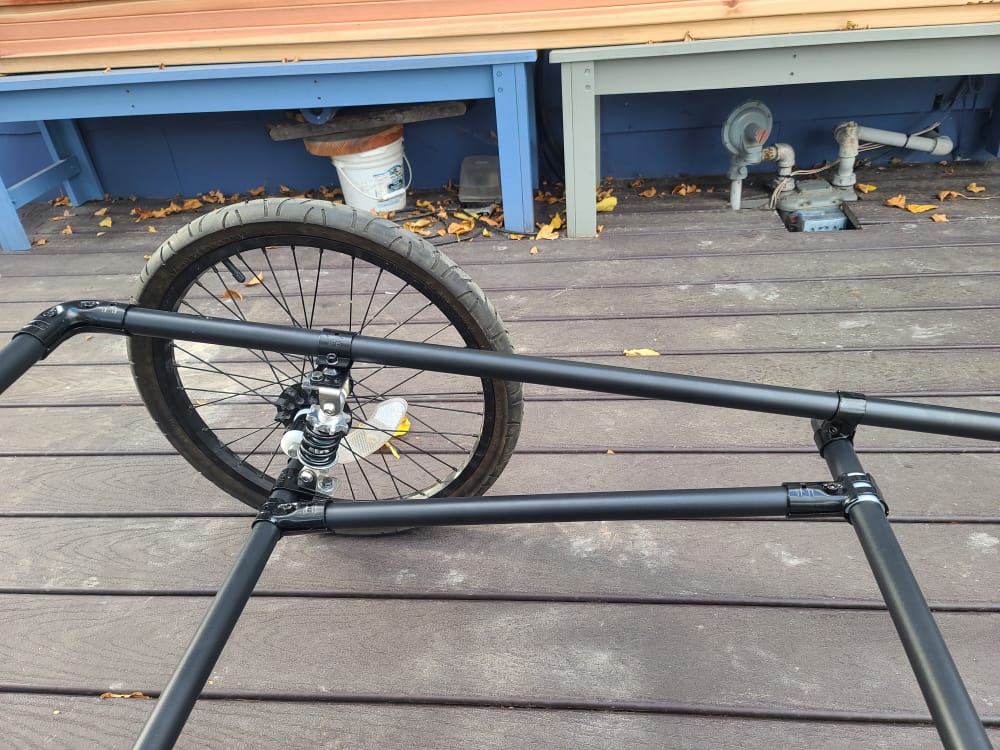
Within the next week, Bryan will create the part from the trailer to the seat post hitch. He had the axle bushings made at a local machine shop from 1.5″ UMMW. They turned it down to an “H shape” that fits into the tinktube fitting with the shoulders outside to the distance of the wheel shaft.
He bought the shocks from eBay (he chose the ones that are used for Harley-Davidson solo seats). They are rated at 400 lbs, which is more than enough in terms of resistance. The axle is onto pipes that have hinge connectors that should allow enough movement for the shocks.
4. Time to plan your first adventure
You’re done building your DIY kayak bike trailer and you can now start planning your next adventure!
To discover more inspirations for DIY projects, take a look at our inspiration gallery. We hope you’ve enjoyed this content and had a blast building with tinktube! Send us pictures of your project at [email protected] and we’ll give you a 10% promo code for your next order.
