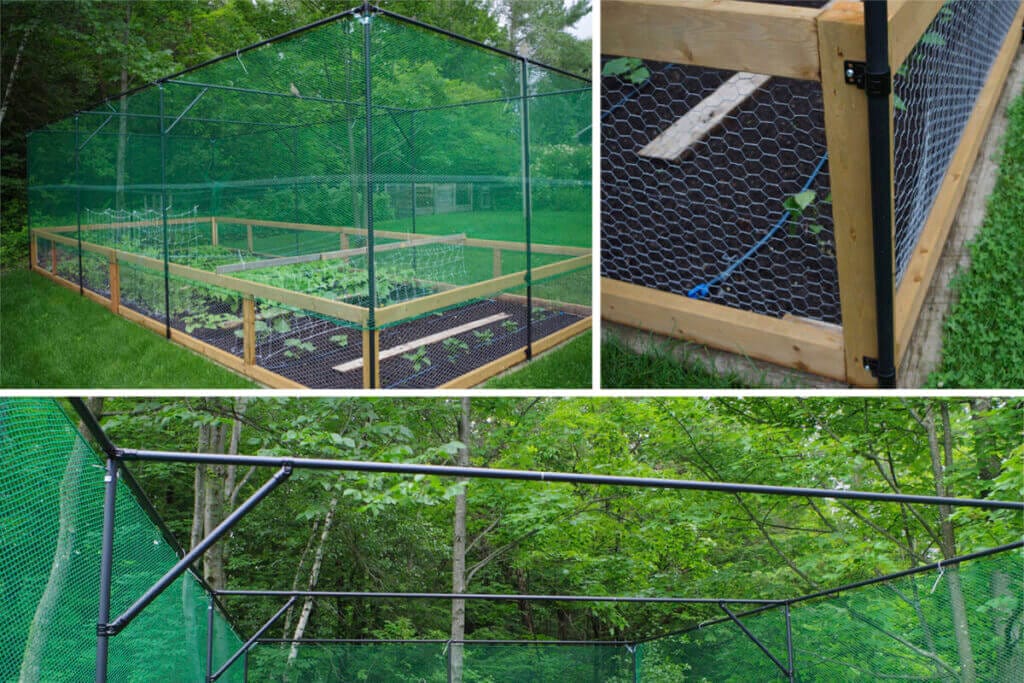
Are you a gardening enthusiast who dreams of nurturing a thriving green haven in your backyard? Perhaps you’ve encountered the same challenges as many of us face: pests, unpredictable weather, and the constant worry about protecting your precious plants. Well, worry no more, because we’ve got the perfect solution to help you grow your greens without the stress – after all, gardening should be a relaxing activity, shouldn’t it? You are about to find out how to optimize your gardening game with a DIY garden cage!
In this article, we embark on an exciting DIY journey using our ingenious construction system of pipes and connector which empowers DIYers like you to build virtually anything. Today, we put it to excellent use by helping you create a custom garden cage that’s as functional as it is beautiful. So, why should you take the plunge and create your garden cage using the tinktube system? Here are a few enticing benefits that might just convince you:
- Customization: When you build your garden cage, you have the power to customize it to your specific needs and aesthetic preferences. Say goodbye to one-size-fits-all solutions.
- Cost-efficiency: DIYing your garden cage can save you money compared to buying pre-made options, and you’ll have the satisfaction of creating something unique.
- Durable and long-lasting: Your garden cage will be built to last, ensuring it can protect your plants for seasons to come.
- Garden security: No more worries about pests, harsh weather, or other threats to your precious garden. Your plants will flourish under the protection of your homemade plants cage!
1. The parts and tools you’ll need to build your DIY garden cage
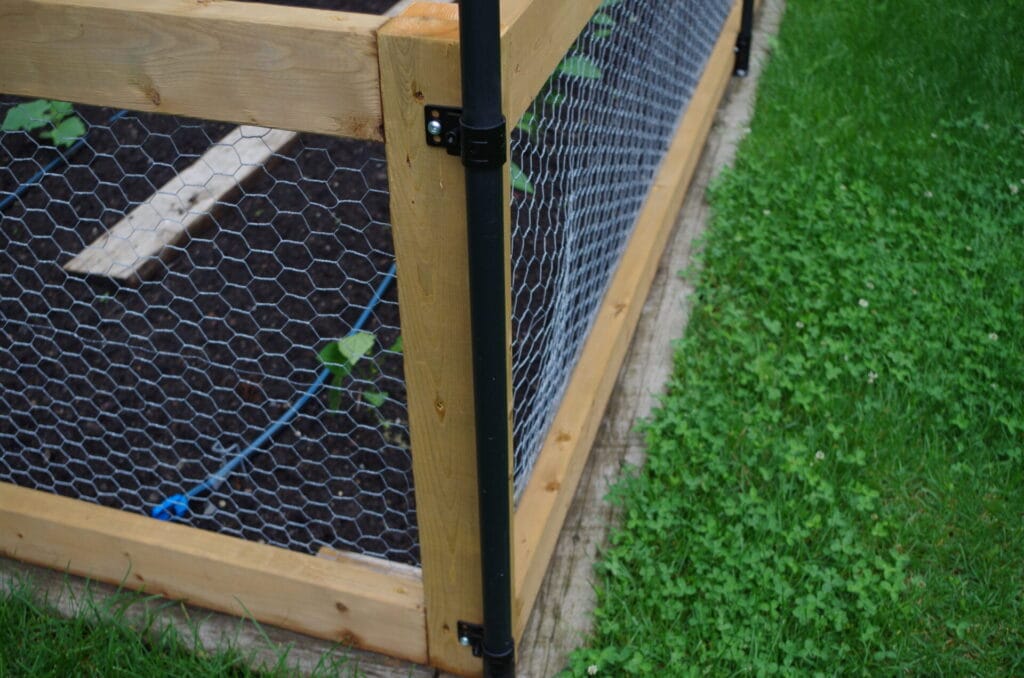

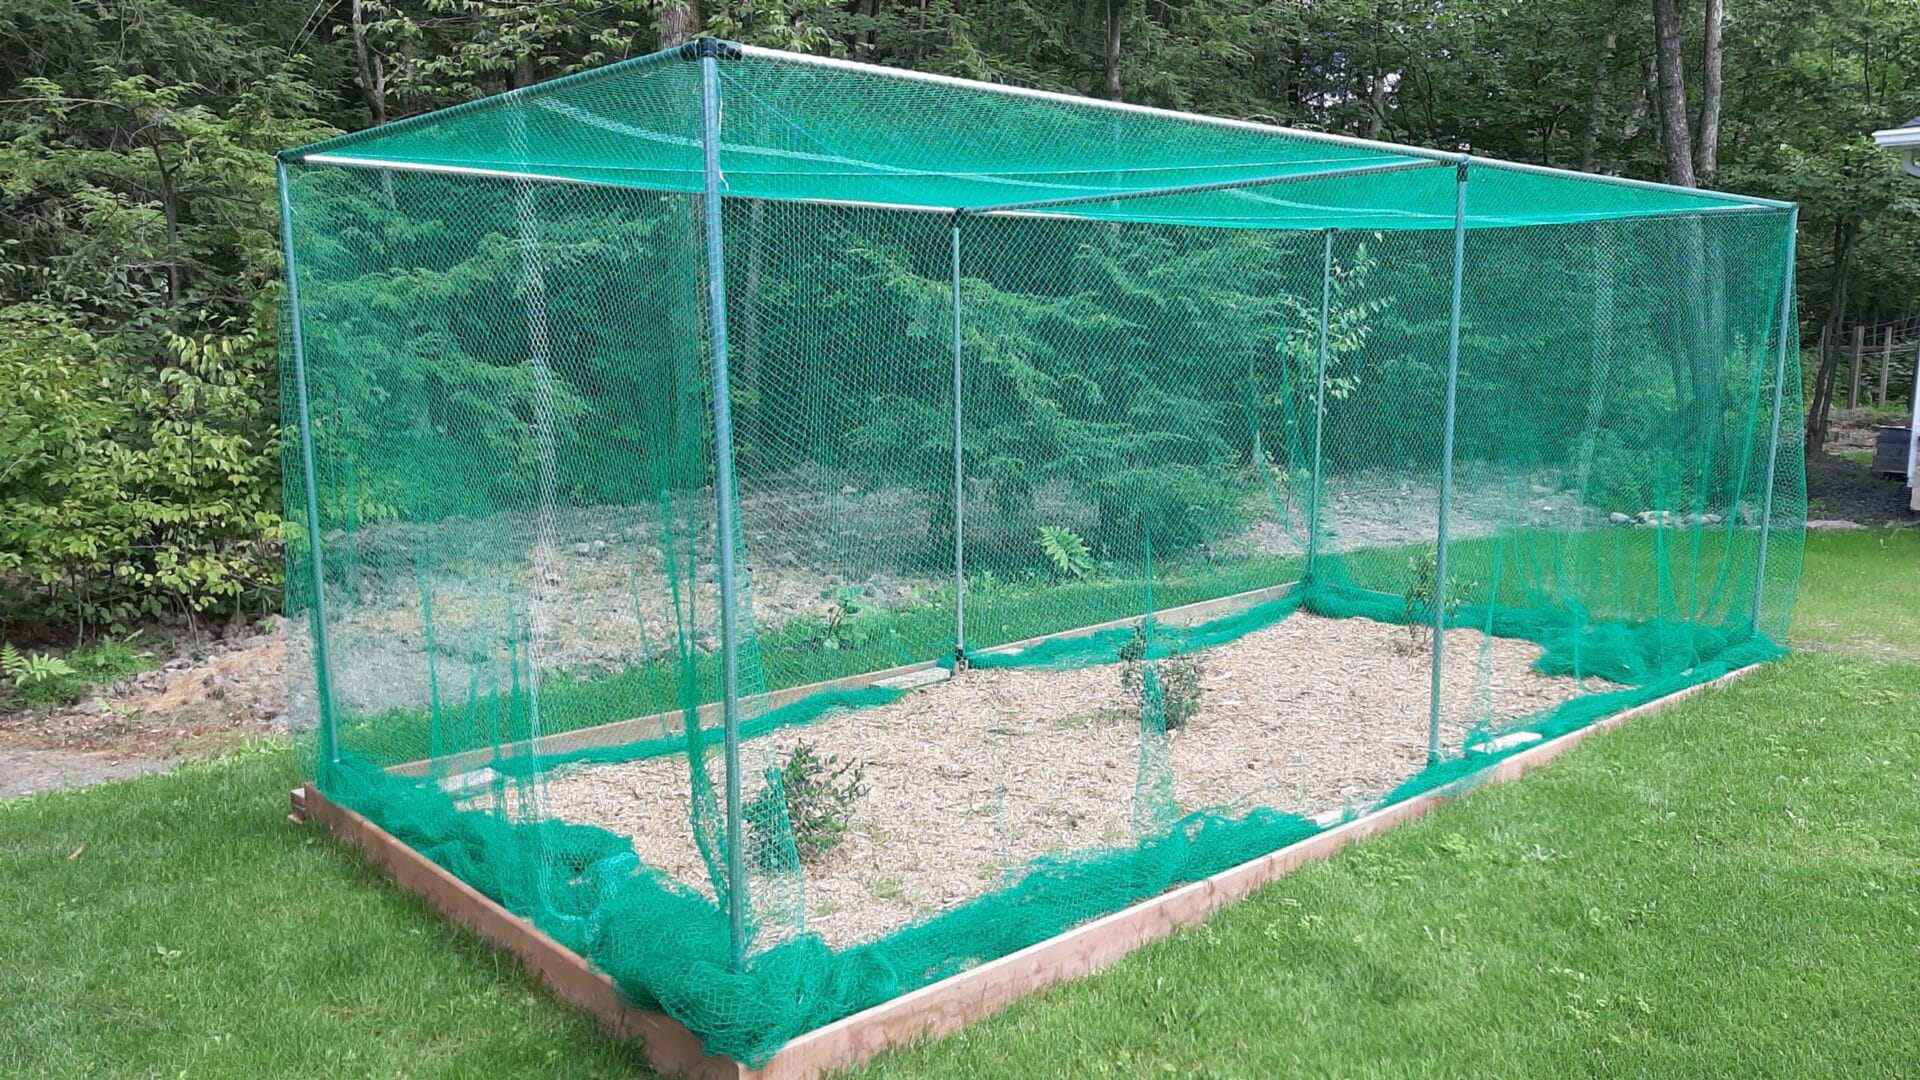
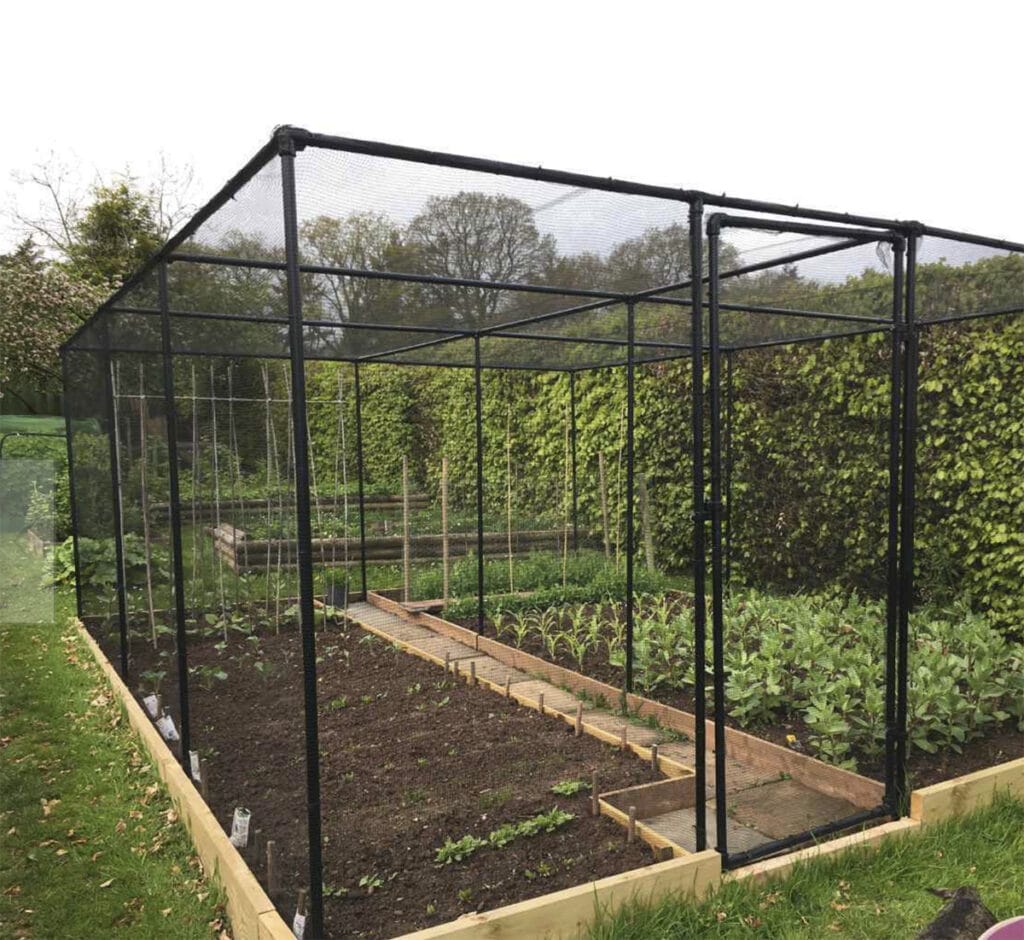
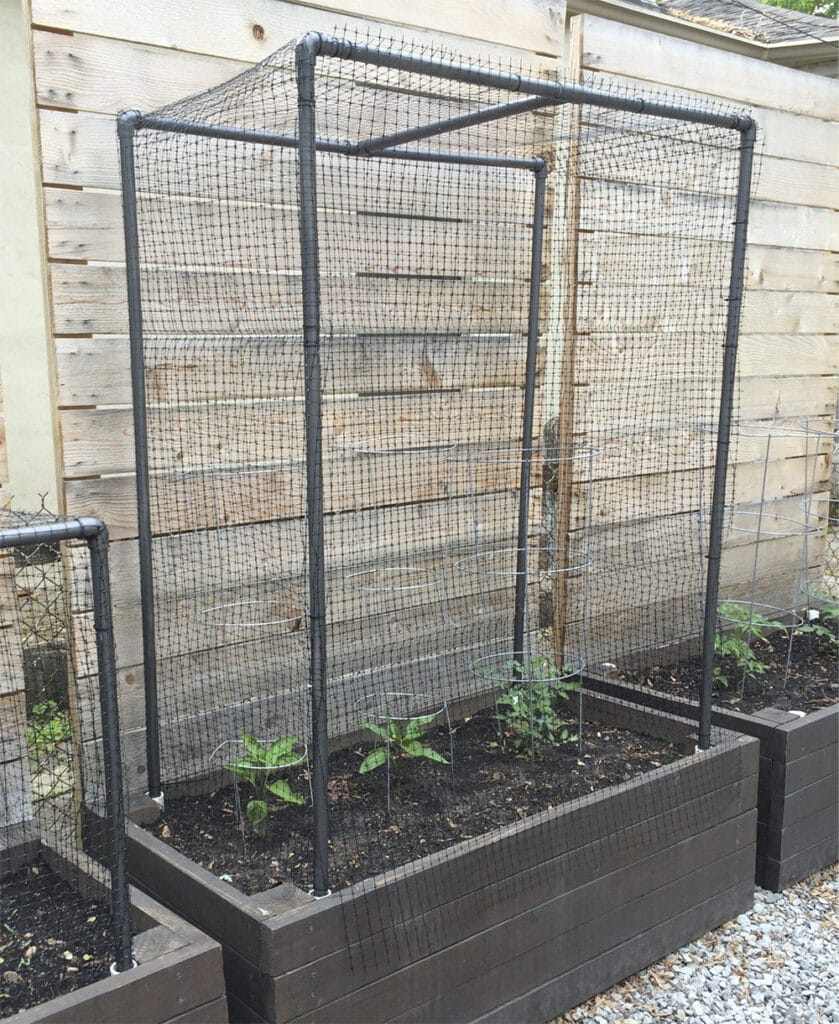
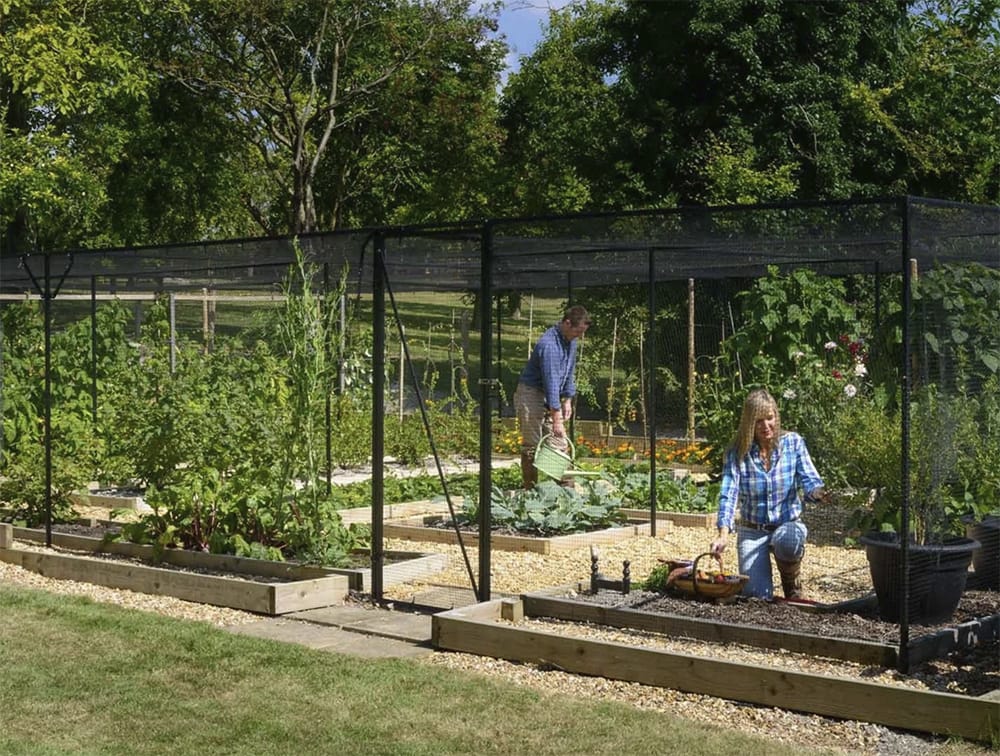
Here is the part where we walk you through the essential components required for this project, ensuring that you have a clear shopping list before you start. No more wandering around hardware stores, feeling lost amidst a sea of options.
This free plan provides the materials needed to build a 276″ X 144″ garden cage.
The exact number and length of the tubes will depend on the dimensions of your garden and the size of the cage you want to build. This is where your creativity and garden’s unique dimensions come into play. Feel free to adjust the list to suit your own garden’s size and shape!
Just remember, if you change the dimensions, you should also adjust the number of pipes you buy to ensure you have enough tubes to cover the whole area. We recommend having a few extra on hand for any unexpected changes or adjustments during assembly!
| Qty. | Part | SKU | Link |
|---|---|---|---|
| 26 | 1-1/16" x 92" Jet black steel pipe | PT-92-BK | Buy now |
| 2 | 3 way cross black connector set | HJ-4 | Buy now |
| 4 | 4 Way Structural Pipe Connector Joint | HJ-3 | Buy now |
| 4 | 90 Degree Corner Pipe Connector | HJ-2K | Buy now |
| 8 | 45° Fix angle black connector set | HJ-17 | Buy now |
| 20 | Flat Offset Pipe Clamp Black Set | HJ-15 | Buy now |
| 100 | 5/8" Screw to reinforce zinc-box of 100 | FA-A85/8 | Buy now |
| 20 | Plastic Pipe End Cap | AP-ICAP | Buy now |
| 4 | pipe connector galvanized steel | AP-CNNCT2 | Buy now |
| 8 | Corner bracket metal | AI-CORNER | Buy now |
The tools you’ll need:
Before you start, make sure you have the right tools for the job. These are listed below:
| Tool name | Number | Link |
|---|---|---|
| Hex drill bit set (x5) | T-BIT | Buy now |
| T handle wrench | T-HANDLE | Buy now |
| Pipe cutter | T-CUTTER | Buy now |
Once you’ve gathered all the parts and tools, you’re well on your way to creating your DIY crop cage. When your components arrive at your doorstep, you’ll be ready to move on to the next step of our free plan: creating the cut list.
1.1 The other materials you’ll need
We’ve put these items in a separate list for a specific reason… we don’t sell them on our online shop! We recommend visiting your local hardware store or amazon.com to find what’s listed below:
- Mesh netting: You’ll need a durable mesh netting to wrap around your cage structure, keeping those pesky critters at bay. The size of the mesh should be small enough to keep insects out, but large enough to allow sunlight and rain to nourish your plants.
- Zip ties or fasteners: These will be used to secure your mesh netting to the tinktube structure, ensuring a snug fit that will keep your garden protected.
- Garden staples or stakes: Depending on the location and layout of your garden, you may need these to anchor your cage to the ground securely. This will help prevent any unwanted visitors from sneaking in from underneath.
Looking for more DIY garden projects? Check out these posts!
2. The cut list to your crop cage
Will all the necessary materials and tools in hand, it’s time to dive into the next exciting step: creating a cut list. With our detailed instructions, you don’t have to worry about a thing. Measuring and cutting those steel pipes will be easy! To make your life easier, use the cut list below to recreate the project. And if you’ve chosen to customize your crop cage, remember to adjust the cut list according to your own dimensions.
| Qty. | Length (inch) | Length (centimeter) |
|---|---|---|
| 10 | 92″ | 233.68 cm |
| 6 | 88 13/16″ | 225.58 cm |
| 2 | 78 9/16″ | 199.55 cm |
| 4 | 68 5/8″ | 174.31 cm |
| 4 | 41 9/16″ | 105.57 cm |
| 4 | 30 9/16″ | 77.63 cm |
Remember, precision is key when creating your cut list. Measure twice, cut once! With your accurately cut steel pipes in hand, you’re now ready to move on to the assembling part of our free plan.
3. Use this plan to build your project (the fun part)!
You know you’re ready to start building your DIY crop cage project when all the pipes are cut and you’ve gathered all the connectors in one place. Use the plan below to place all the right connectors with the tubes in the right places.
Pro tip: Lay out your components before you start assembling and take a moment to familiarize yourself with the different types of connectors and pipes you have. This will help you visualize the structure and ensure you have everything you need before diving into the assembly process!
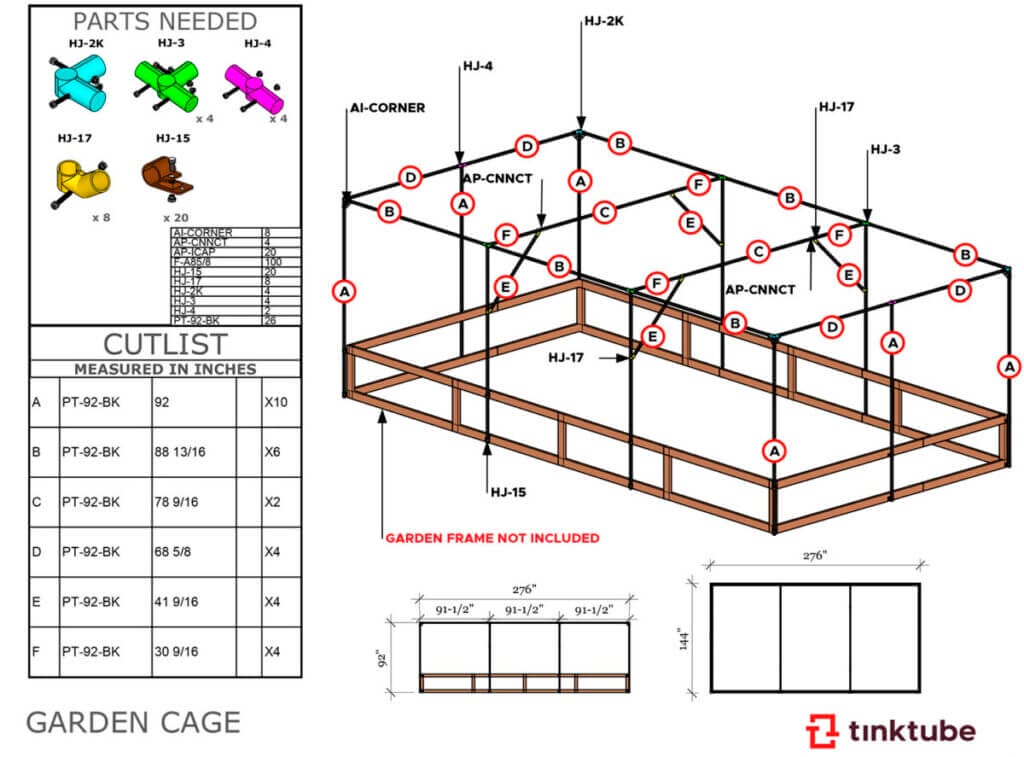
Double-check and adjust:
After completing the initial assembly, take a step back and inspect your build. Check for any wobbling or unstable connections. Make any necessary adjustments to ensure a sturdy structure. It’s better to catch and fix any issues now than later!
Remember, this plan is a starting point, and you should feel comfortable making adjustments according to your own garden’s dimensions and specific requirements. Building a garden cage should be an enjoyable and personalized experience, so don’t be afraid to adapt the materials and quantities to your unique gardening space. The goal is to create a garden cage that not only protects your plants but also blends into your garden’s design.
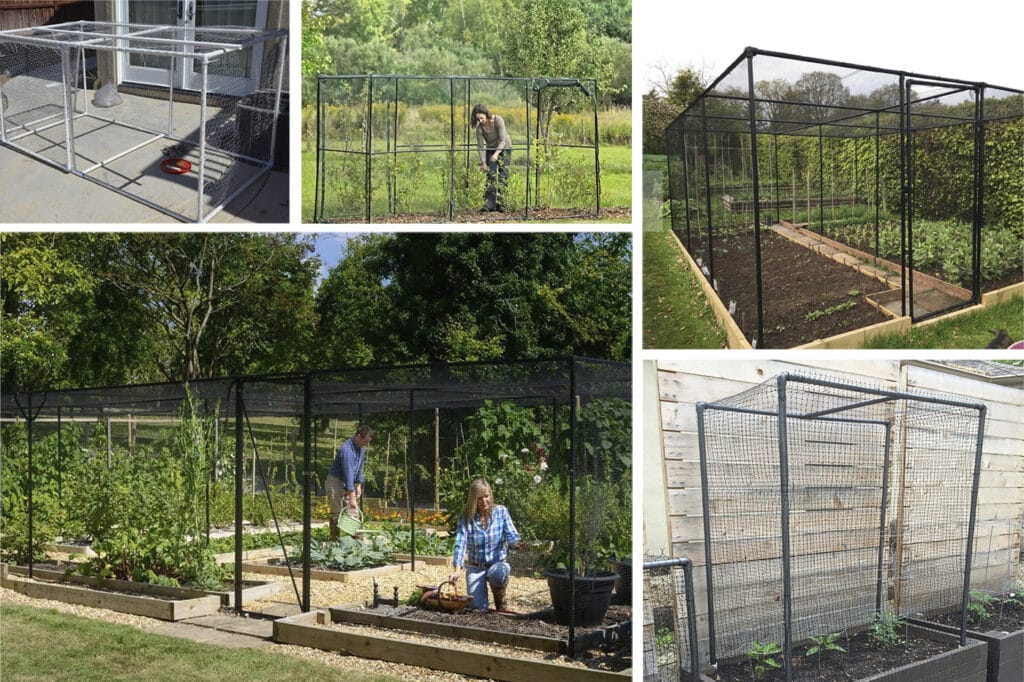
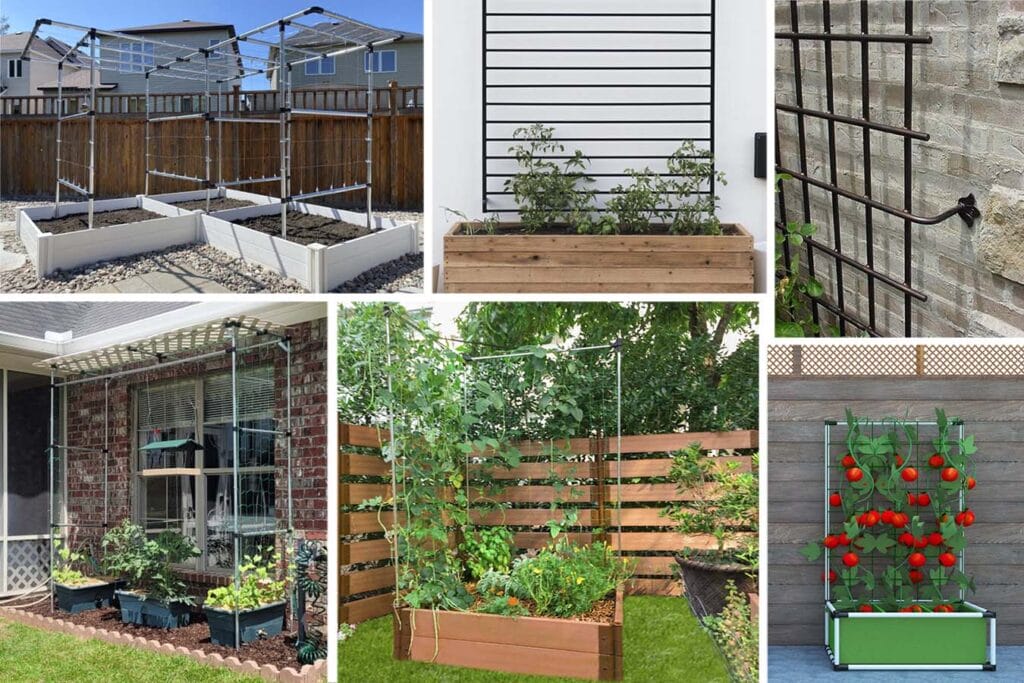
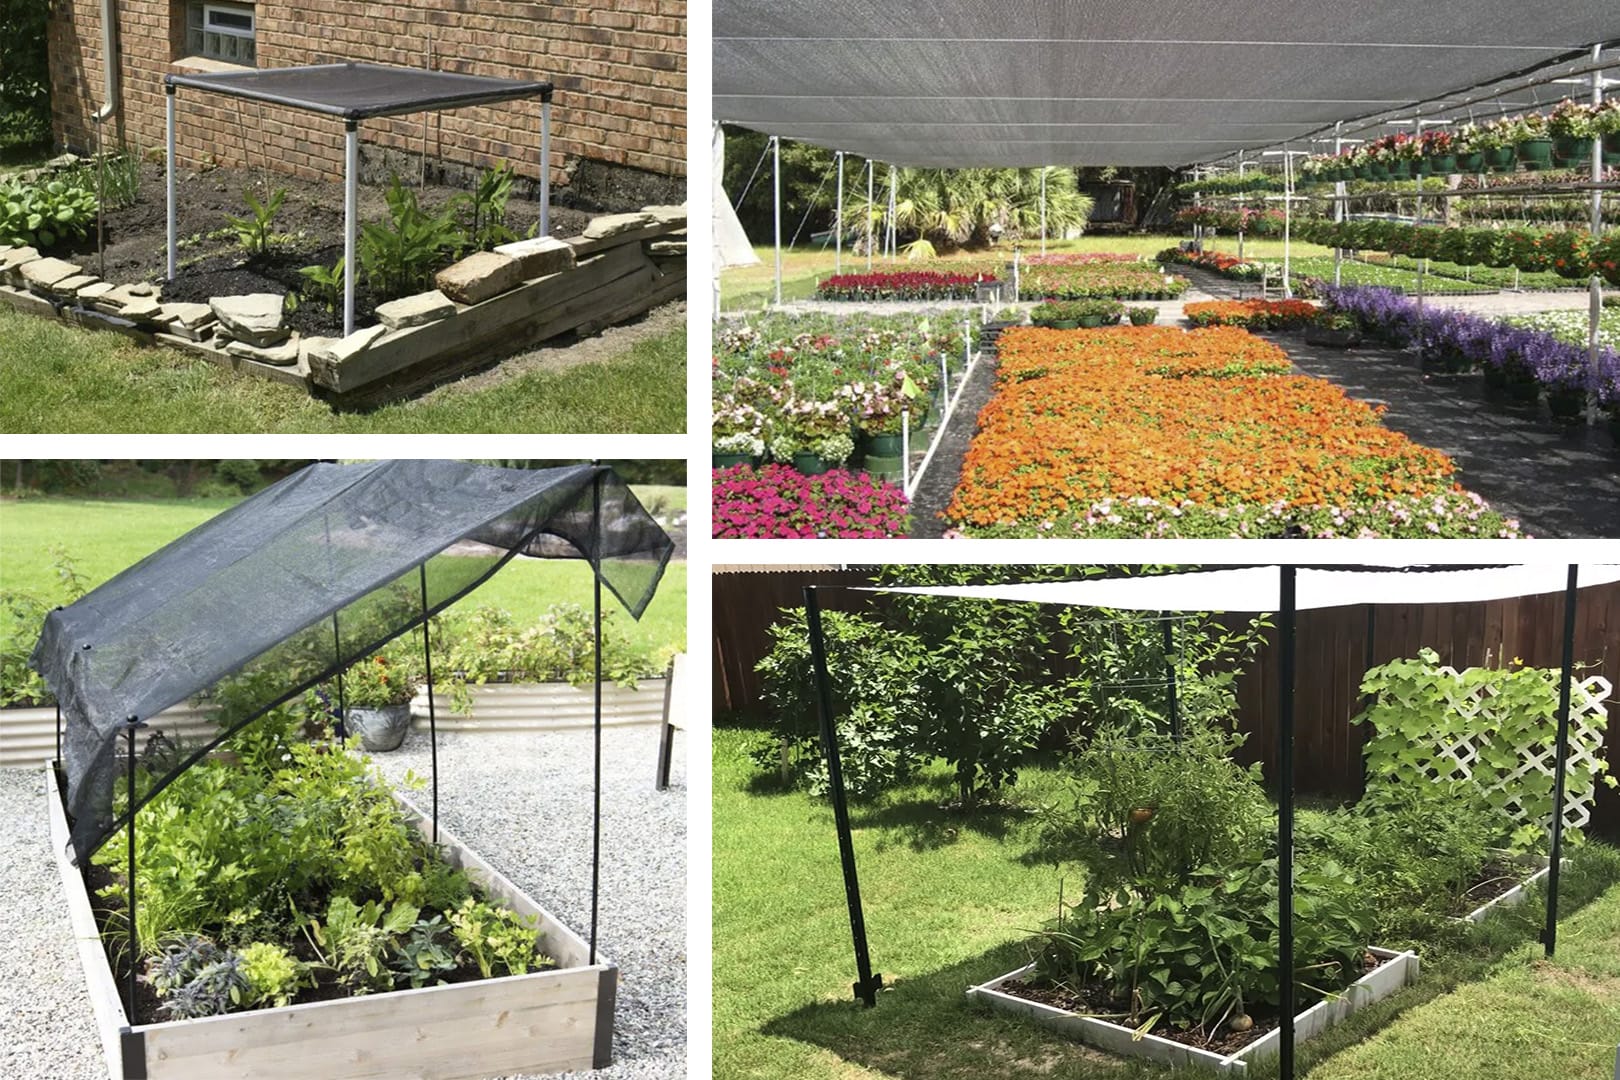
DIY Garden Cage: 15 Ideas
We’ve scoured the web to find the best DIY garden cage ideas!
4. Take charge of your garden protection and grow your greens!
Congratulations! You’ve completed the construction of your very own DIY garden cage, a protective fortress for your beloved plants. With this sturdy structure in place, you can now embark on your gardening journey with renewed confidence and enthusiasm. Your green thumb can flourish without the worries that used to overshadow your gardening experience.
Lastly, if you’re feeling particularly proud of your garden cage (as you should be!), don’t hesitate to share it with us. We love seeing the incredible projects our community creates. Send us pictures of your completed garden cage at [email protected], and as a token of our appreciation, we’ll send you a 10% promo code for your next order. It’s a small way for us to say thank you for being a part of the tinktube family and for embracing the spirit of DIY!
Arbor made by Ian
Ian built an arbor for his frontyard path.
