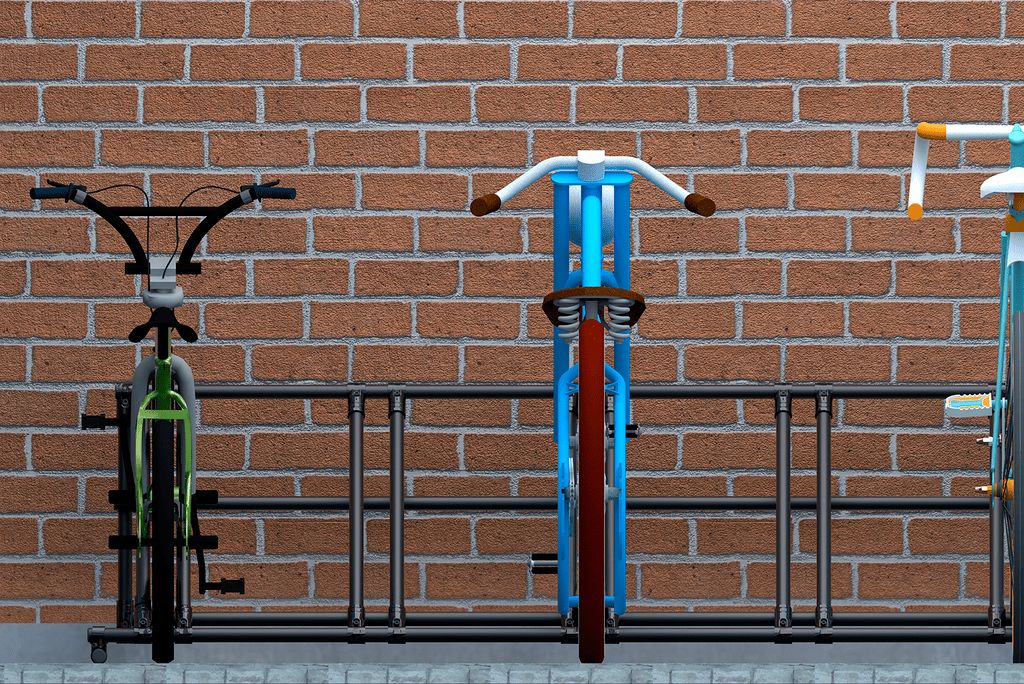
Any cyclist among you, tubetinkers? We have the perfect DIY project to organize your bikes! Building your own DIY bike rack lets you:
- Customize the size of the rack to fit your space
- Design the dimensions to make sure all the bikes you need to store actually fit in the racks
- Keep on modifying your bike rack to suit your needs
1. The parts you’ll need
Our tubes and fittings bike rack is a very simple structure that can be adapted in many ways! Remember you can always unassemble the whole thing and build it again somewhere else if you need to move or transform it.

Here are the parts you’ll need to build your DIY bike rack:
| Qty. | Part | SKU | Link |
|---|---|---|---|
| 8 | 92″ Black Pipe | PT-92-BK | Buy now |
| 8 | Intersection joint set bk | HJ-7 | Buy now |
| 24 | T-connector joint set bk | HJ-1 | Buy now |
| 14 | Pipe end cap plastic | AP-ICAP | Buy now |
2. The cut list
To make your life easier, here’s the cut list to create a 73 1/2″ bike rack!

| Qty. | Length (inch) | Length (centimeter) |
|---|---|---|
| 2 | 73 1/2″ | 186.69 cm |
| 1 | 70 1/4″ | 178.44 cm |
| 1 | 70″ | 177.80 cm |
| 1 | 67 11/16″ | 171.93 cm |
| 10 | 22 11/16″ | 57.63 cm |
| 2 | 19 1/2″ | 49.53 cm |
| 2 | 15 1/4″ | 38.73 cm |
If you dont already have a pipe cutter, get one from our shop here.
3. The build (the fun part)
Now that all the pipes are cut, you can start building your DIY bike rack.

The tinktube joint sets are assembled with bolts that require one of the following tools -you might also have this at home-:
| Tool name | Number | Link |
|---|---|---|
| Hex drill bit set (x5) | T-BIT | Buy now |
| T handle wrench | T-HANDLE | Buy now |
4. Enjoy more space!
Now that your bikes are tidy, you can enjoy more space in your yard or garage.
If you’re interested in DIY projects made for bikes, check out these free plans:
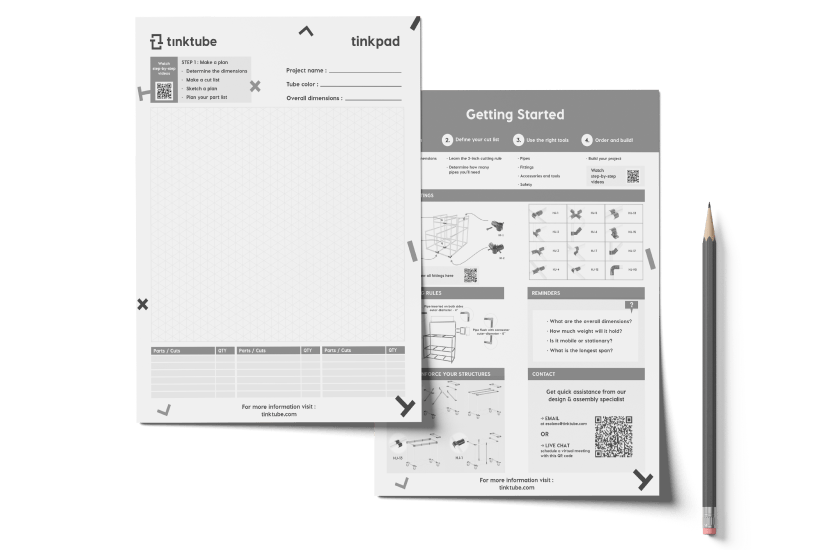
Adapt this project with the tinkpad!
Draw your project with this free printable tool which includes an isometric grid and our best tips to get started.


Pingback: 25 Garage Bike Rack Ideas You Can Make at Home