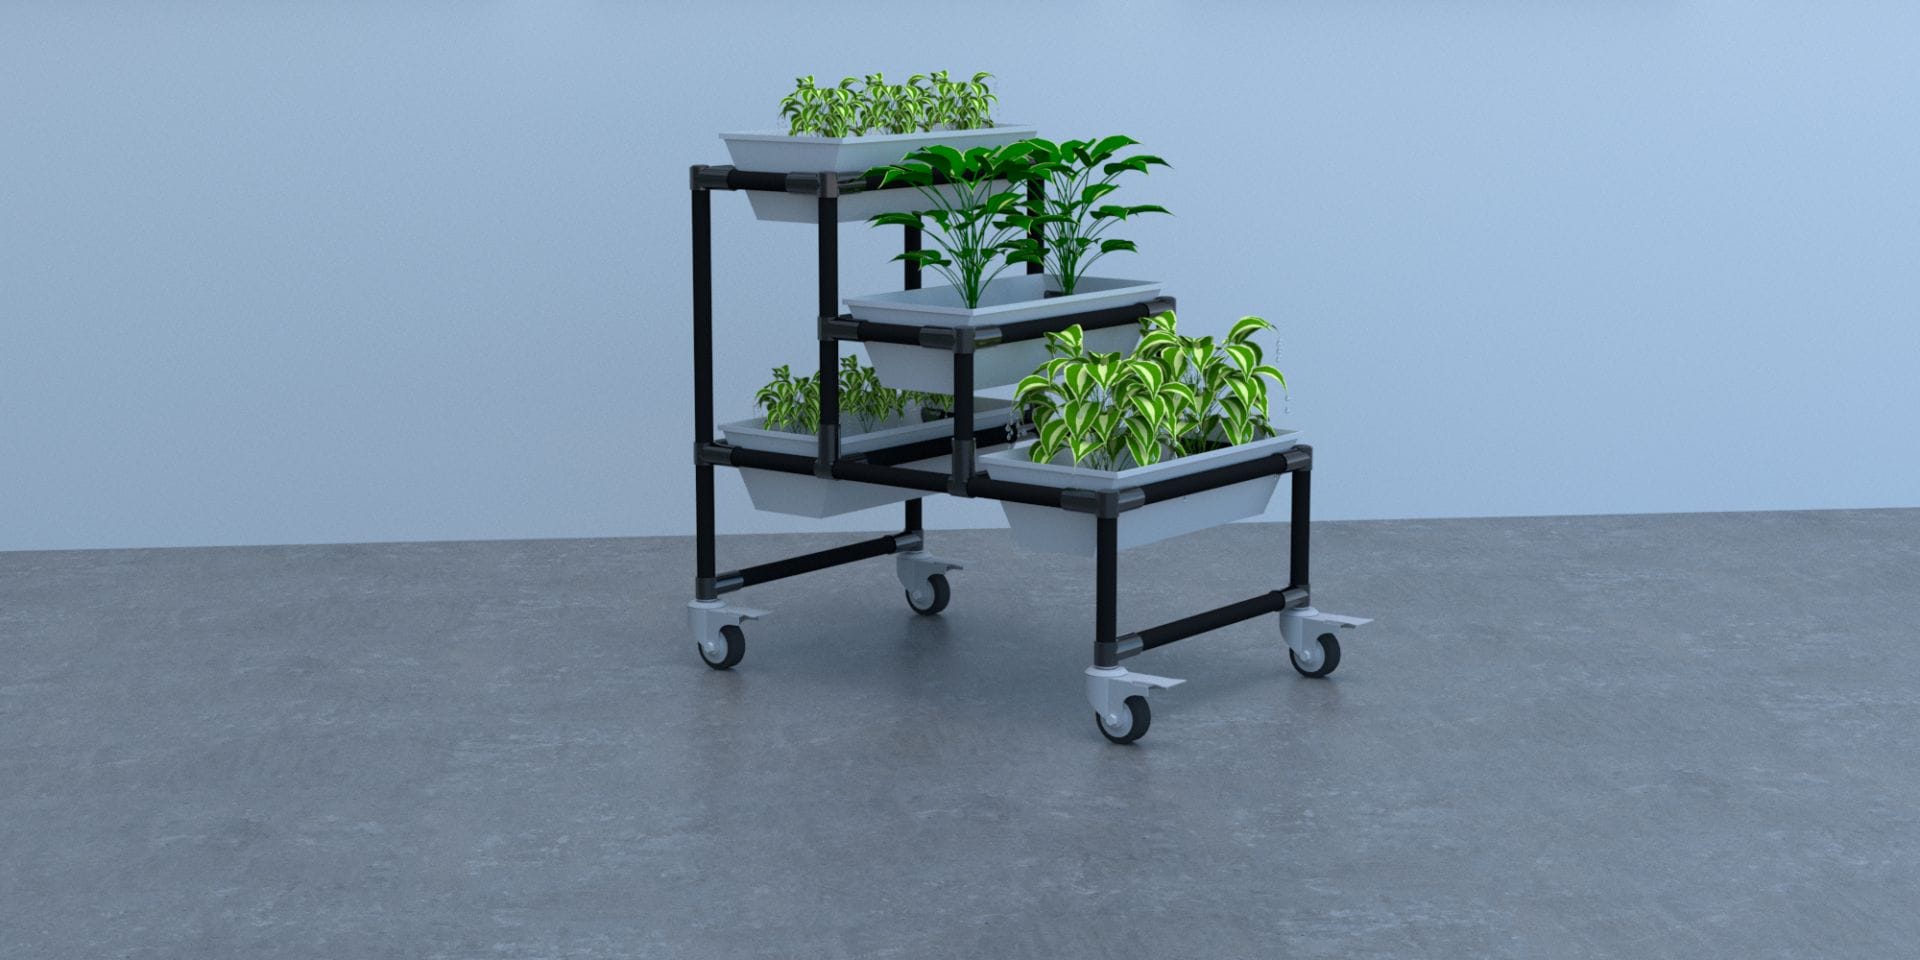
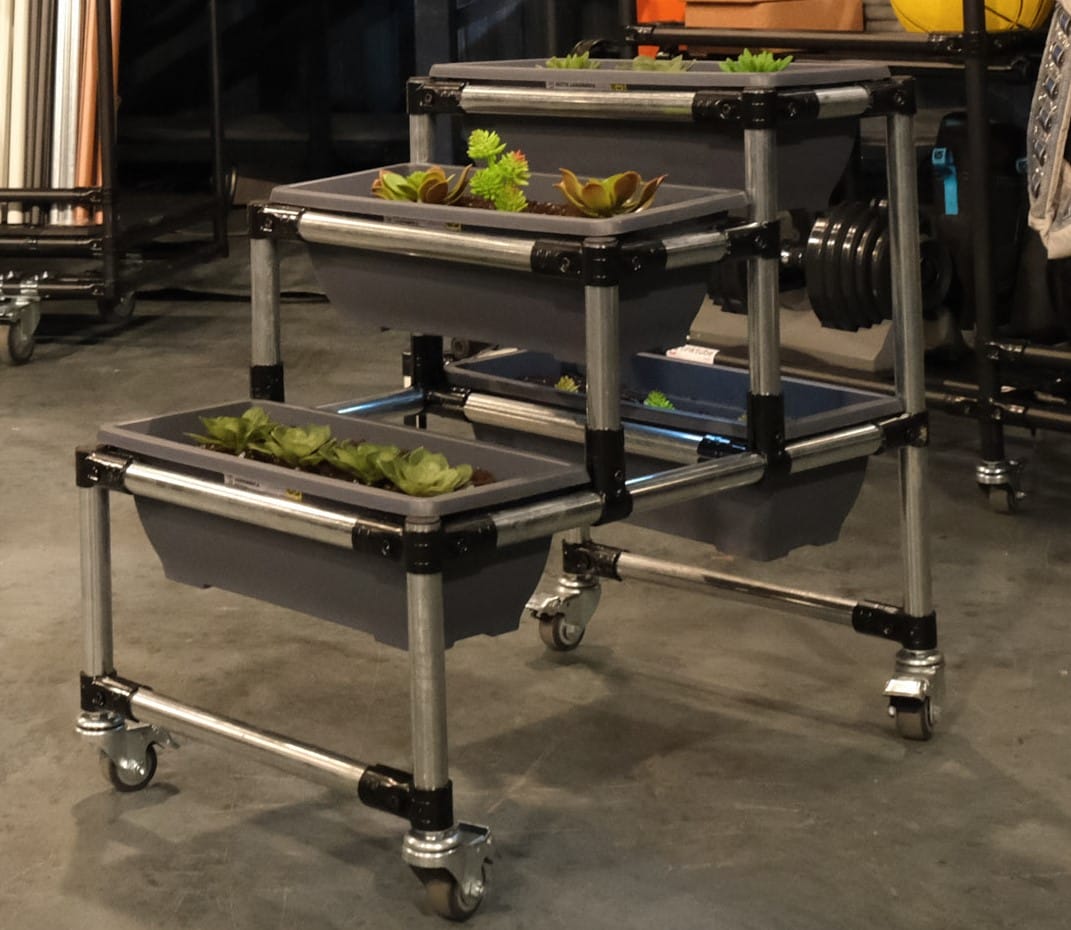
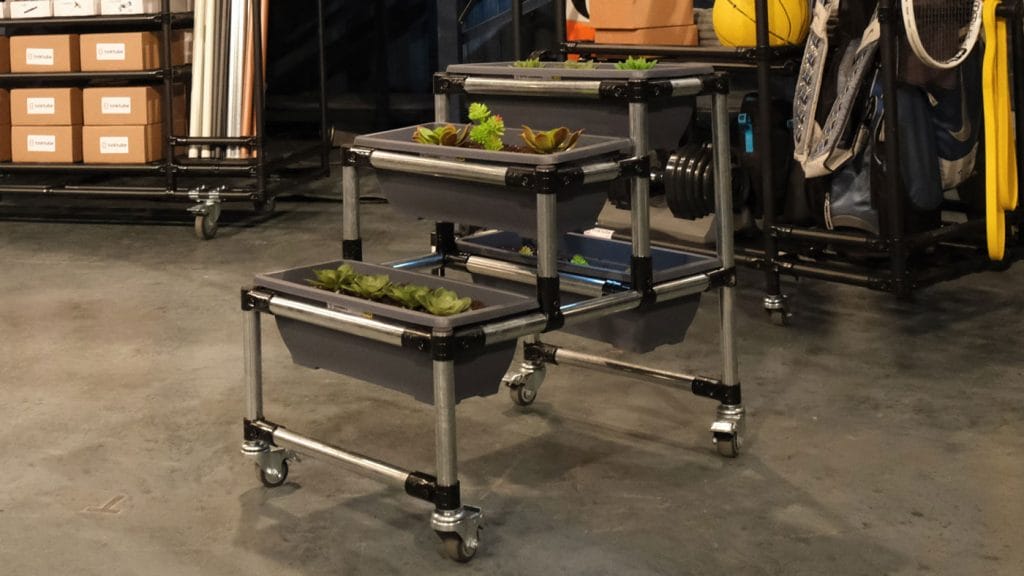
Photo credit: Yannick MacDonald
This project was featured on tinktube’s appearance at the television show Dans l’oeil du dragon, which is the French Canadian version of Shark Tank
Let’s all just admit that gardening is an amazing activity. Taking a tiny seed, nurturing it and watching it grow into a plant, a flower or fresh food to put on your table is a fascinating experience. Even more, knowing that you are improving your living space with plants AND contributing to the environment adds to the perks. Whether you’ll grow your plants inside or outside, a DIY plant stand will optimize your gardening.
- You’ll be able to customize the size of the rack to fit the exact space available.
- You’ll have the opportunity to design a rack that’s going to hold all the plants you want to grow.
- You’ll be able to “re-tink” all of the rack’s components, meaning reuse the parts and components for future projects or make your rack bigger or smaller over time.
1. The parts you’ll need to build your DIY plant stand
Whether plan to plant fresh herbs, plants, veggies or flowers, having a plant stand is a great way to organize your activity. The first step is to design your planter according to your needs and buy the parts to build it. We created a step-by-step plan according to the model of rack below to give you an idea of what you would need to build it, but you can customize the project as you see fit.
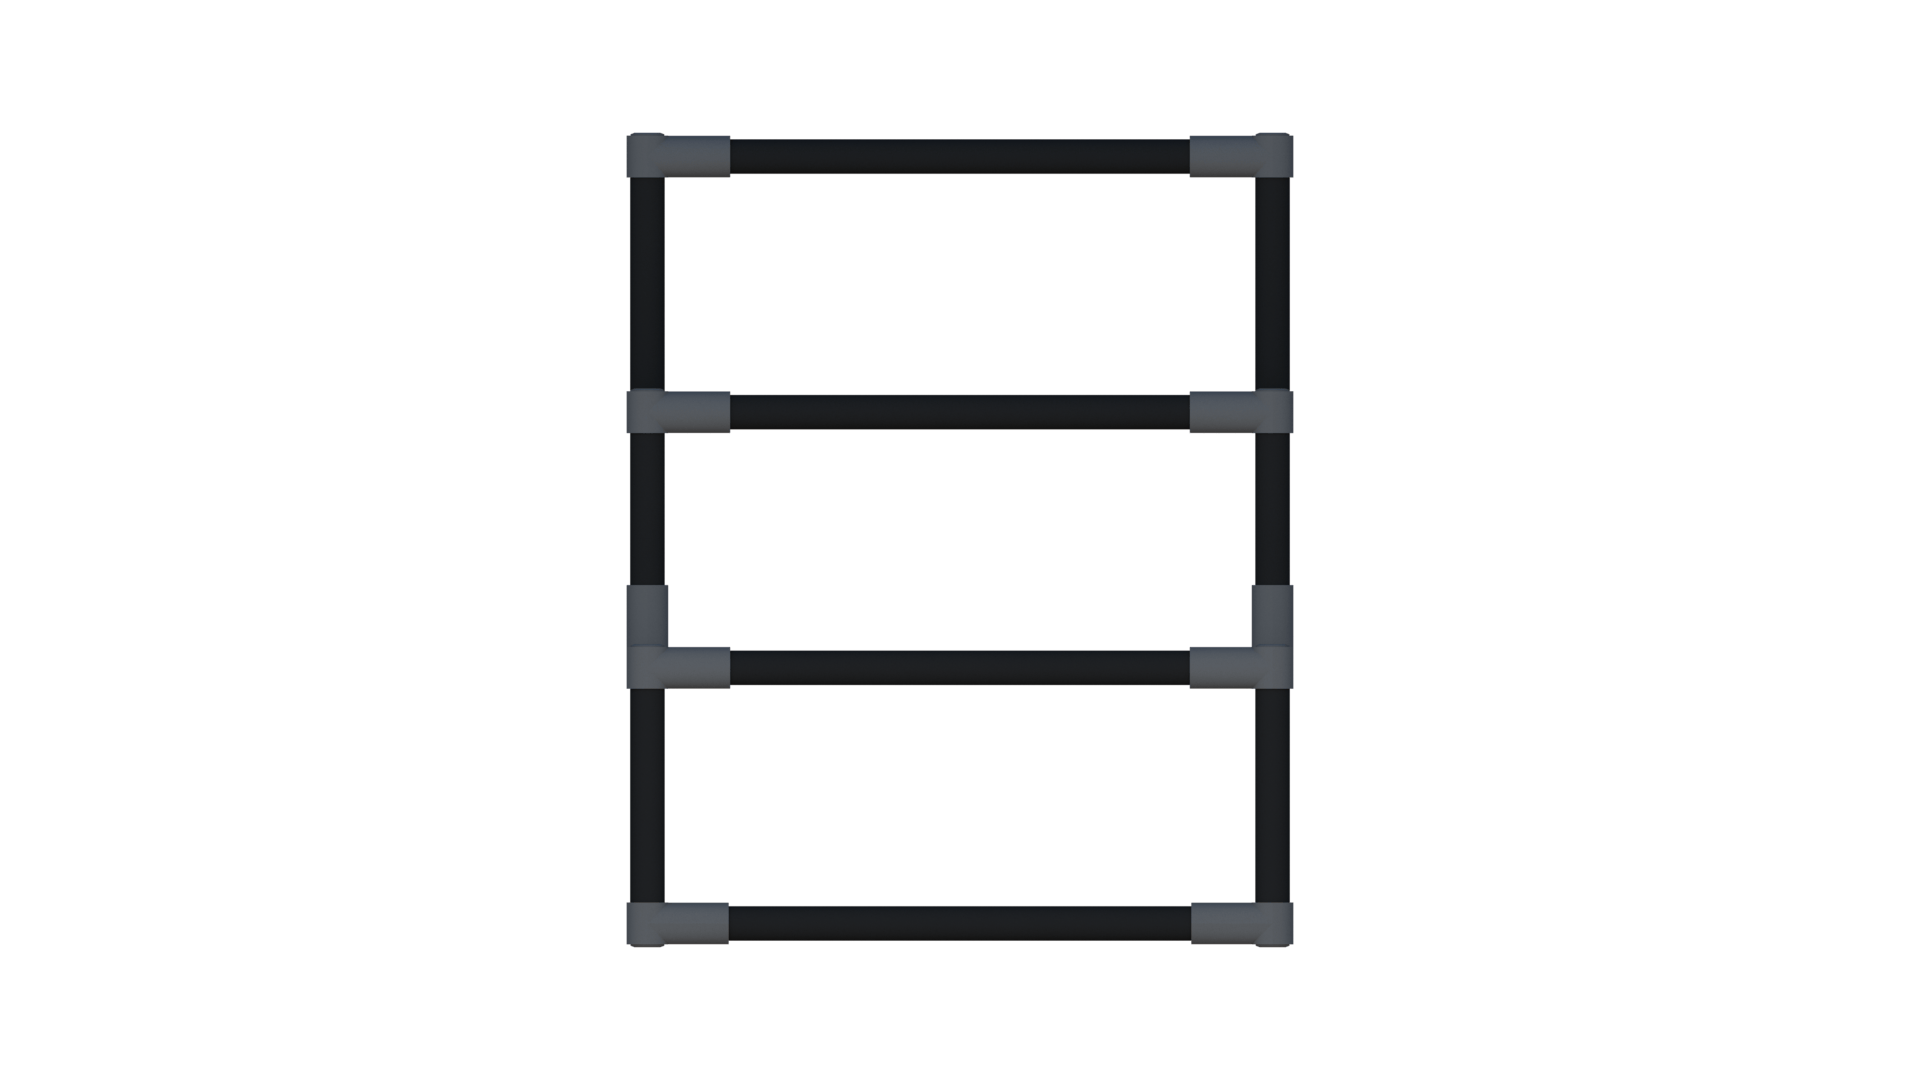
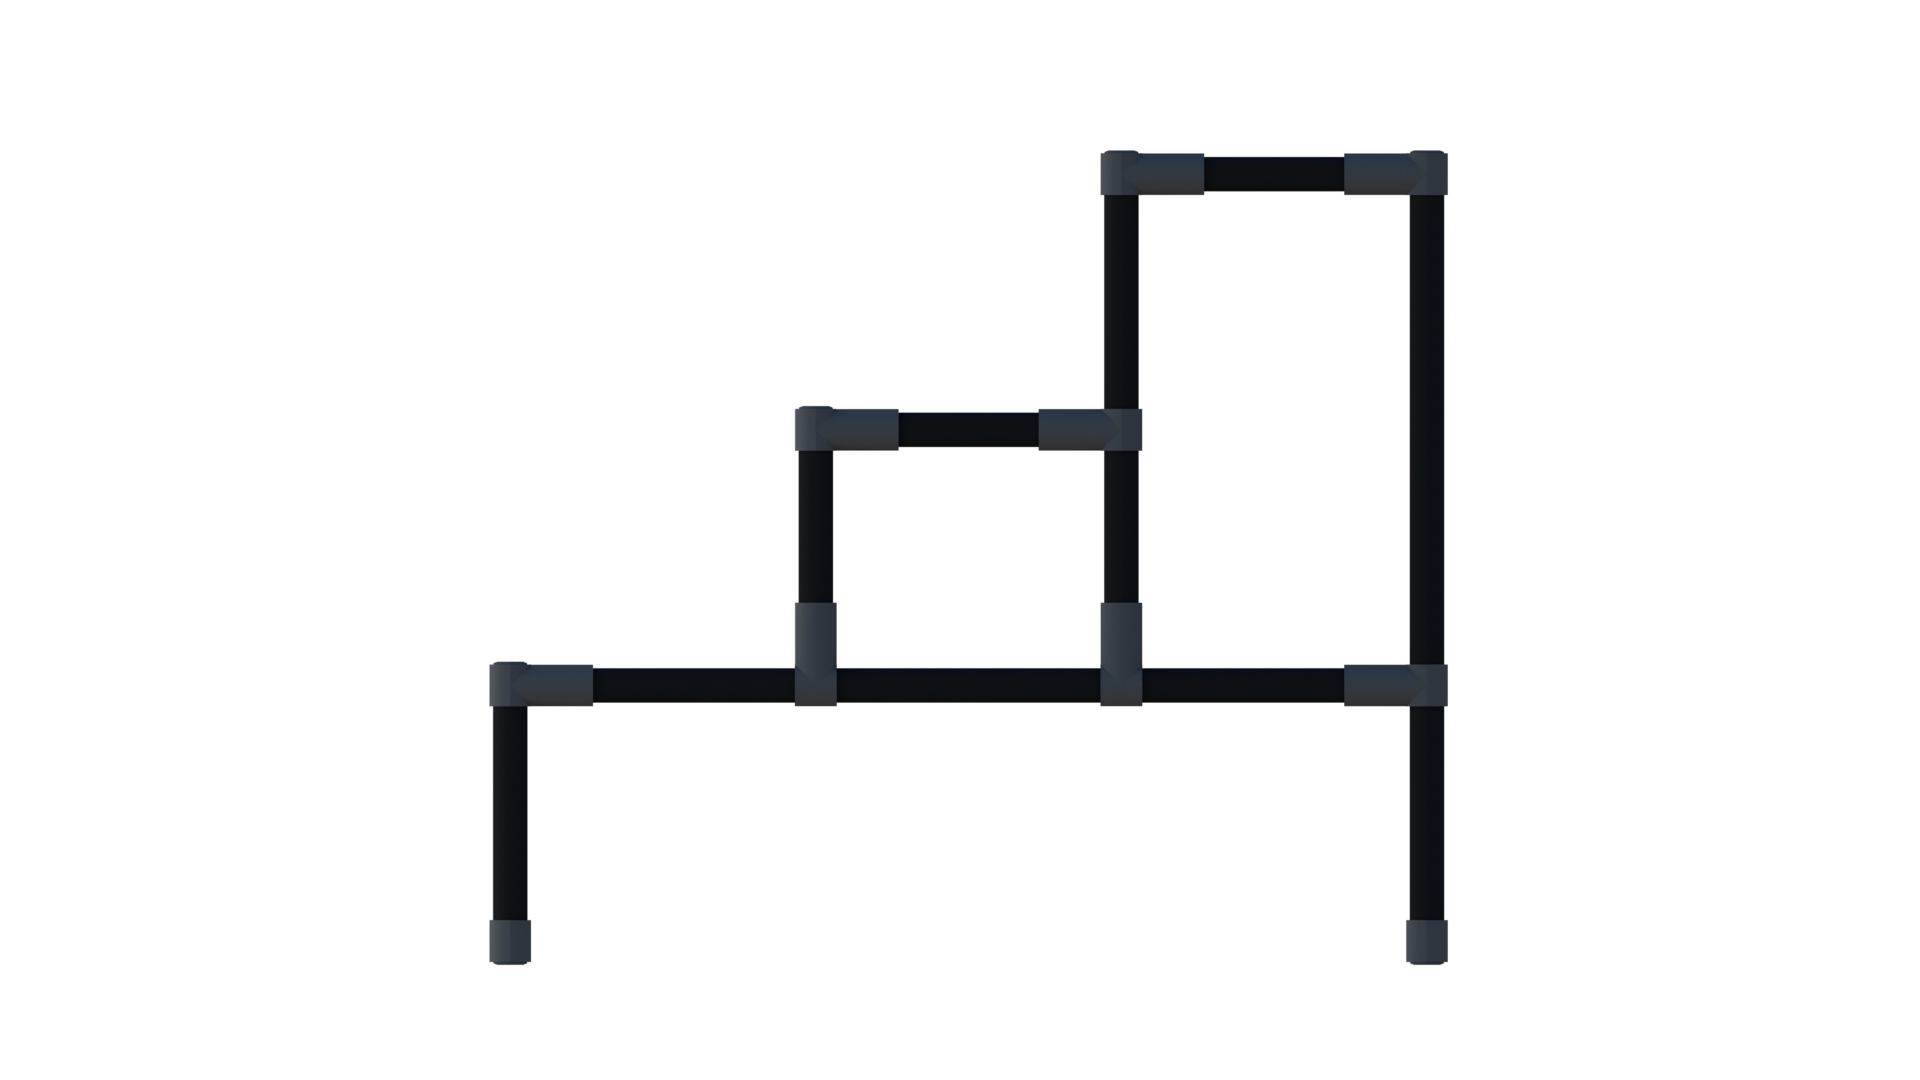
What you’ll need to build this planter stand: Connectors and tubes
Here are the parts and tubes you’ll need to build this project. Feel free to modify the dimensions and adjust the number of tubes and fittings according to your own plan:
| Qty. | Part | SKU | Link |
|---|---|---|---|
| 8 | 1-1/16" x 92" Jet black steel pipe | PT-92-BK | Buy now |
| 8 | Plastic Pipe End Cap | AP-ICAP | Buy now |
| 4 | Modular & Structural T Connector | HJ-1 | Buy now |
| 16 | 90 Degree Corner Pipe Connector | HJ-2K | Buy now |
| 4 | 2" swivel caster w/brake | W-2ESBT | Buy now |
2. The cut list
Once you ordered online and the parts have been delivered to your doorstep, it’s time to build your project. Start by cutting the tubes (don’t forget to buy a pipe cutter if you don’t already have one), it’ll become your new best friend and it’ll be useful for future projects too).
| Qty. | Length (inch) | Length (centimeter) |
|---|---|---|
| 2 | 25″ | 63.5 cm |
| 2 | 22 1/2″ | 57.15 cm |
| 10 | 15 1/2″ | 39.37 cm |
| 2 | 15 1/4″ | 38.74 cm |
| 2 | 9″ | 22.86 cm |
| 2 | 7 1/4″ | 18.42 cm |
| 2 | 5 3/4″ | 14.6 cm |
| 2 | 5 1/2″ | 13.97 cm |
3. You are ready to build (the fun part)
Now that you’ve gathered all the parts, it’s time to start building your plant stand!
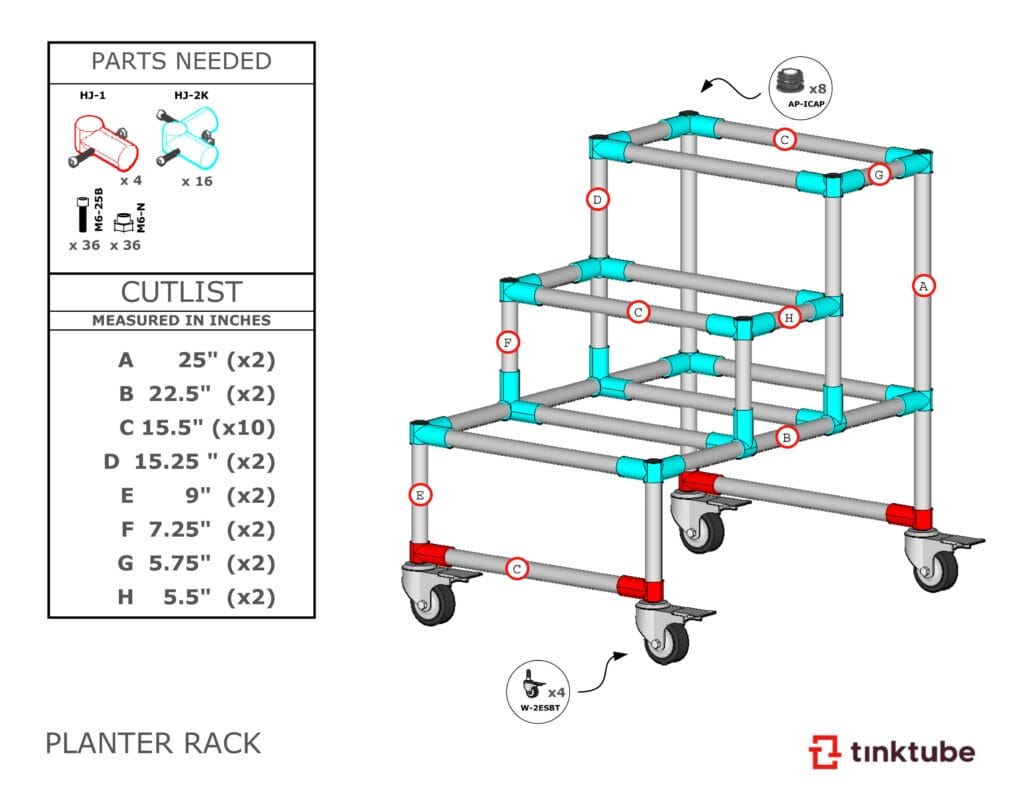
The tinktube joint sets are assembled with bolts that require one of the following tools -you might already have this at home-:
| Tool name | Number | Link |
|---|---|---|
| Hex drill bit set (x5) | T-BIT | Buy now |
| T handle wrench | T-HANDLE | Buy now |
You won’t necessary need other building materials, but if you do, you local hardware store or other options like Ace stores will most likely offer what you need (surfaces, for example).
4. You’re now ready to grow veggies, fresh herbs and flowers
Whatever you choose to grow, we wish you the best gardening experience! If you’d like to see more gardening projects made with pipes and fittings, here are some genius DIY urban farming projects.
