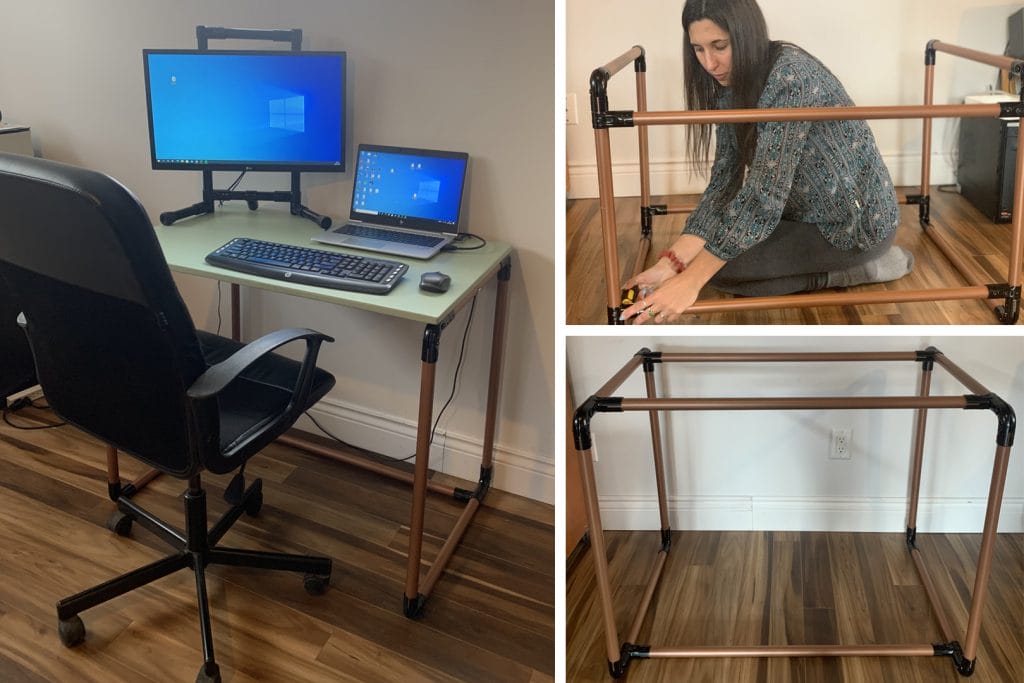
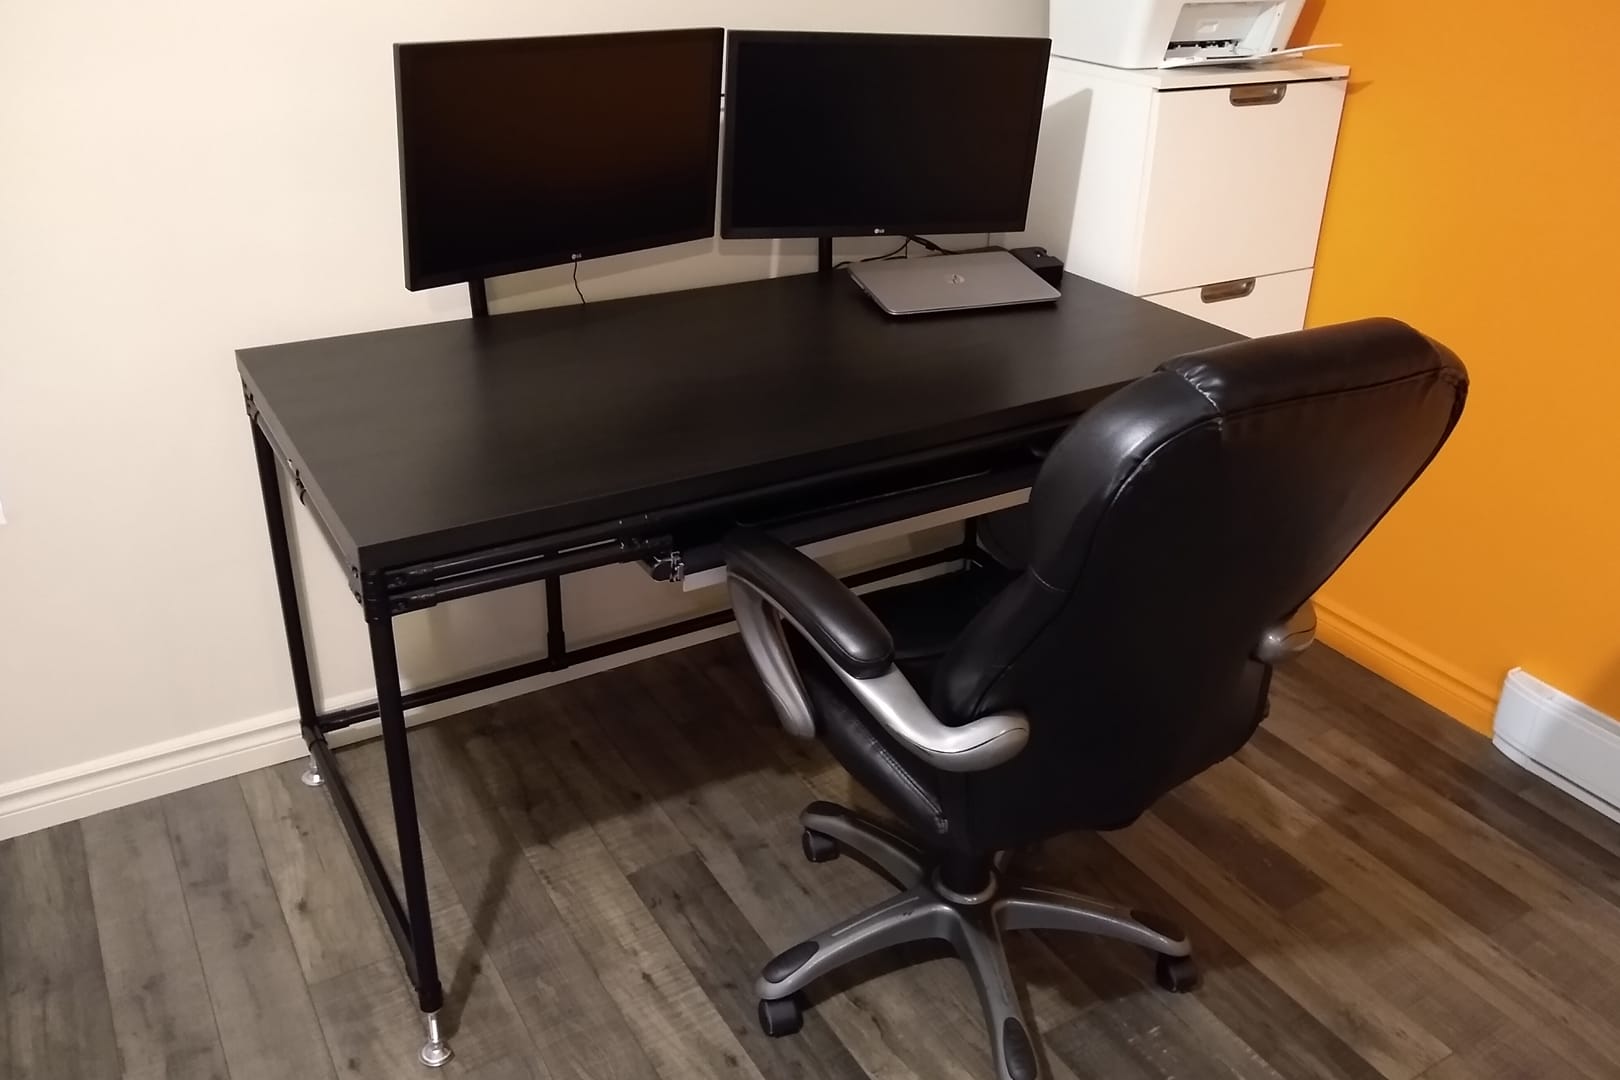
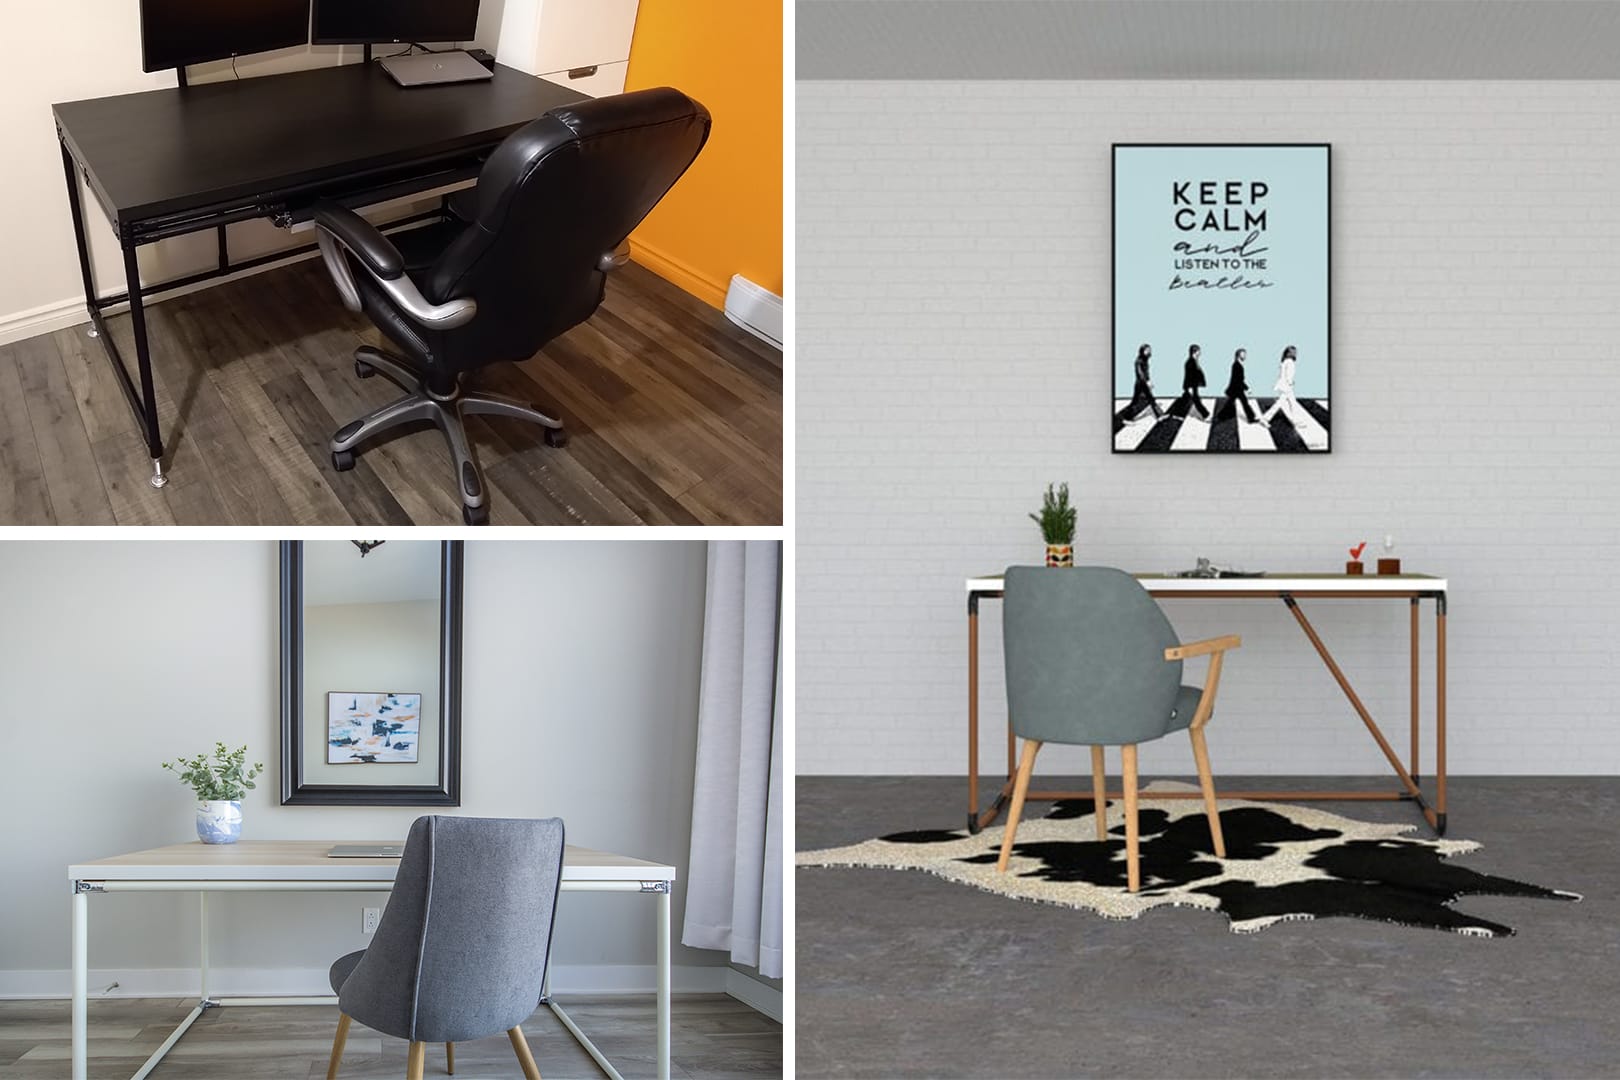
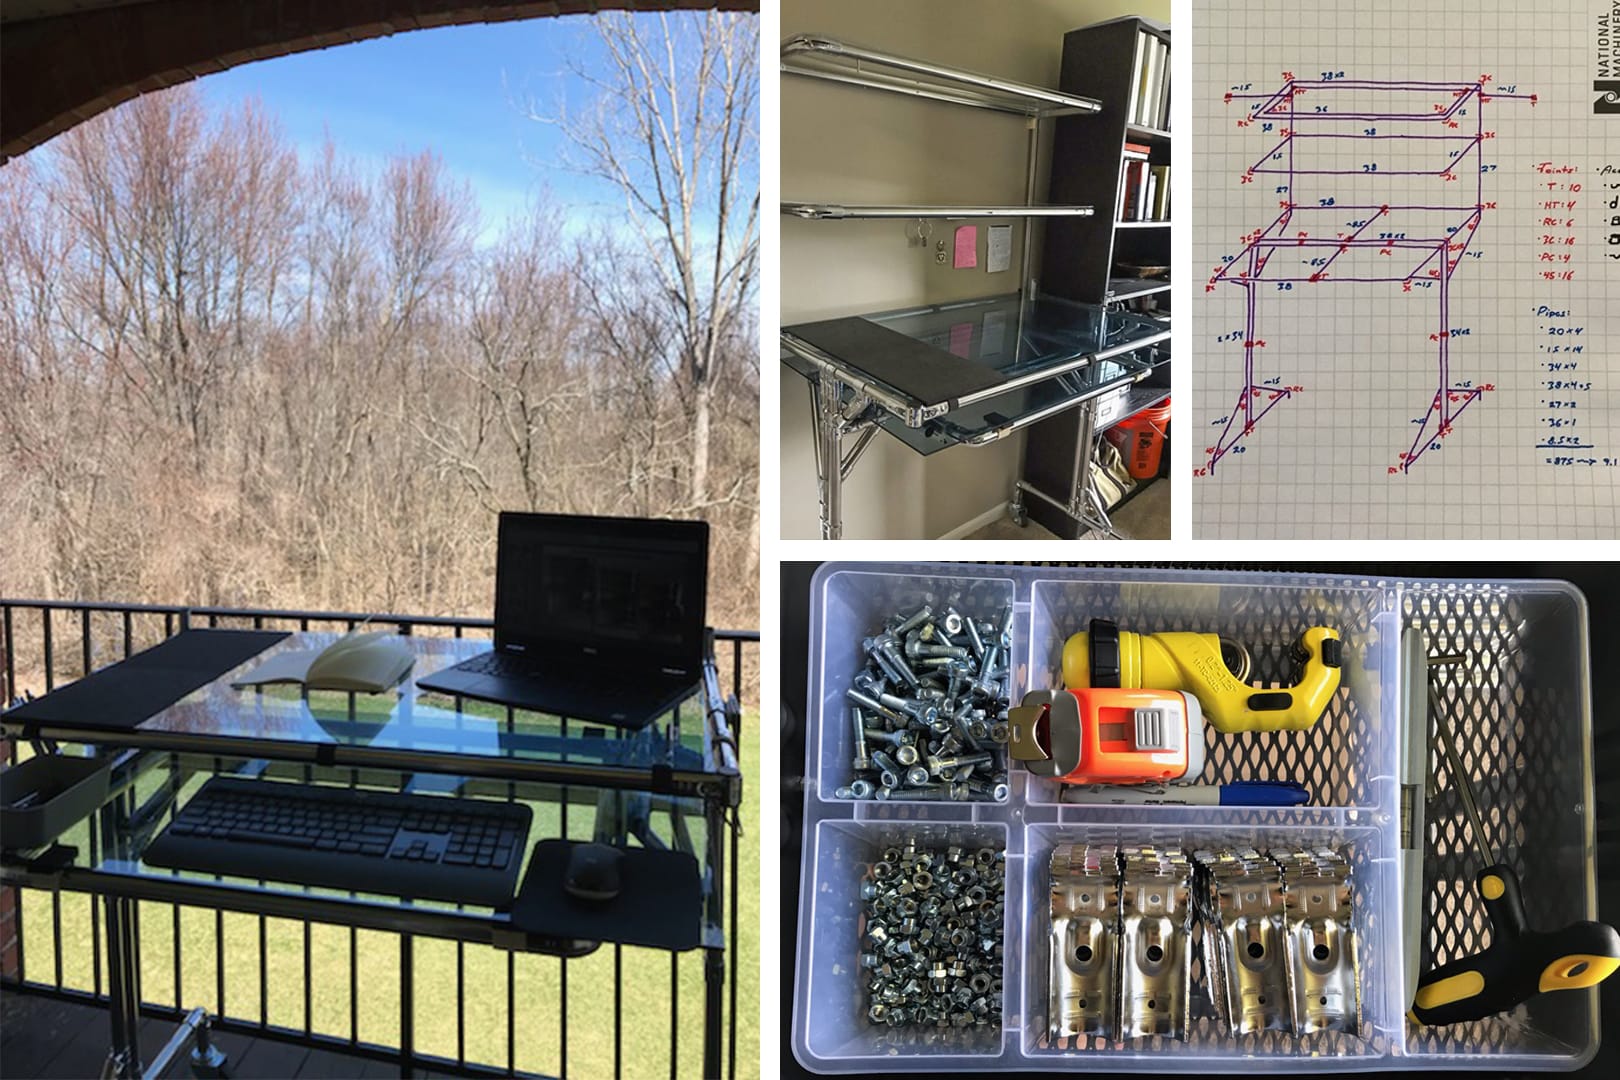
Anne-Gabrielle is a young professional working in marketing. When the pandemic broke, she sought to replace her old wooden desk that was too small and out-dated so that she could work efficiently from home several days a week. Unable to find a workstation that she liked, she decided to design a custom home office for herself using tinktube tubes and connectors!
Ordering materials for her DIY project
While visiting the tinktube website, Anne-Gabrielle came across our industrial office plan. She thought to herself that she could use it to create her own DIY home office.
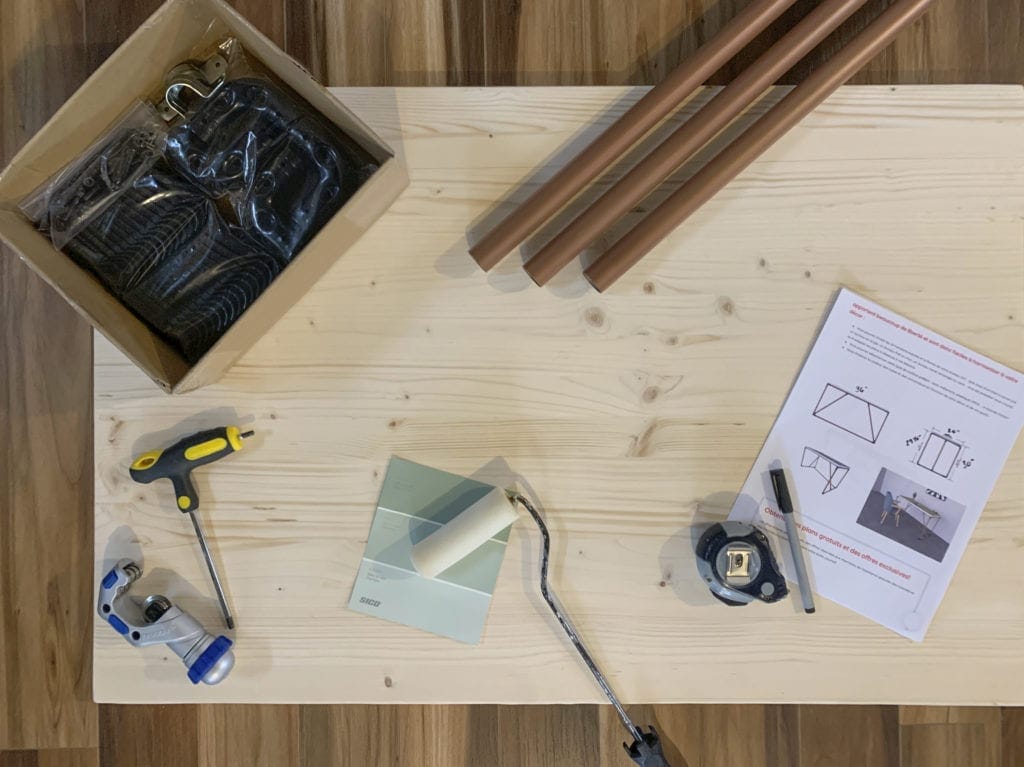
To bring her project to life, she decided to order several pieces, such as 92-inch copper tubing and some black corner connectors. She also bought a tube cutter with 1 blade and a 5mm Allen key on our online store to easily cut and assemble tubes.
The two-inch rule
Once the materials arrived, Anne-Gabrielle was eager to get started! To avoid design errors, she began by carefully measuring the tubes, keeping the two-inch rule in mind.

This is because tubetinkerers must remove a two-inch length each time they cut a tube to be inserted into a connector. If they need to connect a tube for use with two connectors (one on each end), they should instead remove four inches; otherwise, the structure will be wobbly. Hence the importance of measuring!
Watch our video tutorial for a perfect explanation and demonstration:
Cutting the tubes properly
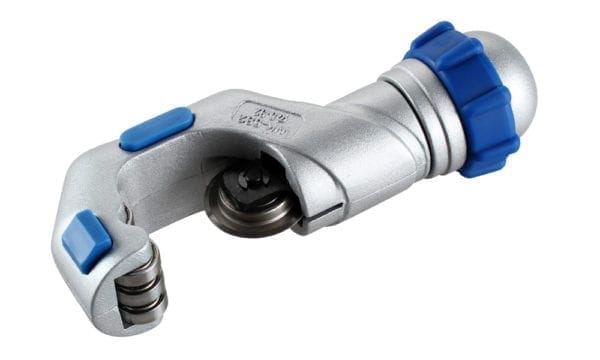
Once the tubes were correctly measured, our DIY enthusiast could move on to cutting! tinktube tubes can be cut easily using a portable band saw or stationary band saw. Since Anne-Gabrielle didn’t have these kinds of tools at home, she opted to use a tube cutter with 1 blade, a very affordable tool at tinktube that does the job just as well.
As explained in this video tutorial, the tube cutter is easy to use:
She first inserted each of the tubes into the tool. Then she gently tightened the screw and made several turns around the tubes with the cutting tool. Every two or three turns, she tightened the screw a little more to cut the tube a little deeper. All in all, cutting all those tubes only took a few minutes, and a little elbow grease!
Assembling the frame
After cutting all the tubes to the correct length, it was now time for our tubetinkerer to join the tubes together using connectors.

Tinktube connectors use an intuitive bolt-and-nut system to close. As shown in our video tutorial, Anne-Gabrielle used a 5mm Allen key to tighten each connector securely around the tubes.
A little trick to tell if the connectors are tight: you should be able to feel the thread of the bolt in the nut.
Attaching the surface
The frame of her workstation now finished, our handywoman just had to attach her wooden surfaces. Since tinktube products are compatible with many building materials, she was spoiled for choice.
Anne-Gabrielle opted for a wooden board from RONA. She painted it to her liking before attaching it to the rest of the structure.
The result: a superb functional home office that is solid and adapted to her needs
Anne-Gabrielle is very proud to have completed her DIY project using tinktube tubes and connectors. She now has a desk that is both compact and large enough to accommodate a laptop and a second screen. In addition, it’s sturdy and matches her decor. What more could you ask for?

Did you enjoy seeing all the details of the construction of Anne-Gabrielle’s DIY work desk? You will probably also like our new DIY pipe desks ideas!
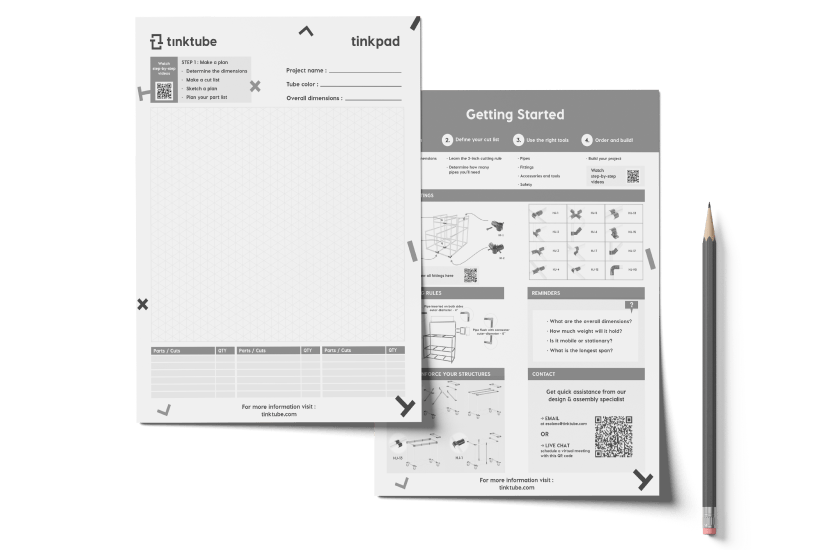
Adapt this project with the tinkpad!
Draw your project with this free printable tool which includes an isometric grid and our best tips to get started.
